


Deck Building Design - Planning for an optimal Deck
Proper deck building design requires a bit of thinking before you simply start hammering nails and digging holes.
It's this initial pause where you try to visual exactly what you are designing that pays the biggest dividends in terms of the finished look of your deck project.
Try to plan and design your deck so that its materials flow perfectly with those of the house - or at least don’t clash.

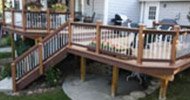
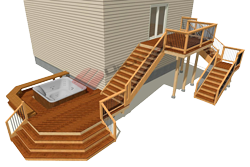
This deck is not an elaborate deck by any means. It’s actually very simple. That is primarily because of the limitations of the size of the site and the height of the deck above the grade.
But even in a simple deck like this there were several thoughtful decisions that were made that should be part of any good deck building design. The more elaborate your deck, the more design details you will have to address.
Some of the more common building points to consider as you think about your design are the height above the grad, proximity to any neighbors, existing architecture, foot traffic and stair locations, railing style, and framing details.
Height Above Grade
You might think that a high deck is a good thing for enhancing a view. If you have a spectacular view then you are perfectly correct in trying to take advantage of that view. But in this case, the deck was in a densely packed subdivision and the only real view was of the neighbors backyard across the yard and to the immediate left.
In fact, if you got carried away with creating a massive deck structure extending too far out from this house all you would end up with is something like a stage for all the neighbors to see. That is not what these clients had in mind.
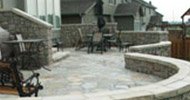
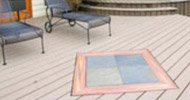
So this particular deck design lent itself to a more modest size – 8 feet out and about 12 feet across – so that an interlocking stone patio at grade level would eventually be the more private socializing area with deck and patio furniture to complete the look.
Proximity to Neighbours
We sort of touched on this aspect of design above, but it’s worth mentioning that how close you are to your next door neighbors and the relationship you have with them will factor in to your deck building decisions.
Landscaping along property lines with trees and shrubs will eventually provide great privacy cover but on a new home like this one, that would be years away.
Another key point to remember that deck building design rookies often overlook is that every lot has a setback for the side yard. This simply means that the city in their experience and wisdom has created minimum buffer zones along your property and the neighbors where no building will occur.
Sometimes it can be 15 feet. Other times it can be 5 feet or less. So check with the building department at your municipality if you don’t know. This would determine if you could build a wrap around style deck.
In this case building a deck that wrapped around the side of the house would have crossed the minimum side yard set back. So the deck had to extend directly out from the house.
Good Deck Building Design Considers Surrounding Architecture
Just because this deck is made of cedar does not mean that your deck will look best in wood. There are many building materials available today and you should select the decking material and railing style based upon the existing architecture of your home – if you want to achieve a degree of architectural harmony.
Otherwise you risk doing what 90% of home owners do. They build something which clashes entirely with their home. For most home owners a cedar wood deck is just fine because the home was not designed as period piece of architecture.
But white railings just seem to look right on a Cape Cod beach house. Cedar just seems to look good on a west coast ocean front home. Just keep in mind these design guidelines as you design your deck.
In our case, the clapboard style siding lent itself to a wood deck of some sort. And cedar was the choice. As this deck ages, this deck will turn a soft grey color and blend nicely with the taupe painted siding.
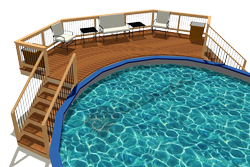
Foot Traffic and Stair Access Points
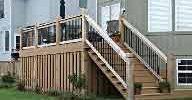
Where do you build the deck stairs? Keep in mind that stairs require a lot space depending on how high the rise is. The height of this deck was about 42” at the end requiring at least 6 risers of 7” and with 11” treads that equaled a run of about 66”.

The concern here was to not have the stairs occupying too much of the ground space that would one day be part of the stone patio living area below.
Also to the right side of the deck was the gate to the backyard fence where most of the foot traffic would be entering the back yard. Placing the stairs in this location made sense because of the natural tendency of visitors to come and go in this direction. Do what you think is right when you plan and build your deck but consider these issues.
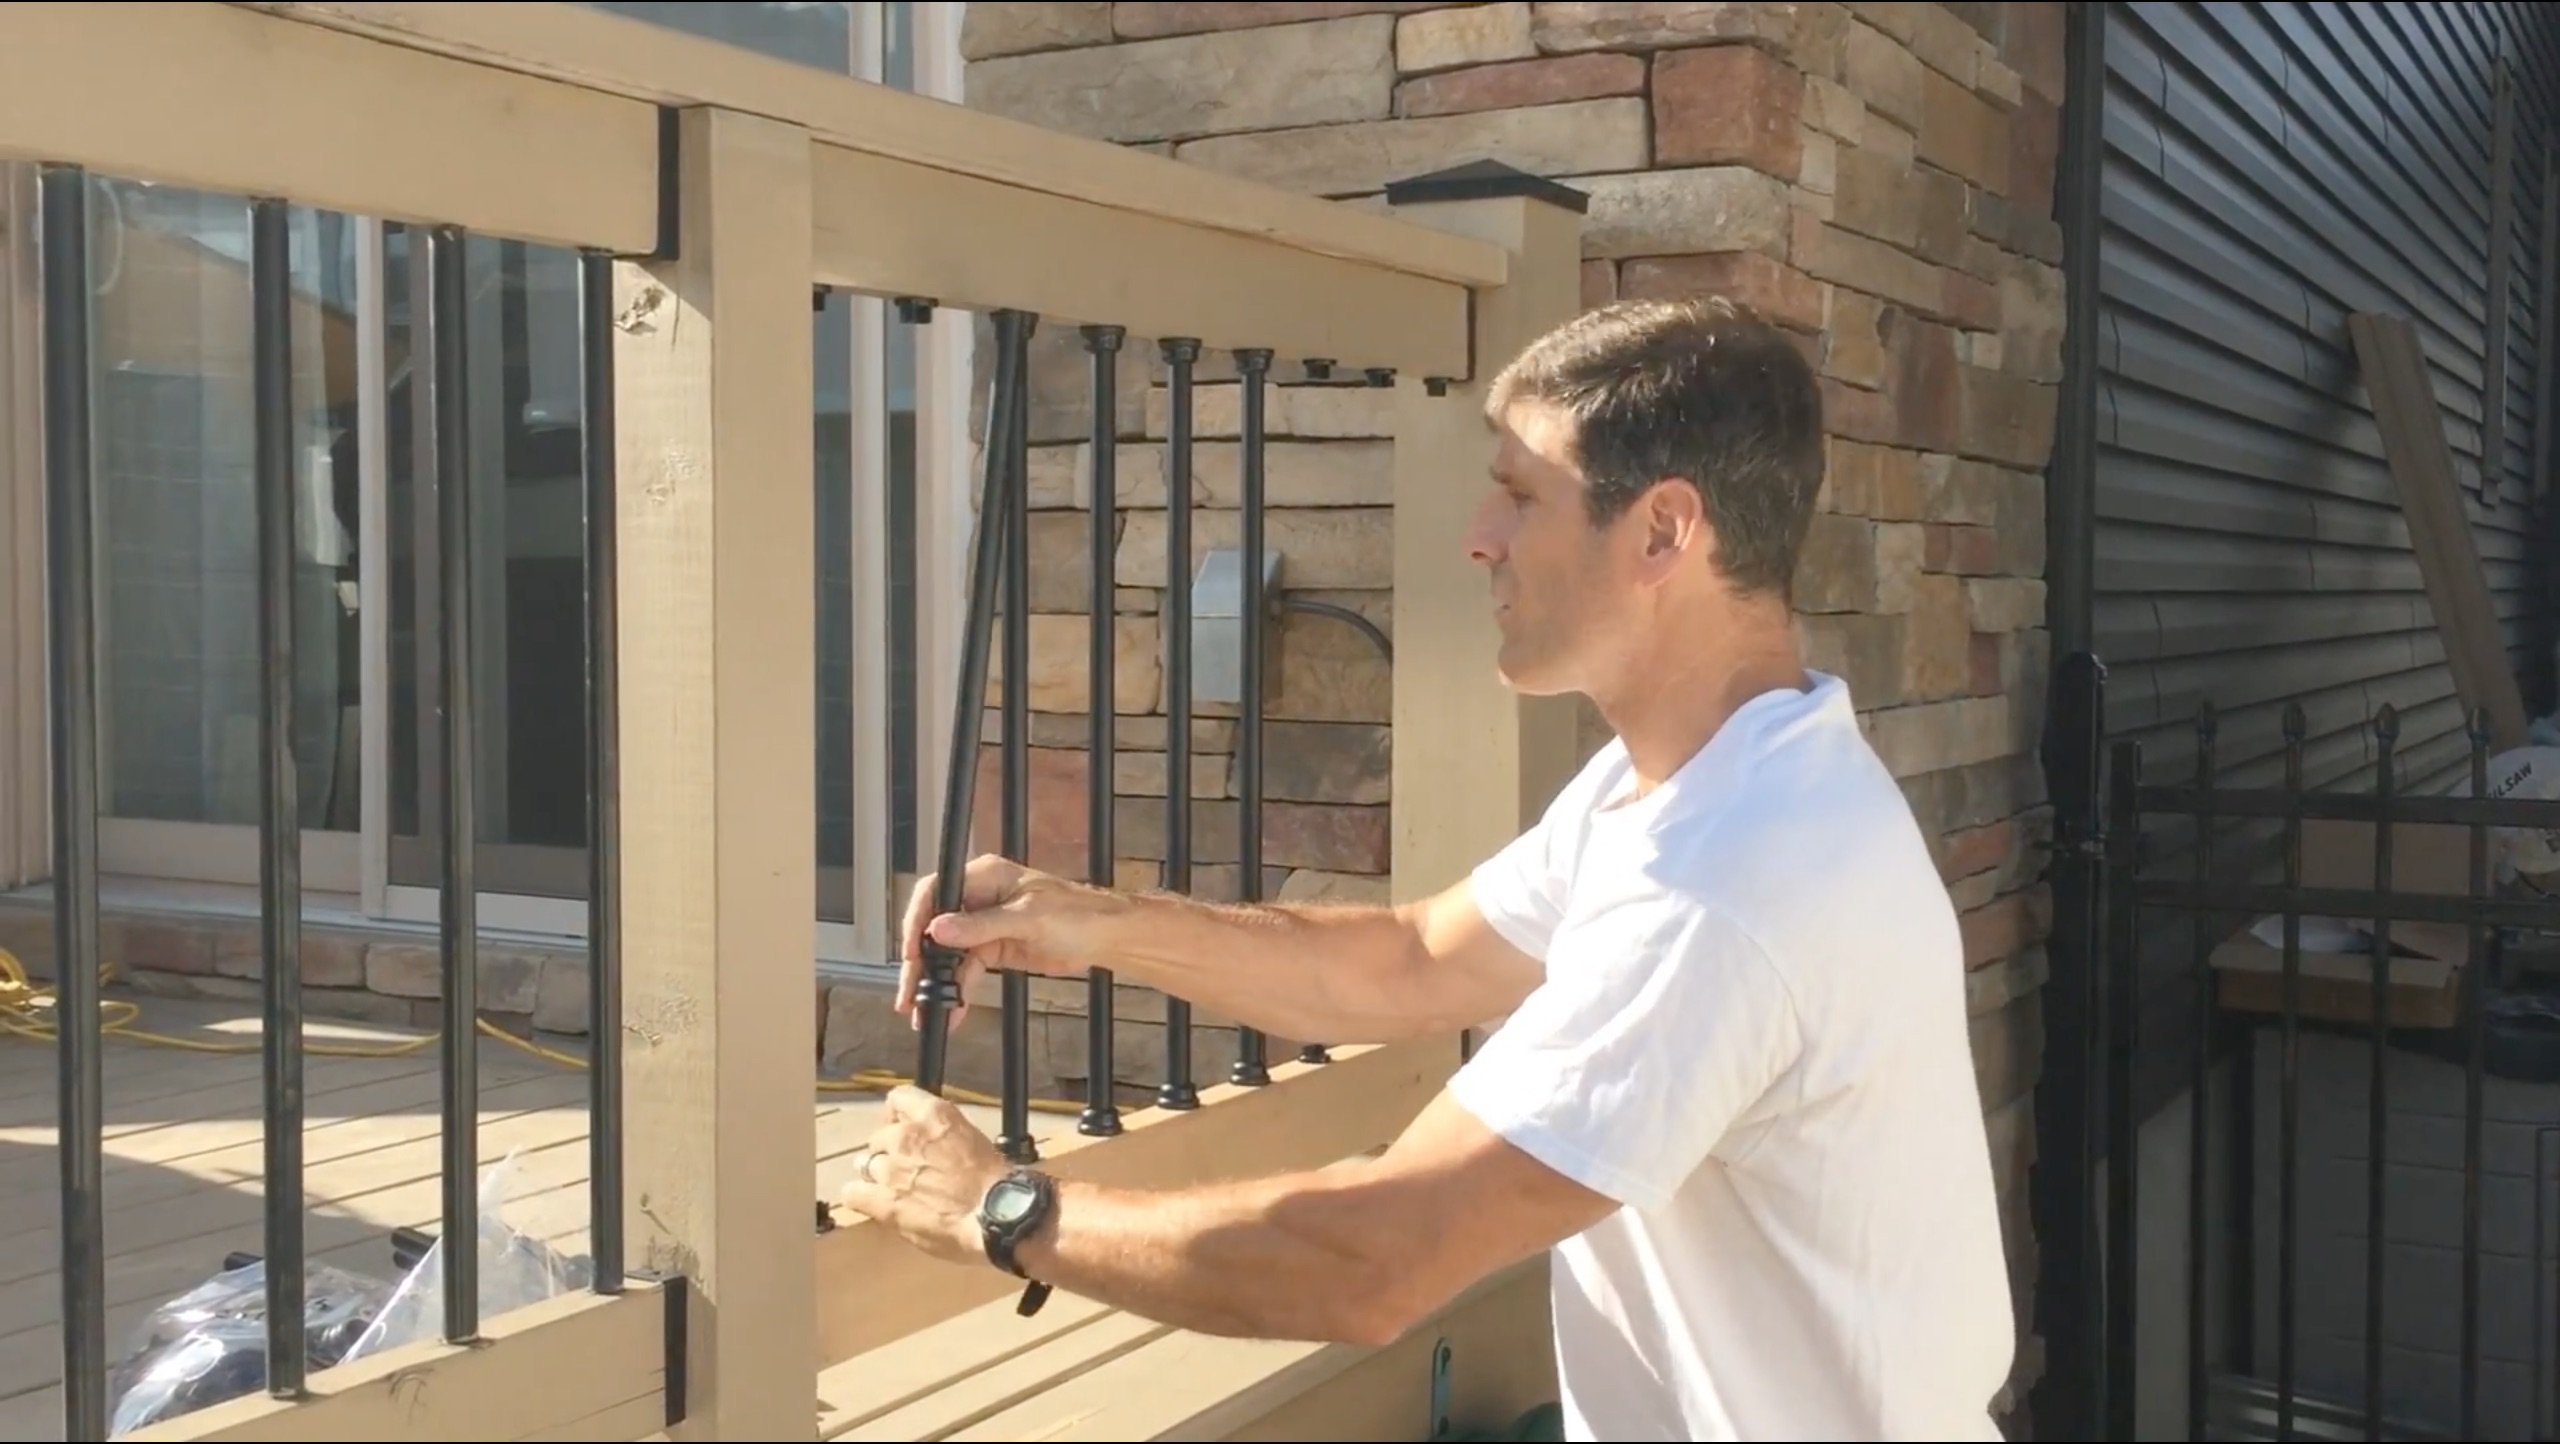
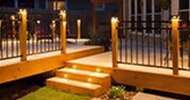
Deck Railing Style

We opted for a simple but clean 2x2 baluster railing between 4x4 wood posts set into the framing. The posts were capped and protruded above the plane of the top rail to emphasize the shape and corner of the deck.
It also fit in well with the general “Craftsman” style of the front of the house.
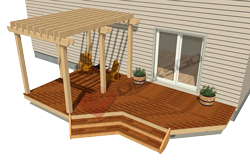
Planning The Framing

The deck building plan for this deck was just a bit more complicated than
what first meets the eyes because of the decision to set the deck stairs
into the deck structure.
The portion of the deck that extended beyond the stairs had to be supported by another beam. Rather than building two additional beams parallel to the house to support the bump out, we reduced the labor for digging extra footings and piers and economized on beam and post material.
How Did We Do It?

We simply ran a beam perpendicularly from the corner of the beam at the front edge of the deck to the house. This extra beam needed only one pier and post and created one continuous L shaped beam.
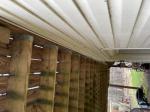
Now the joists for the bump out could be run parallel to the house and the cantilevered section of the deck would be much stronger. Check out the pictures of the framing to see the details.
With these major issues resolved the design was set and the building plan was ready to go.
Home > Building A Deck > Deck Building Design


Recent Articles
-
10x8 6 person spa deck
Jul 26, 22 12:17 PM
I think I might be over-engineering this but I live in CT and I'm also worried about snow weight. Adding a 8x10 deck attached to existing deck, 2x10's -
Hot tub weight
Jul 26, 22 12:16 PM
 I won an inflatable 6 person inter hot tub. I have a large deck. 12x 20 on both sides of the house. With a header to the house and the deck was built 6
 -
Deck around a swim spa
Jul 26, 22 12:15 PM
I'm putting a swim spa into an inground concrete bunker and will build a deck around it. I have been advised to keep the deck joists a minimum of 6 inches


It's time to start
making your memories.

How-To
Go Learn More
© 2004-2022 Decksgo.com. All Rights Reserved.