


Questions - Titan Deck Foot Anchor
Before you start reading all the detailed questions and comments in the Forum why not read these common questions people ask us all the time?
They will probably answer your key questions and save you some time. Then follow up with our Forum for more specific issues if you wish.
Thanks for considering the Titan Deck Foot Anchor as a building solution for your next dream deck project!
Reading the following questions and answers will help you decide if this is a solution for you.
- All I need is a hand held impact wrench to install it?
- What about a rainy location?
- How do I prepare or level the soil or location?
- How many footings do I need?
- What size of sockets should I use?
- How do I know my soil type and bearing capacity?
- What will happen if the ground freezes or moves unevenly?
- When should I use concrete or engineered helical footings instead of the Deck Foot?
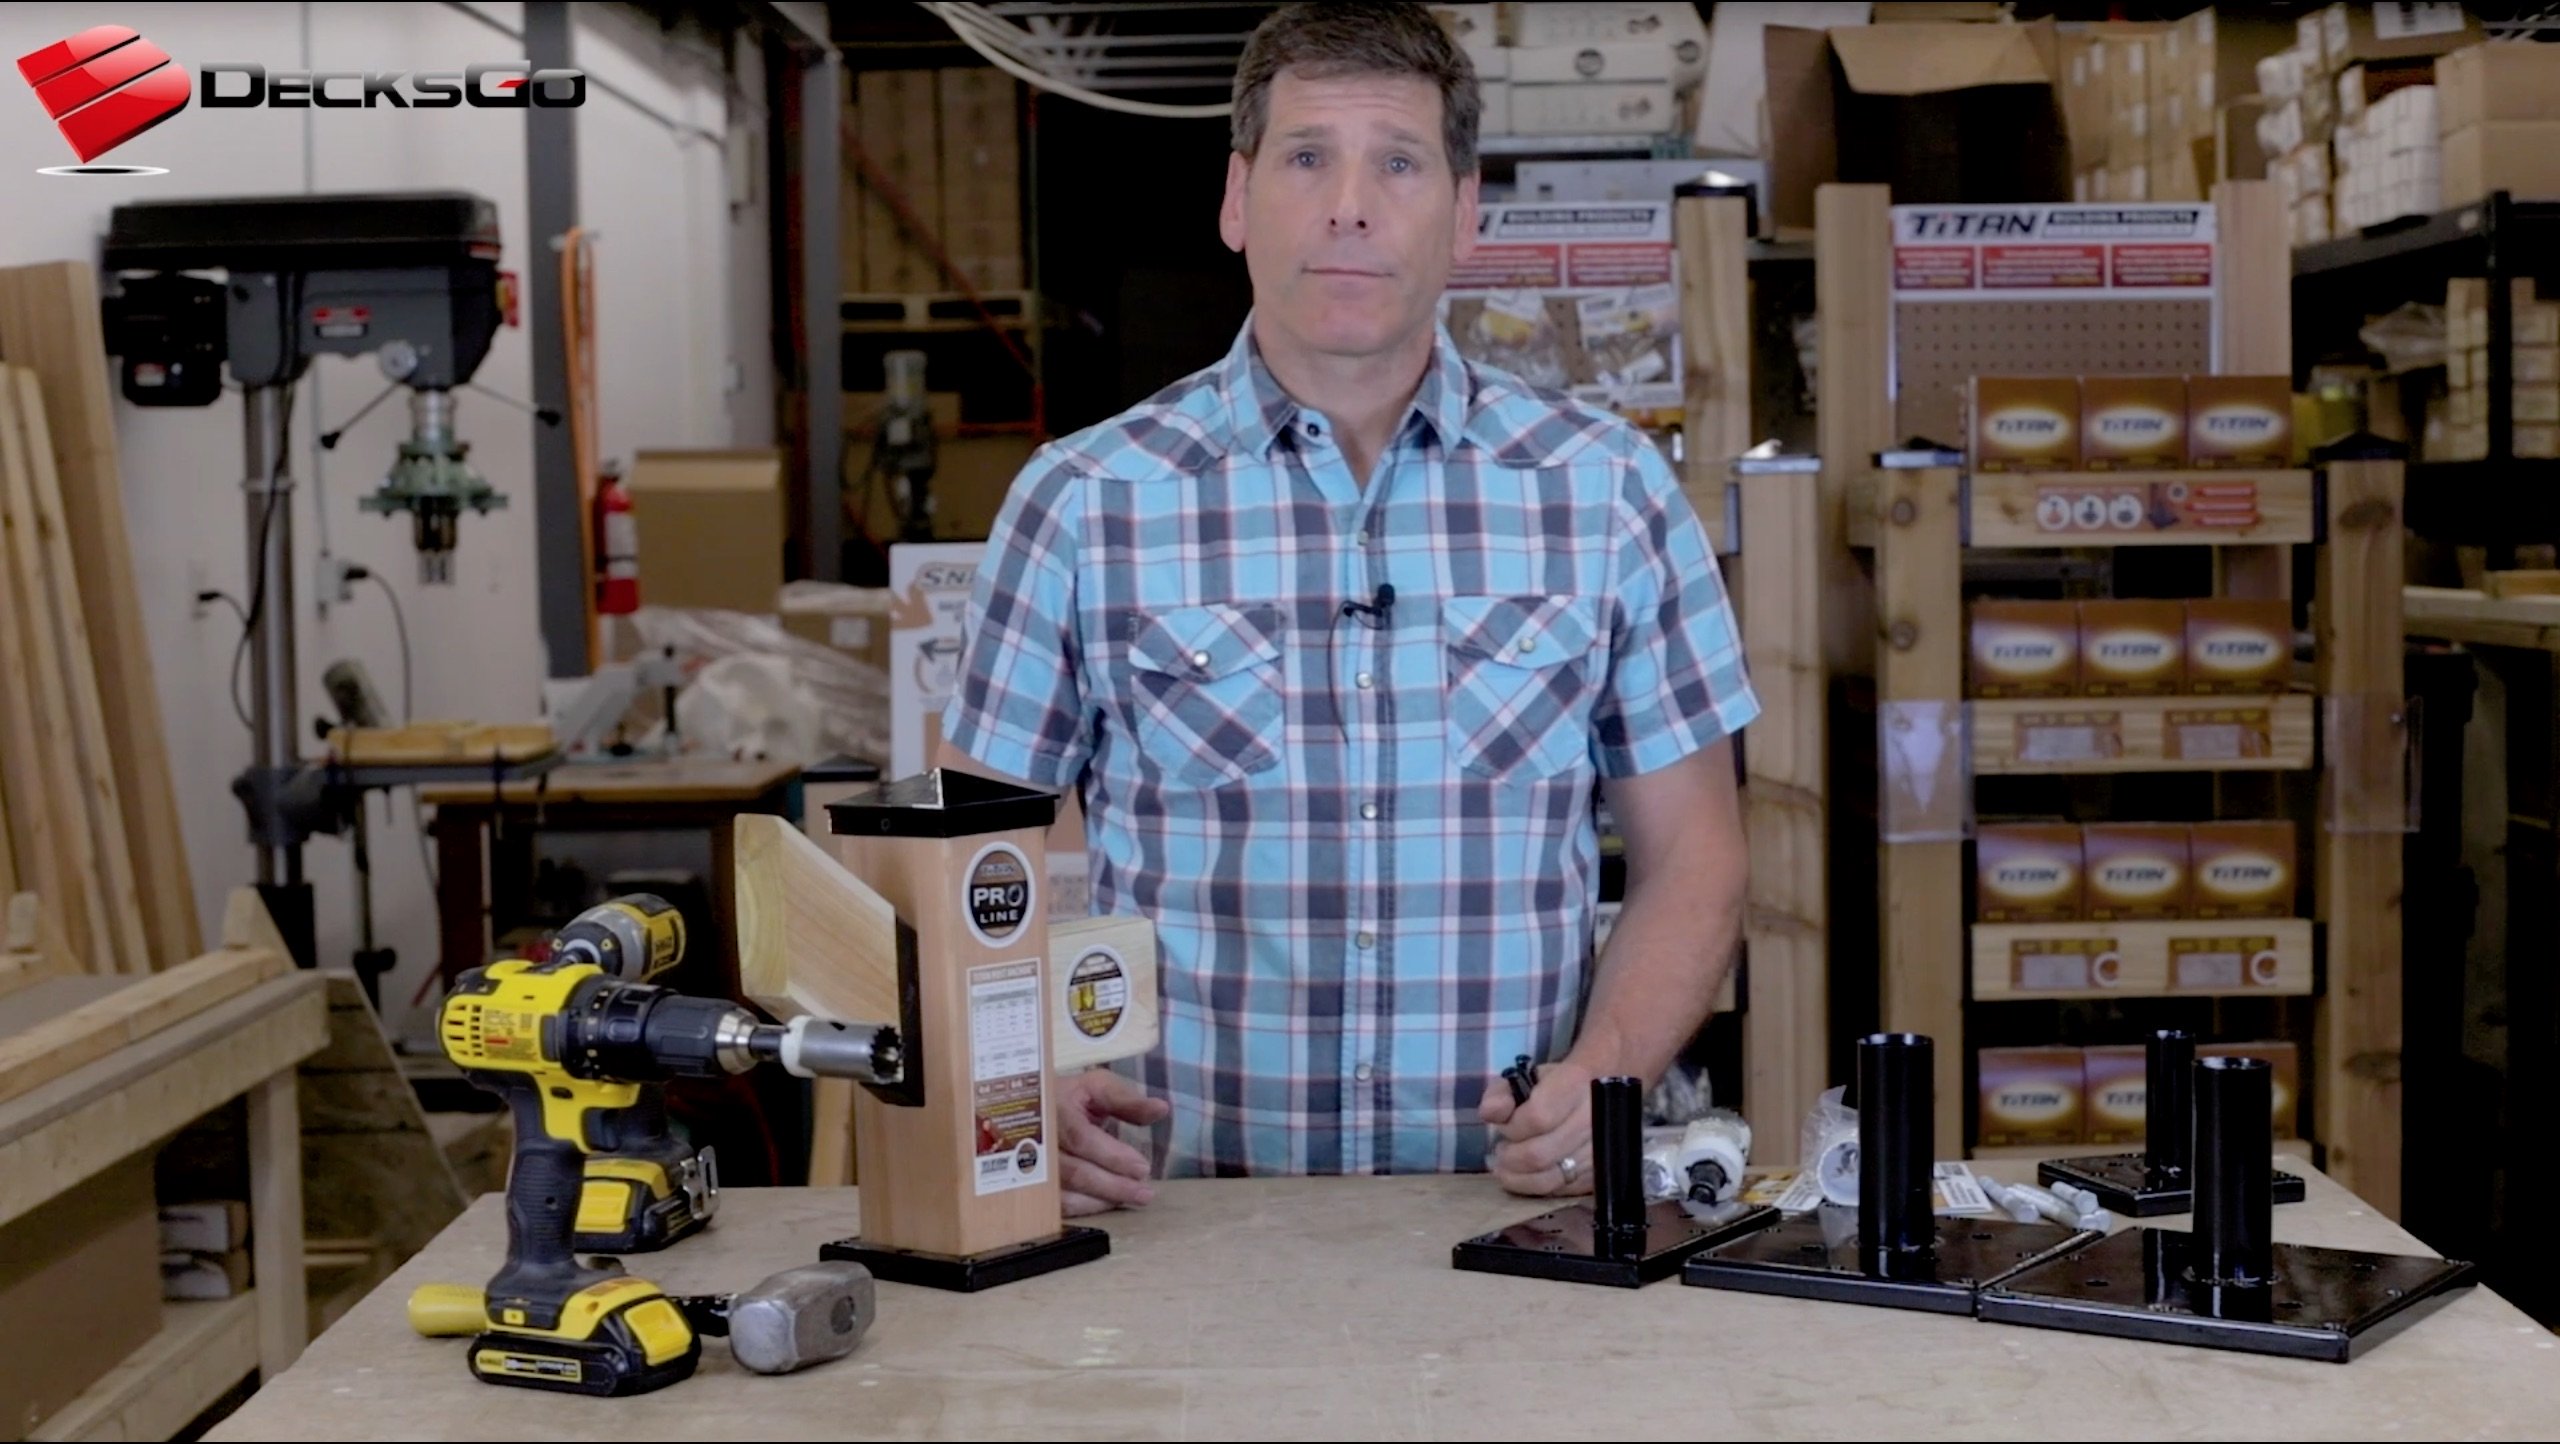
All I need is a hand held impact wrench to install it?
All you need is a 1/2" drive electric or pneumatic impact wrench - not a drill.
An impact wrench does not generate constant torque and this makes it much easier to use and hold with one hand.
This is one of the most attractive user friendly aspects of using the Deck Foot. Other similar systems like spikes require you to use a heavy sledge hammer or jack hammer wtih adapters to drive the spikes into the ground.
Brute strength using a sledge hammer or intimidation or inconvenience of renting a large jack hammer are issues for some people. And if the spike hits rock or root and has to be repositioned it is a lot of work to pull it out. You may have to use a special puller to do so.
The Deck Foot can be easily reversed and a new position chosen.
What about a rainy location?
If there is a lot of rain water in your area, it is a good idea to spread out about a 3"-4" layer of small granular stone which drains water effectively over the soil after you have removed the sod.
This also acts as a good compressive base and allows water to move through efficiently without washing away soil. Tamp it down firmly before drilling the rod into the soil.
Heavy rain is more serious concern if you are installing a footing an a steep slope. You do not want heavy water washing away soil. But this is a serious concern for any footing whether it is a concrete footing or an engineered helical pier.
Here is a quick refresher on Footing Basics:
How do I prepare or level the soil or location?
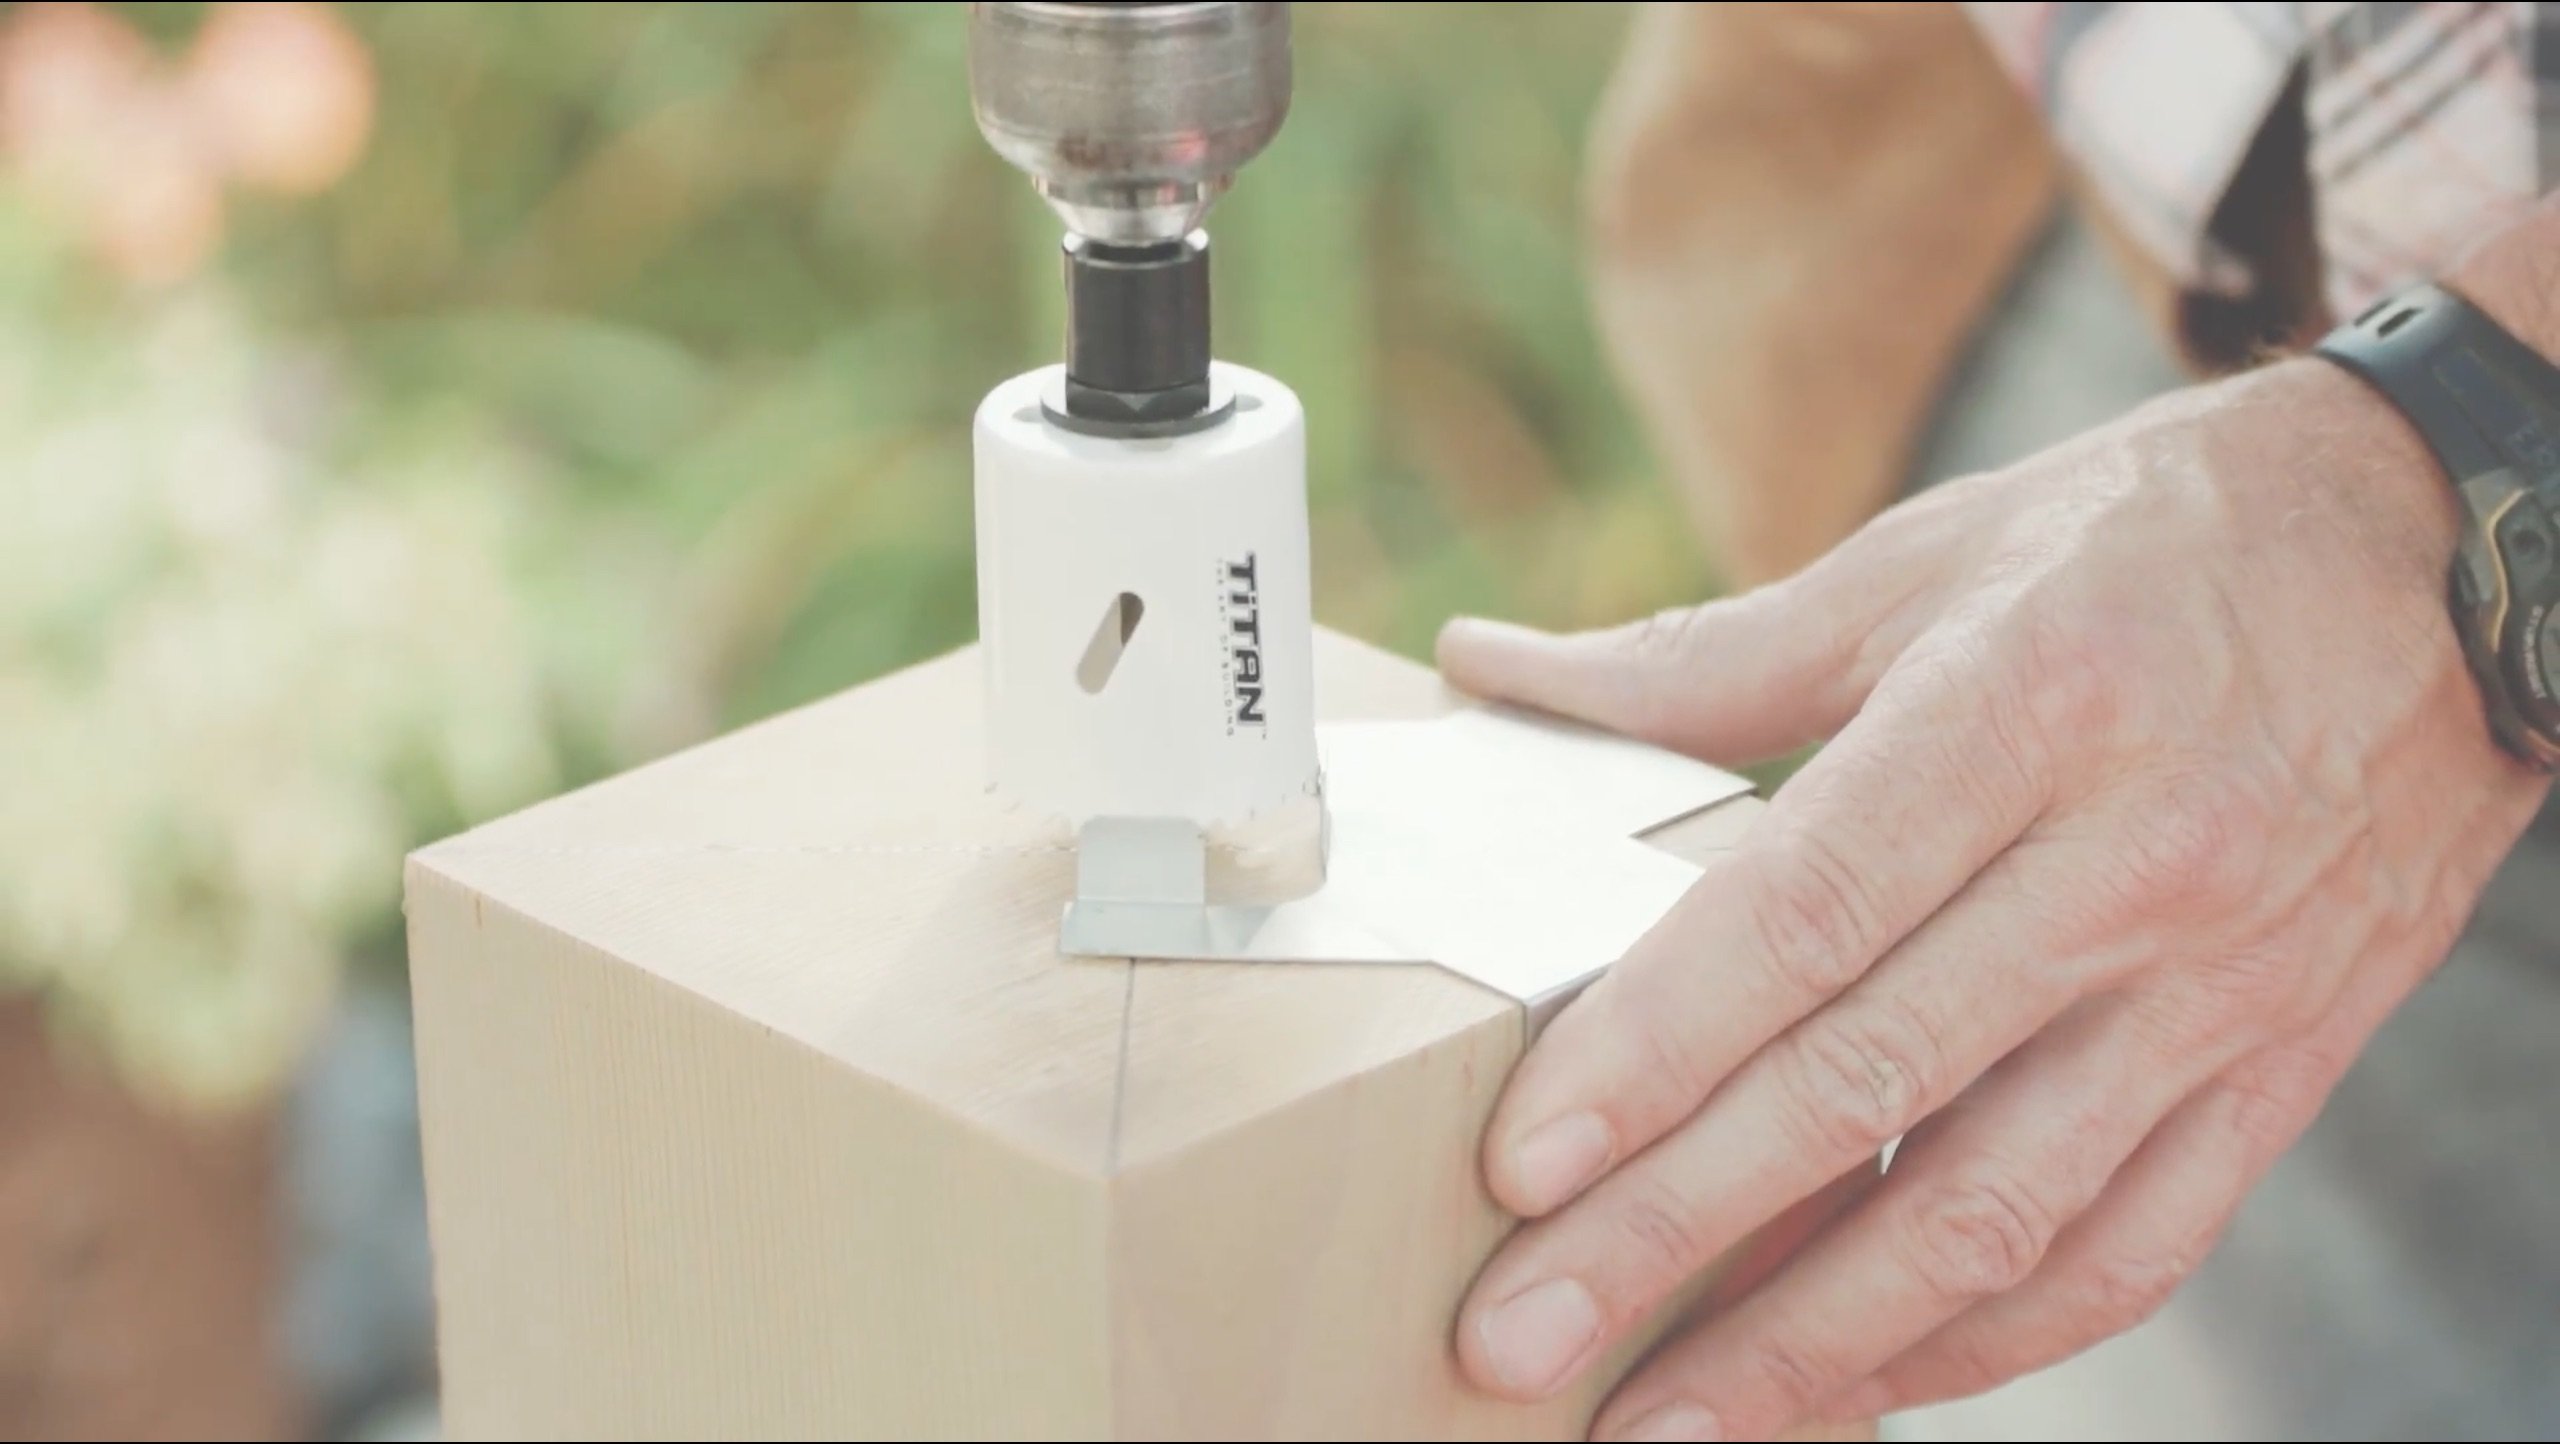
Get approximate level by using a flat spade and removing the sod. Create an square opening about 18"x18" for the Deck Foot to fit.
Use a small level to get as close to level as possible. Using granular stone, say 3/4" or less is a great way to create a nice firm compressive resistant and porous base over the soil 3-4" deep maximum.
How many footings do I need?
The number of footings to use is entirely based on how much weight your soil can bear per square foot.
A low bearing capacity is 1500 lbs or less. This is typically clay which will is the lowest bearing capacity.
In such a case our Rule of Thumb would be 5' maximum spacing between any footing. For all inner beams (not on the outside perimeter of the structure) add one more footing to account for the larger tributary loading zones in the inner part of the structure.
Otherwise 6' maximum spacing is a safe Rule of Thumb for other higher grade soils.
What size of sockets should I use?
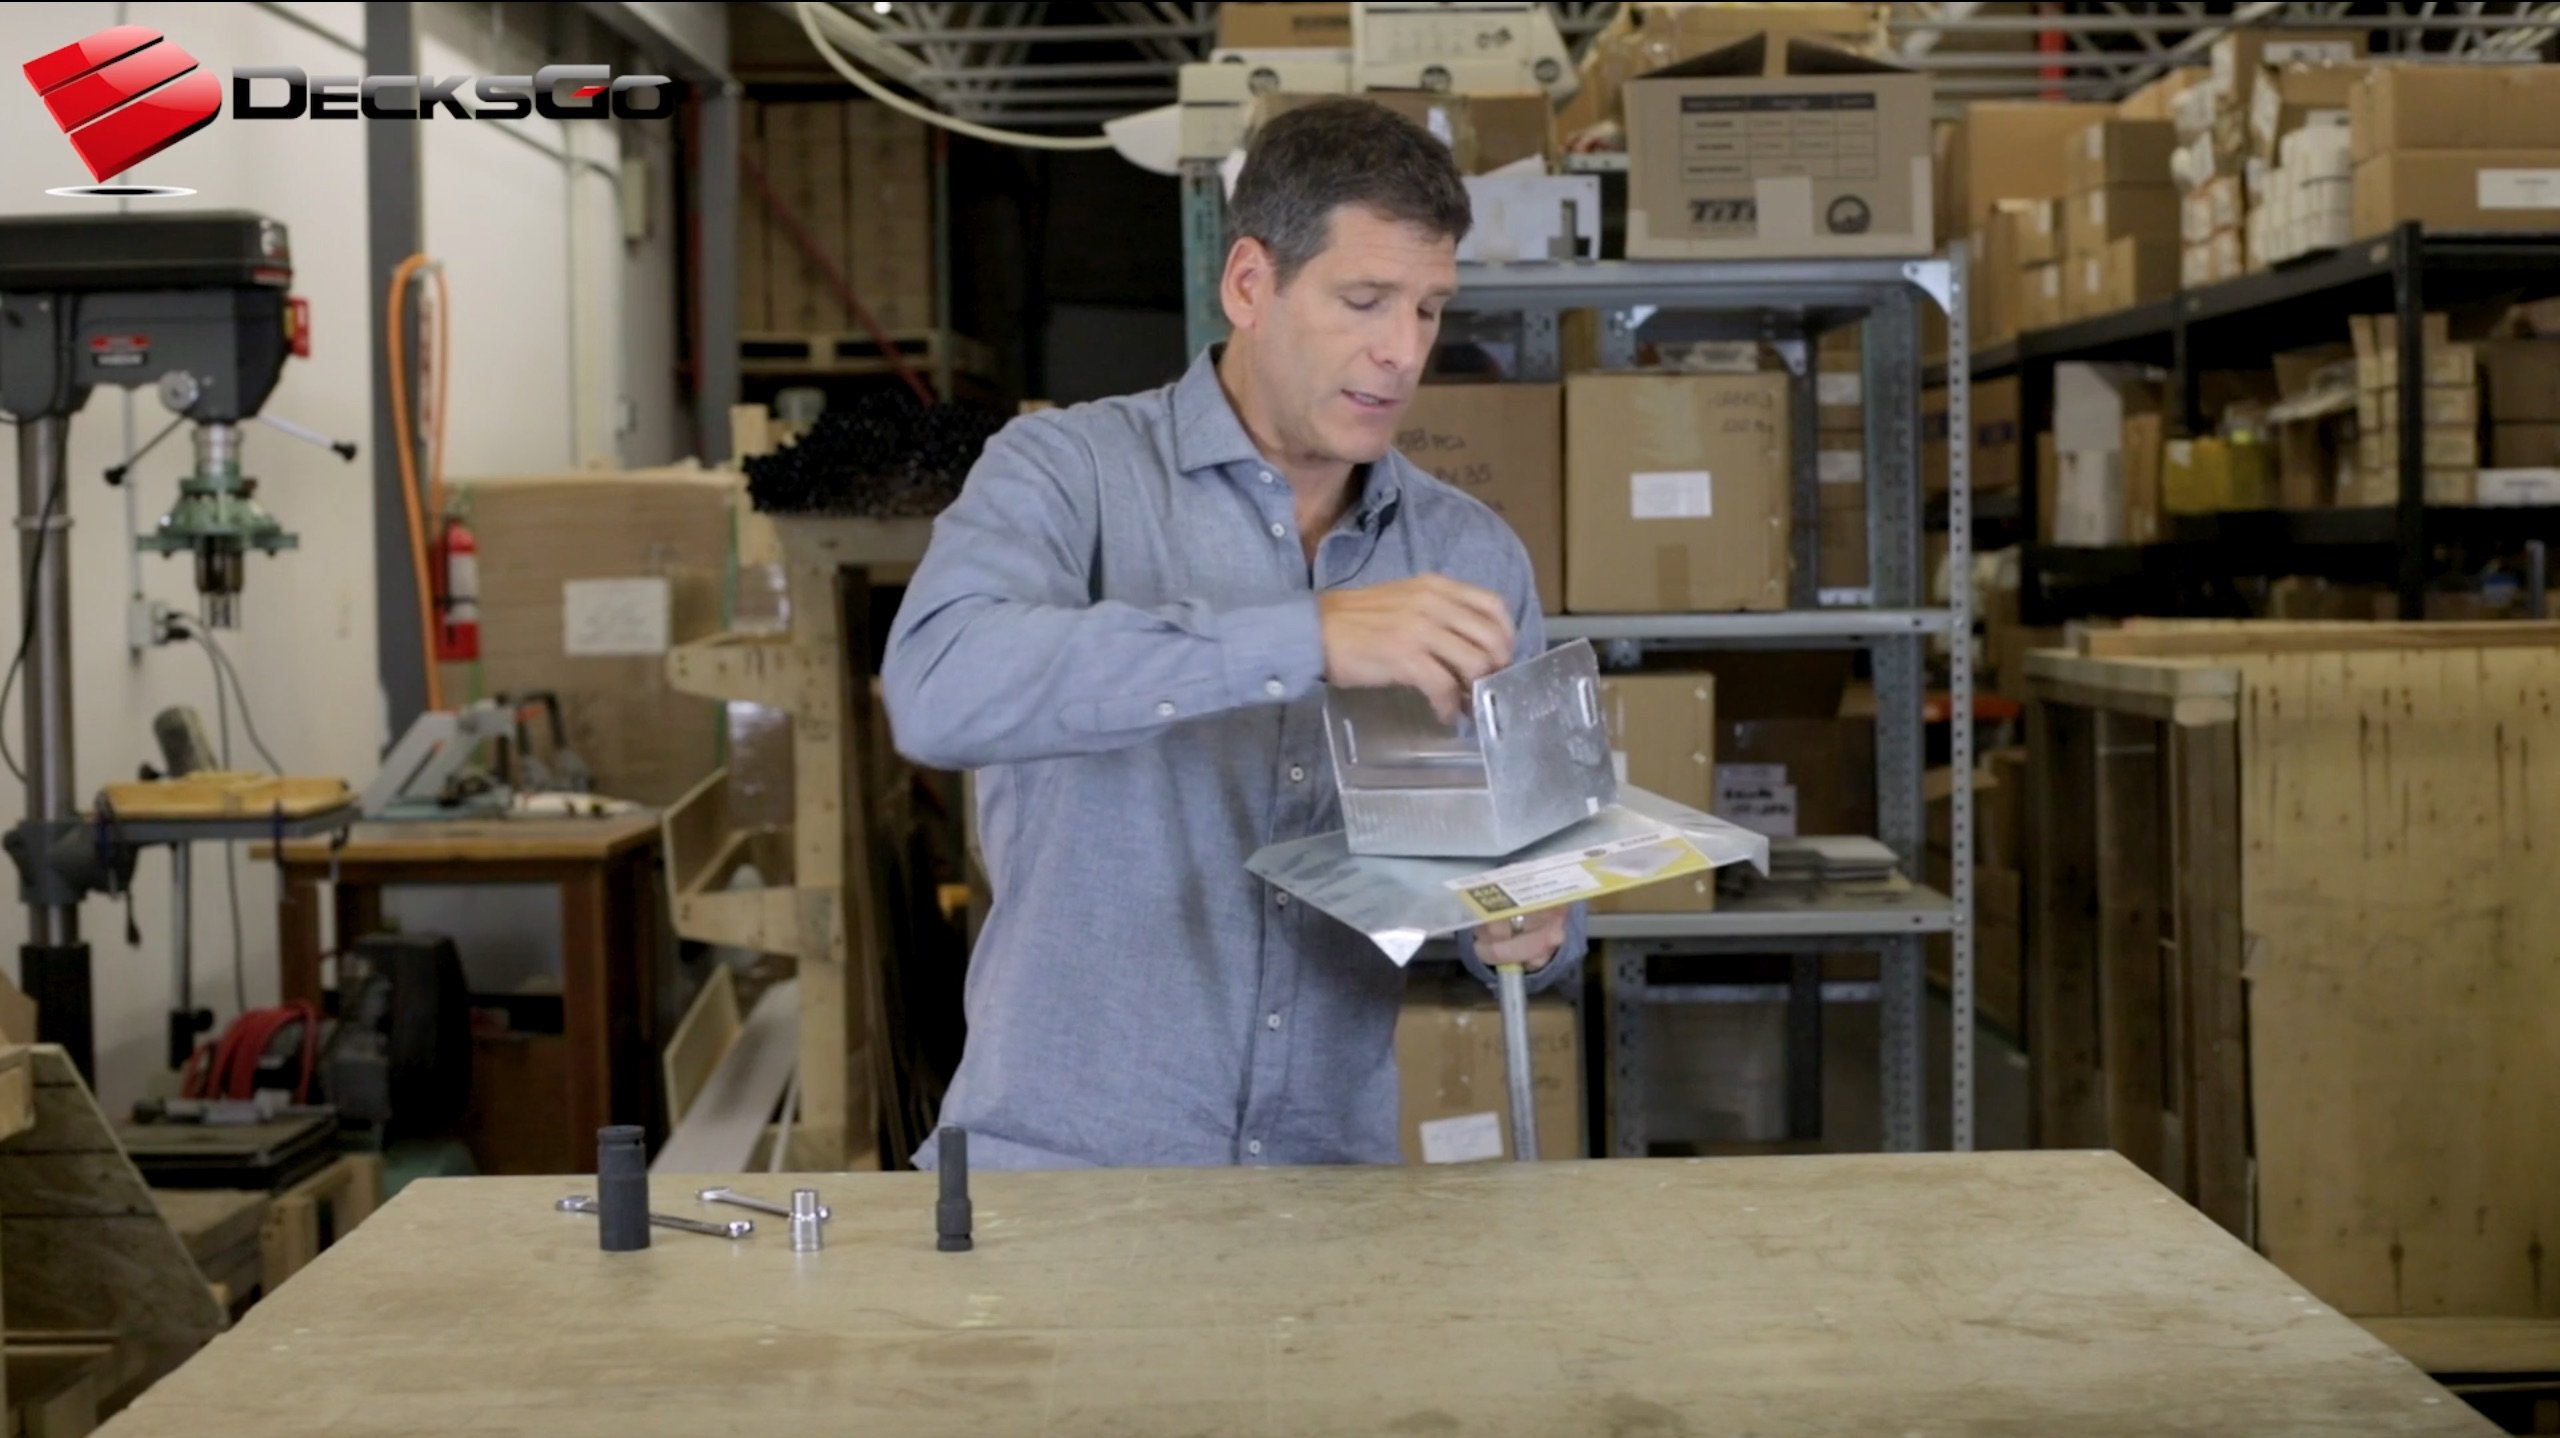
Use only a 12mm socket to fit over the hexagon driving head and a 24mm deep impact socket to tighten the nut and compress the lock washer and load plate on to the stop washer underneath the load plate.
You may be able to use a 1/2" or 1" socket and have fine results. However, these are slightly larger than the actual hex drive and nut.
As a result, if you strike an imoveable object like a rock or root and you continue to drive the anchor down or if you remove the anchor and drive it down and remove it again and repeat this process, you may damage the hexagon drive and round the edges.
If this occurs you will not be able to drive or turn the rod anchor any more and you may have it stuck partially in the ground.
Therefore, it is highly recommended to use the correct socket sizes which have been precisely chosen for maximum user benefit.
How do I know my soil type and bearing capacity?
Soil Guidelines
- Crystalline bedrock - 12,000 psf
- Sedimentary rock - 4,000 psf
- Sandy gravel or gravel - 3,000 psf
- Sand, silty sand, clayey sand, silty gravel, and clay gravel - 2,000 psf
- Clay, sandy clay, silty clay and clayey silt - 1,500 psf
Don't know what soil you have? Try these tests.
It can be challenging determining what kind of soil you have if there is clay in it. These tests will give you an general idea.
Dirt ball test
Squeeze some soil together about the size of a snow ball and drop from a height of 1 foot. If you can't make a ball or if it crumbles on impact it has a low percentage of fine clay. If it holds together well on impact, it has a high percentage of cohesive clay.
Water test
Place a ball of soil into a large glass jar of water and observe the sediments. Gravel and sand will settle quickly. Finer sediments will take 20 minutest to an hour to settle. Clay will disolve and may take 24 hours or more to settle and the water will remain cloudy.
Noodle test
Try to roll a piece of soil into a 1" diameter noodle like a piece of spaghetti. If you can do this without it breaking apart you can assume it has a high percentage of clay.
What will happen if the ground freezes or moves unevenly?
Although this is a firmly grounded anchored system that takes hundreds to thousands of pounds, or more, to pull out of the ground, it is still a surface mounted system and therefore it is designed to stay secure to the top surface of the ground during the winter months.
This means that if the soil freezes and expands the plate and footing will rise with the soil. The amount of movement is typically between 1/4" to 1/2" (very wet soil) mid winter and when it contracts and settles during the thaw. This amount of movement is imperceptible unless you are accurately measuring it.
This is how a floating footing structure is designed to work and the only concern that must be noted is making certain you have used enough footings to spread the weight out over as much surface area as needed to keep the imposed load below the maximum soil bearing capacity. It is preferrable to always over engineer so that load forces are below the maximum by a desirable safety factor.
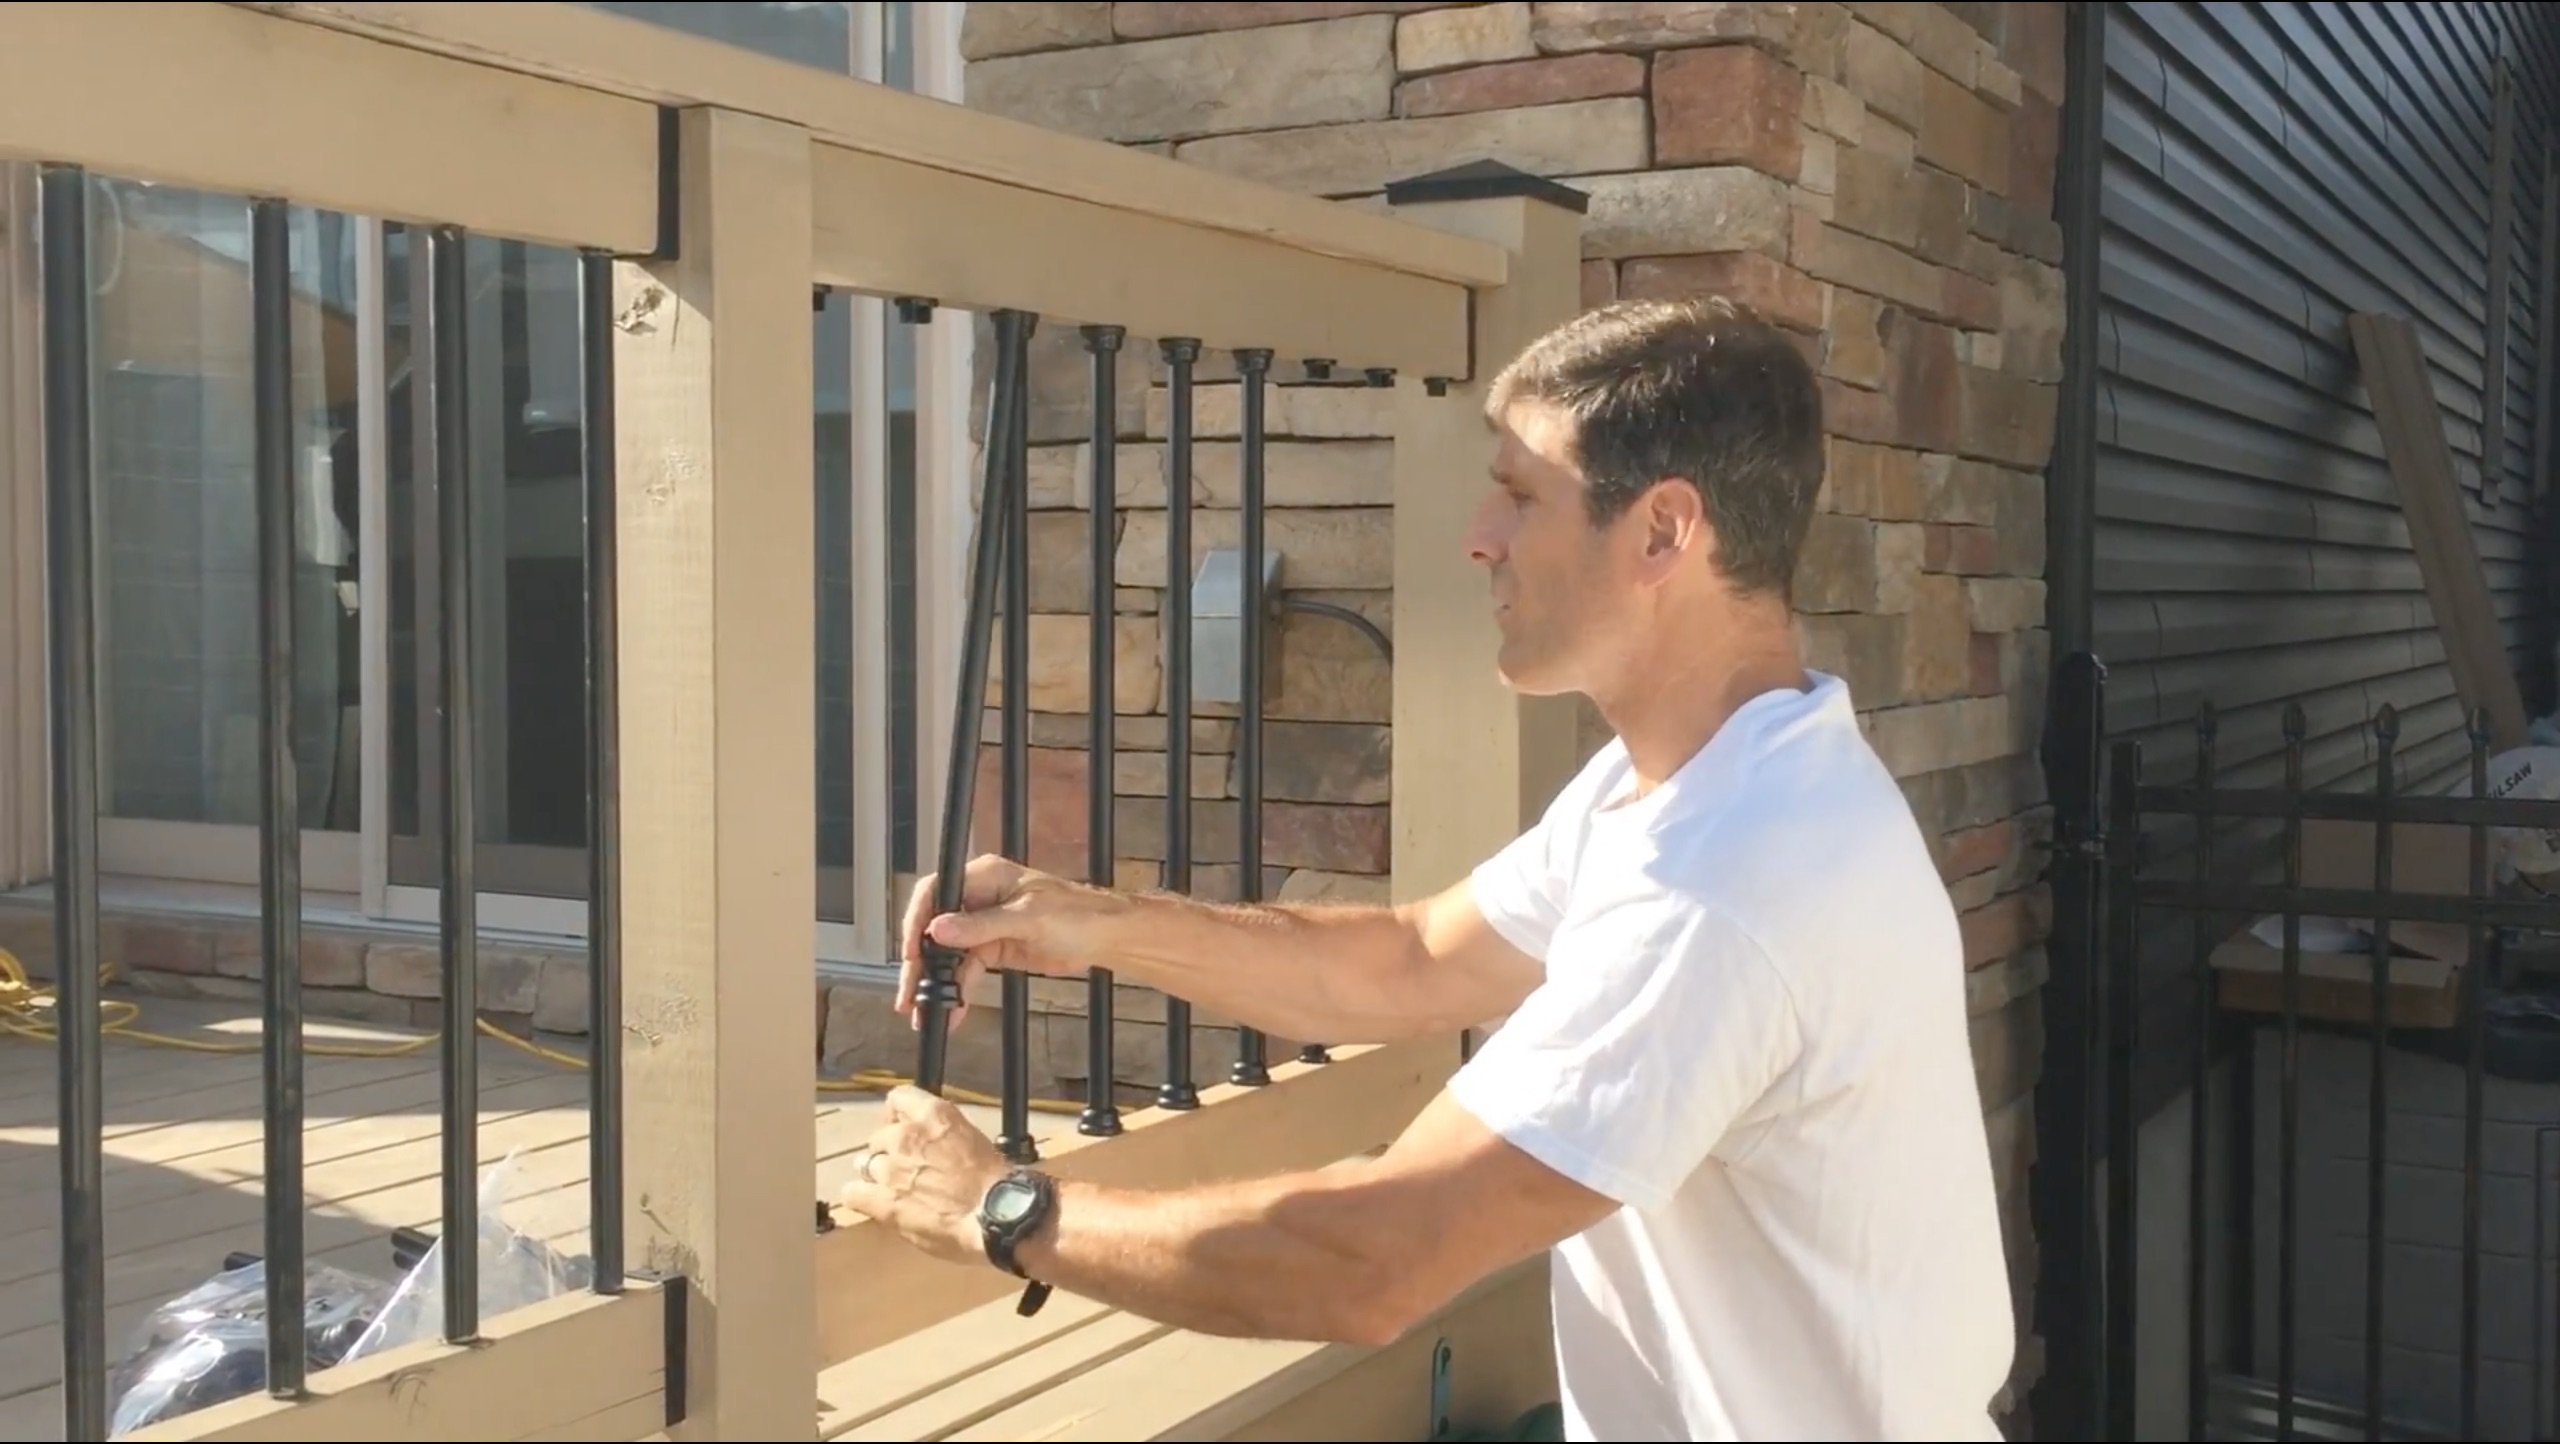
Furthermore, the Deck Foot has been designed with a useful feature called Terra-Shift so that the screws do not compress or pinch the post bracket into the post. This technology reduces friction; when the ground freezes or moves unevenly in relation to other footings under the same beam the post that is on a footing that does not rise from the frost can slide up in the bracket preserving the post to beam connection and then slide back down again during a thaw.
Think of it as a shock absorbing system for your structure.
When should I use concrete or engineered helical footings instead of the Deck Foot?
You should never use the Deck Foot if you are connecting your deck or structure to a house (ledger) or any superstructure that is immoveable.
Some decks or structures must be connected to a house because of the height or for a walkout balcony above a lower floor at ground level.
Also in some cases it is desirable to have as few supporting posts as necessary. This can be achieved by using a larger surface bottom area footing and requires a concrete system to do so.
Or the soild type may be poor for many feet below the top of the grade. In this case, an engineered helical pier may be the right solution because the pier can be drilled to whatever depth is needed to get into good quality soil or hit bedrock below. Torque ratings can be taken and signed off by an engineer and then a totally frost heave resistant footing is created.
So the Deck Foot is not a silver bullet solution.
It will not be the right solution for every single person. But the for majority of DIYers or builders who are looking at floating structures it is one of the very best user friendly and cost affordable options for a ground anchored system that will not blow away in the next wind storm.
Home > Deck Foot Forum > Deck Foot Questions


Recent Articles
-
10x8 6 person spa deck
Jul 26, 22 12:17 PM
I think I might be over-engineering this but I live in CT and I'm also worried about snow weight. Adding a 8x10 deck attached to existing deck, 2x10's -
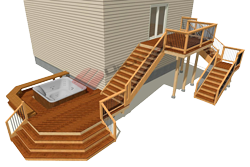
Hot tub weight
Jul 26, 22 12:16 PM
 I won an inflatable 6 person inter hot tub. I have a large deck. 12x 20 on both sides of the house. With a header to the house and the deck was built 6
 -
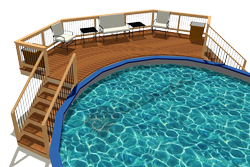
Deck around a swim spa
Jul 26, 22 12:15 PM
I'm putting a swim spa into an inground concrete bunker and will build a deck around it. I have been advised to keep the deck joists a minimum of 6 inches


It's time to start
making your memories.

How-To
Go Learn More
© 2004-2022 Decksgo.com. All Rights Reserved.