


How to Build Planters For Your Deck
Finish off your deck with planters and bring it to life! Hey Do-it-Yourselfers!
Here is a simple plan I put together to show you how to build planters in an afternoon that looks great and will last a long time.

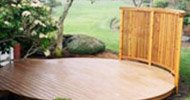
This is a simple method to recreate the planter you see here. This deck planter is 17.5" x 17.5" and 16" high.
So it is the same height as a typical bench. Build two of these deck planters and put one at either side of a bench for a beautiful touch!
Material List
- 12 - 1x3.5x14" Box center panels
- 4 - 1x3.5x14.75" Box corners
- 4 - 1x2.75x14.75 Box narrow corners
- 4 - 1x2x16" Shelf supports
- 4 - 1x2x13" Shelf supports
- 2 - 1x6x15.75" Shelf boards
- 4 - 1x3x22" Top lip
- 2 - 1x2x13" Top lip supports
- 2 - 1x2x16" Top lip supports
- Stainless square head 1 1/4" wood screws
- Galvanized spiral 2" finishing nails
Step 1 - Build Planters Side Panel A
Take 3 of the 14" 1x4s (actually 3.5") and 2 of the 2.75"x14.75" 1x4s. Lay them side by side with the shorter wider boards in between the 2 narrower boards on the outside to form a rectangle. Arrange them so that one end is flush and the other has the two longer outside 1x4s extending .75" past the 3 center boards.

Take 1 1x2x13" and lay it perpendicularly across the boards flush with the top edge and sides. Screw 2 screws through the 1x2 into each board.
Take another 1x2x13" and lay it perpendicularly across the boards 4" above the bottom edge of the 3 center boards. Screw 2 screws through the 1x2 into each board.
You now have one side of your planter complete but 3 more to go.
Step 2
Repeat Step 1 to make the opposite side panel.

Step 3 - Build Planters Side Panel B

Take 3 of the 14" 1x4s (actually 3.5") and 2 of the 3.5"x14.75" 1x4s. Lay them side by side with the shorter wider boards in between the 2 longer boards on the outside to form a rectangle.
Arrange them so that one end is flush and the other has the two longer outside 1x4s extending .75" past the 3 center boards.
Take 1 1x2x13" and lay it perpendicularly across the boards flush with the top edge but allowing for an equal gap of 1.5" on either side of the ends of the 1x2 (to accomodate for the 1x2 on the other side panel). Screw 2 screws through the 1x2 into each board.
Take another 1x2x13" and lay it perpendicularly across the boards 4" above the bottom edge of the 3 center boards. Again, allow for an equal gap of 1.5" on either side of the ends of the 1x2. Screw 2 screws through the 1x2 into each board.
Step 4
Repeat Step 3 to make the final side panel.
Ok, now that we have built four panels for the planter, the actual build process is simple.
We are going to join pairs of the planter sides in order to actually build the planter itself.

Step 5

After building the planter panels, assemble them to create the planter box. This method takes into account a butt joint at the corners, not a miter for ease of construction.
So take any 2 adjacent side panels, sit them upright on their legs and apply a bead of exterior grade wood glue to one of the edges.
Pre nail 3 of the finishing nails into the edge of the outside panel. Holding the corner together tap the nail into the other panel. This will take a bit of patience because the glue can make it slippery but you can do it.
Step 6
Repeat this process for the remaining 2 panels (3 remaining corners). Once its tacked into position, hammer 3 more finishing nails into each corner to reinforce it.
Step 7
Using a miter saw cut the first of 4 1x3 Top lip boards. Place the mitered board in position over the first corner of the planter. Make the inside edge flush with the 1x2 lip support. Take a sharp pencil and mark the intersection point of the inner wall of the side panel with the 1x3 top lip. This is where you will cut the next miter.
Once it is cut to size, lay it over top the side panel and tack it in place with a couple finishing nails but don't nail them all the way just yet.
Step 8

Repeat this process for the remaining 3 1x3s. Once they are all tacked into position and the meters are tight, finish nailing them in position.
To finish up, take a finishing nail and toe nail the mitered corners together and sink them with a nail punch to give a finished look.
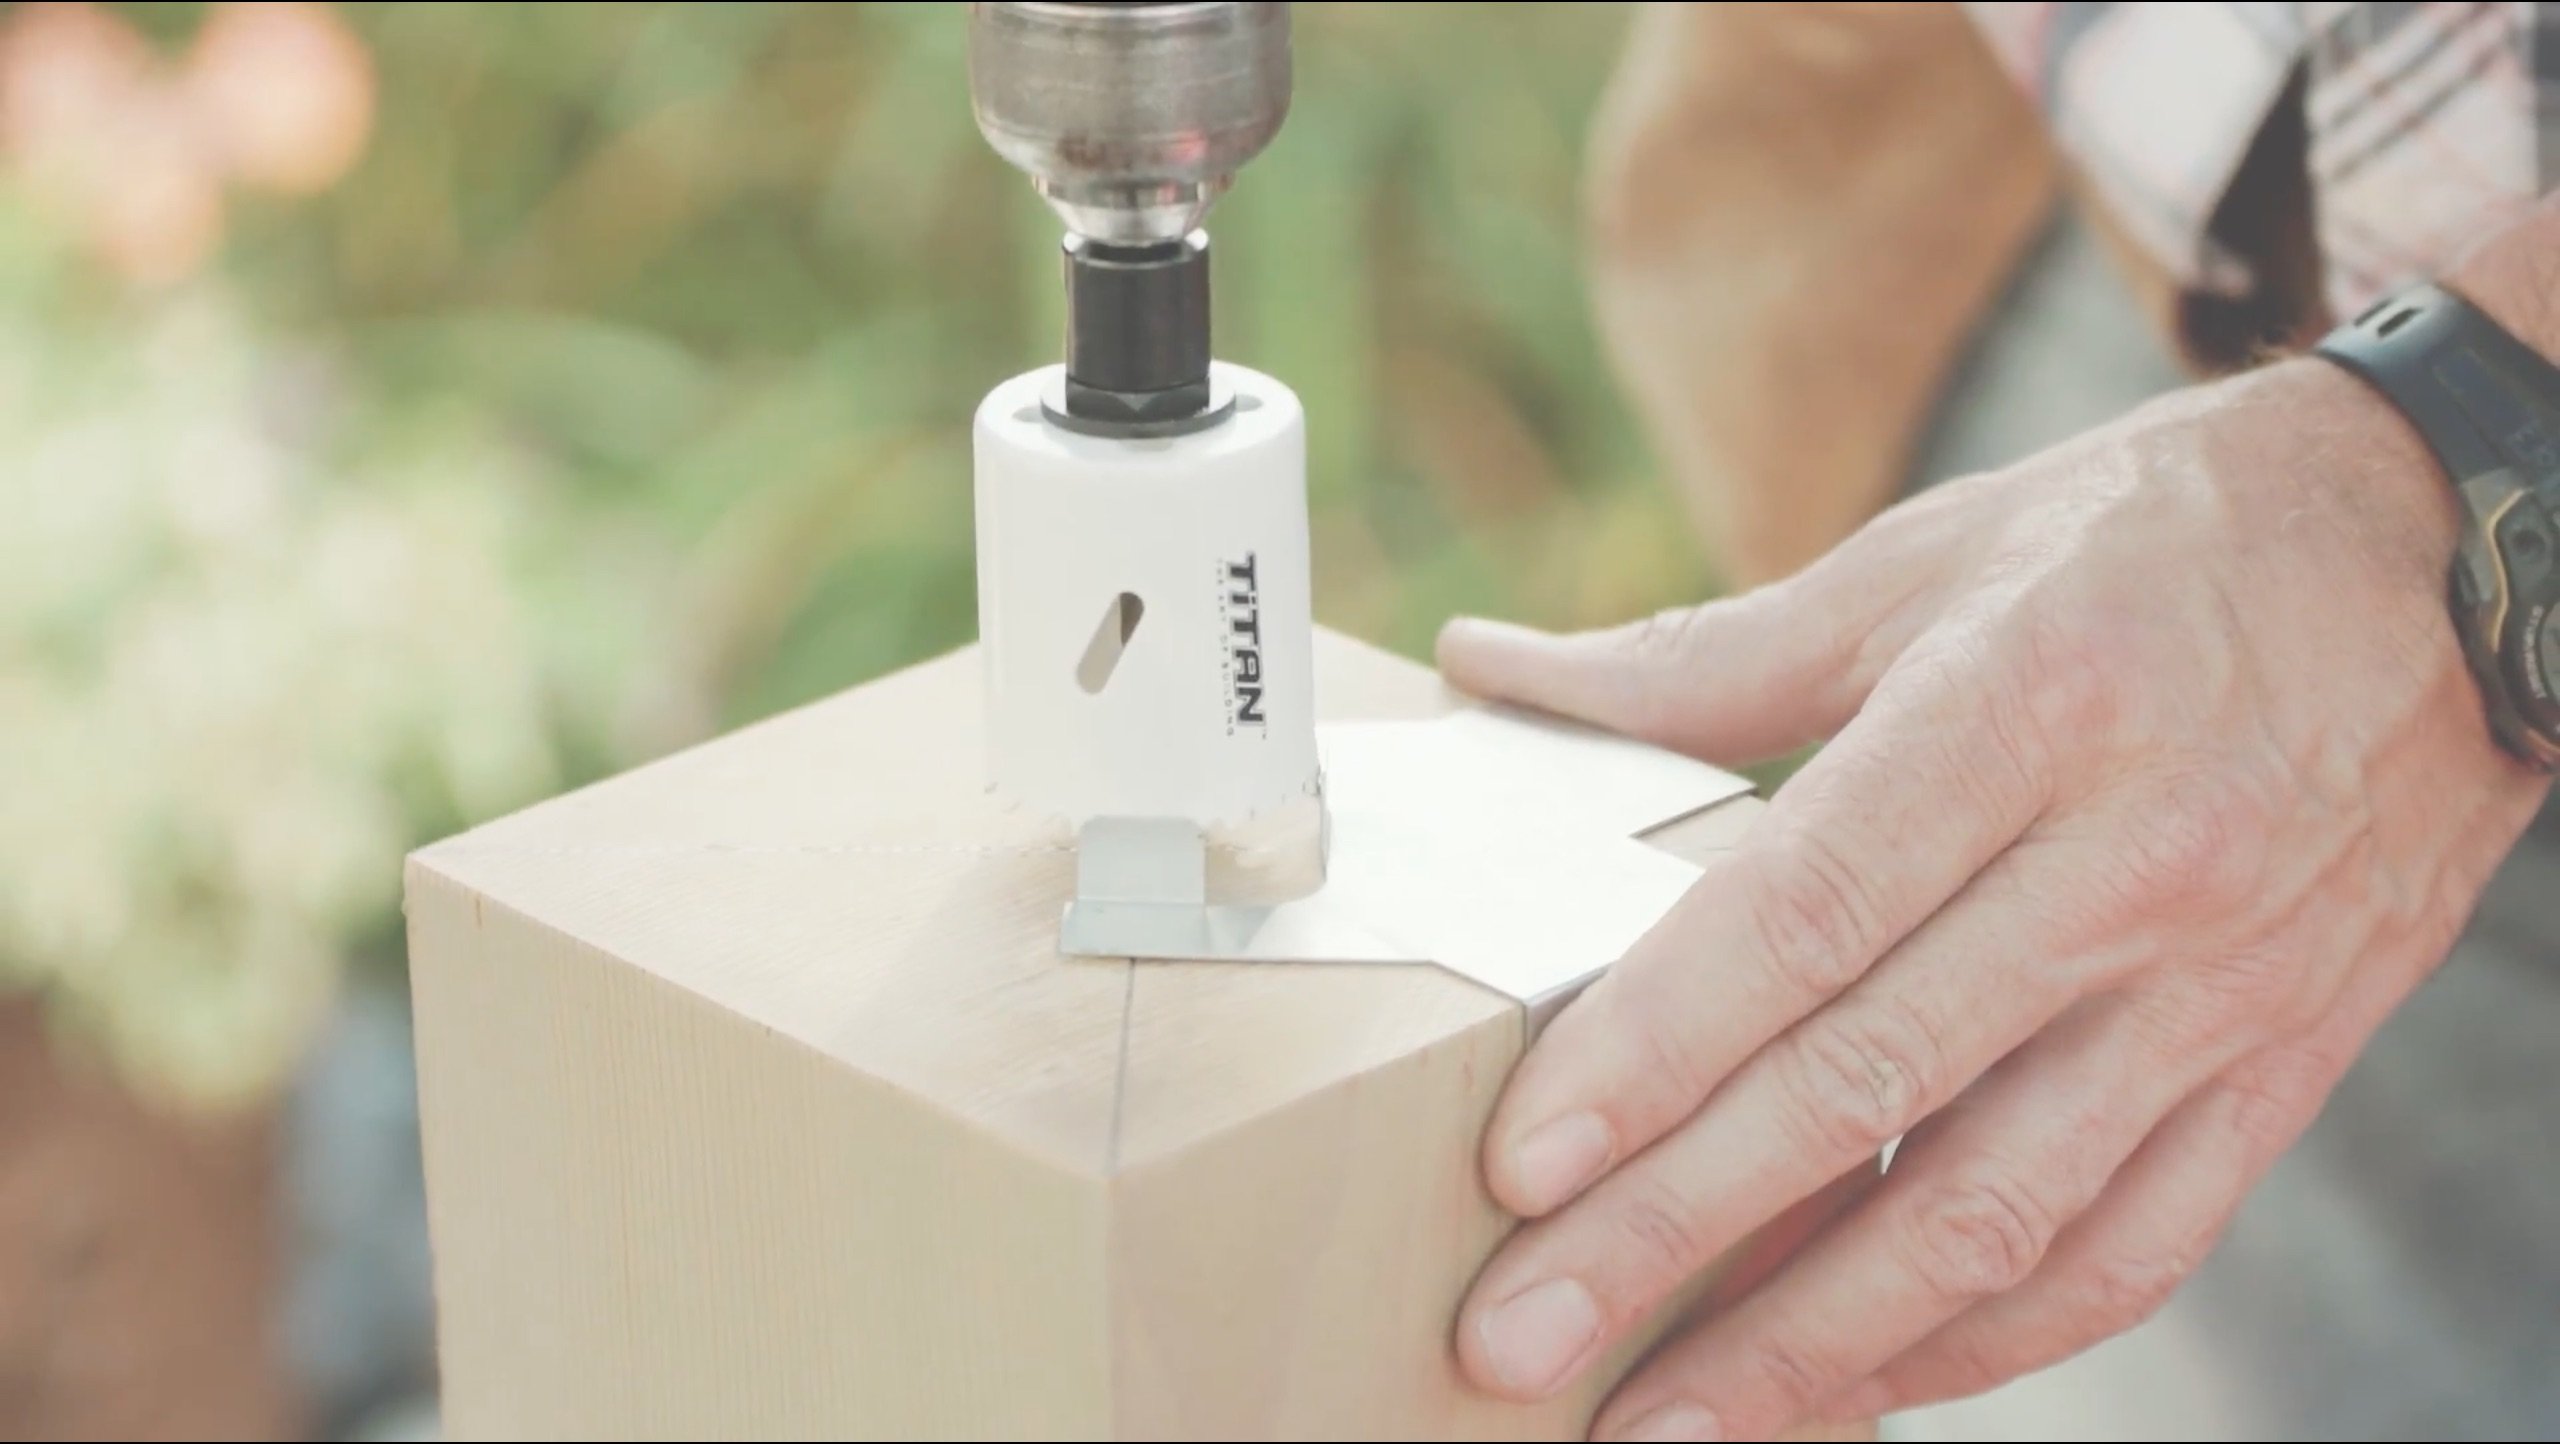
Step 9 - The Final Step to Build Planters
Drop the 1x6 shelf supports inside the planter. Then flip it upside down and predrill the legs for the adjustable stainless legs. Pop the adjustable legs in and flip it back over.
And Voila! That's all it takes to build planters in an afternoon.
Step 10

The best step of them all. Sit back and enjoy your handy work!
Congratulations! Now you have just learned how to build planters that will add a beautiful touch to your patio or wood deck.
Home > Deck Benches & Extras > Build Planters


Recent Articles
-
Pergola on brick paver
Apr 05, 25 05:36 PM
I have a brick paver patio that has been in for 10 years and I would like to know if the deck anchor will penetrate the gravel/sand base -
Durability of Titan deck foot
Apr 05, 25 05:20 PM
Hi, can you advise the estimated life of a Titan Deck Foot installed in the ground? How long is it expected to last? I live in an area in Ontario Canada -
10x8 6 person spa deck
Jul 26, 22 12:17 PM
I think I might be over-engineering this but I live in CT and I'm also worried about snow weight. Adding a 8x10 deck attached to existing deck, 2x10's


It's time to start
making your memories.

How-To
Go Learn More
© 2004-2022 Decksgo.com. All Rights Reserved.