

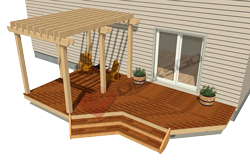

Installing Fascia Board & Fascia Trim Finishes a Deck
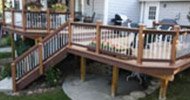
Installing fascia board is easy and an important step in building decks. A smooth finished 1x8 or 1x10 fascia board gives any wood deck a proper finished look.
But there are a couple of installation tips for fascia board you should follow to ensure there are no unsightly nails and to ensure the fascia stays flat against the joists and doesn’t separate at the corners.
The Front Section

Use a healthy dose of construction adhesive across the entire rim joist. Make sure you have measured twice, cut and dry fit the fascia board into position before the final installation.
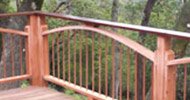
Also, make sure you miter cut the corners at the appropriate angles – either 45 or 22.5 degrees in this case. Notice that adhesive is used along the joint of the opposing fascia board.
45 Degree Corners
 |
Be sure to dry fit this piece of fascia as tightly as possible and then use adhesive all along the back and joints to ensure a solid secure fit. For the final step of installing ascia board, use galvanized 2” finishing nails and set them into the fascia board about 1/8” of an inch. Use exterior wood filler and cover them up. |
|
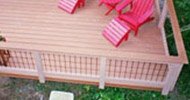
In addition to using adhesive, you could also cut ¼” rips at 2” apart down the entire length of the backside of the fascia to further reduce the chances of the fascia board ever cupping or pulling away from the underlying rim joist. It is more labor but made relatively easy if you use a table saw. After installing fascia board securely in place, you are now ready to cut the over hanging deck boards to length. Mark the cutting line with a chalk line. Cut slowly and lightly sand the edges. |
 |
 |
Now that you have learned the ins and outs of installing fascia board, you are ready to start installing the deck boards. |
preventing fascia board from warping
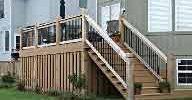
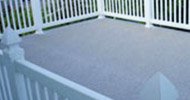
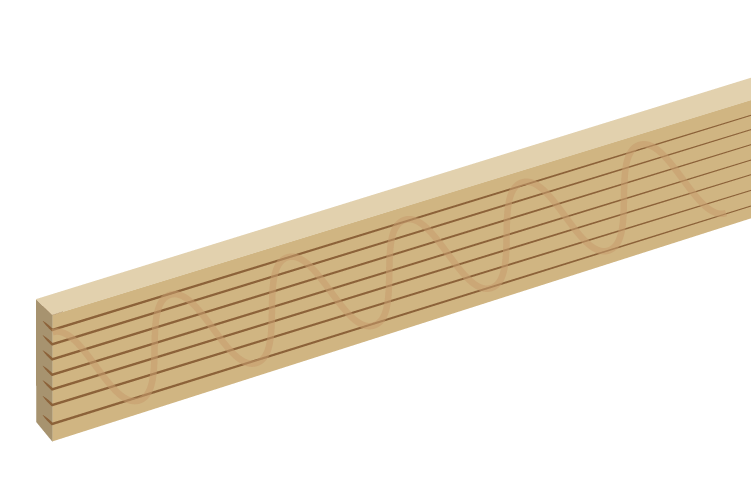
Wood fascia board can be notorius for warping over time as it dries out. And it is most visible at outside 90 degree corners. The miter cuts start to pull apart.
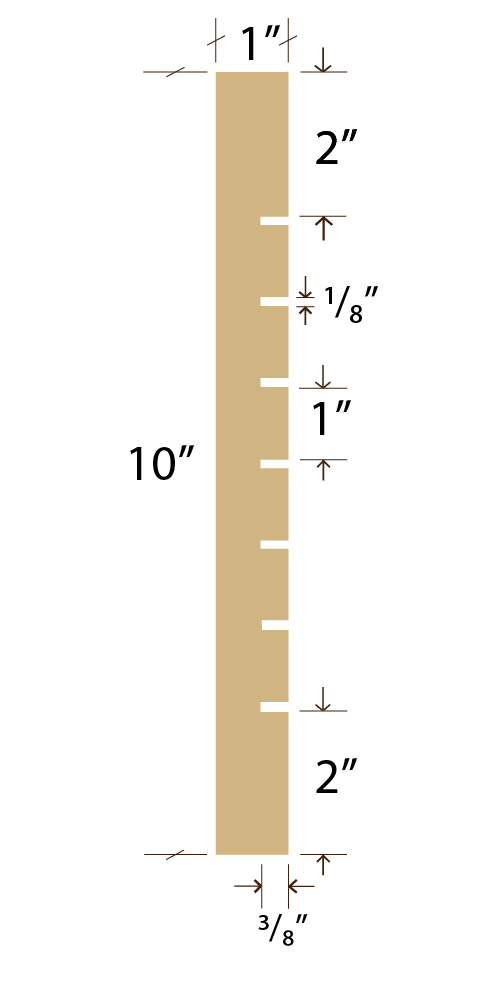
Here is an easy fix to prevent that from happening. Take a 1x10 and rip grooves along the backside length of the board at no more than 1" on center and about 3/8"deep (half the thickness of the board). You can cut more if you wish but there is no need to cut them closer than ½" on center.
CONSTRUCTION ADHESIVEThese cuts relieve built up stress in the wood across the grain lines. Apply a healthy dose of contruction adhesive and then using a #10 x 1-½" wood screw secure the board to the perimeter joist. Use adhesive along the miter joint as well. |
 |
Home > Building A Deck > Installing Fascia


Recent Articles
-
Pergola on brick paver
Apr 05, 25 05:36 PM
I have a brick paver patio that has been in for 10 years and I would like to know if the deck anchor will penetrate the gravel/sand base -
Durability of Titan deck foot
Apr 05, 25 05:20 PM
Hi, can you advise the estimated life of a Titan Deck Foot installed in the ground? How long is it expected to last? I live in an area in Ontario Canada -
10x8 6 person spa deck
Jul 26, 22 12:17 PM
I think I might be over-engineering this but I live in CT and I'm also worried about snow weight. Adding a 8x10 deck attached to existing deck, 2x10's


It's time to start
making your memories.

How-To
Go Learn More
© 2004-2026 Decksgo.com. All Rights Reserved.