


pergola footings without digging
Bet you thought it wasn't possible to build pergola footings without digging and setting the posts into the ground.
Fortunately there are some excellent ways of installing footings for a pergola that are strong, stable and durable without the need to dig, mix and pour cement.

Pergola Footings that Install with an Impact wrench & support 19,000 lbs
This footing system drives into the soil using a common lightweight, hand held electric impact wrench.
And it's been load tested to support a minimum of 19,000 lbs per footing! Now that is far more than your soil will ever support. So it can surely support a common pergola structure.
The only thing that is going to prevent this from working for you is if your backyard is full of rocks. In that case, get out your shovel and pick axe and start sweating.
the Deck Foot Anchor


LET'S REVIEW YOUR TRADITIONAL footing OPTIONS...

1. Post set in hole on flat concrete footing. Back filled with soil or cement.

2. Post set in hole with pyramid concrete footing. Back filled with soil or cement.

3. Flat footing with concrete pier and concealed post base.

4. Flat footing with concrete pier and common post base.

5. Bell form footing with concrete pier and concealed post base.
common characteristics for digging pergola footings
When most people think of pergola footings, the dreaded thought of digging deep holes, setting a post in it and back filling with cement fills their mind.
Options one and two depict this concept with subtle variations. In both these scenarios, the posts are buried in the ground and therefore must be treated for ground contact.
Others, get a bit more sophisticated and build a wide footing, then use tubular forms to pour cement and finally attach post anchoring hardware to the concrete footing.
Options three to five depict this concept. The pergola posts are secured to the pier by various connecting hardware.
critical REQUIREMENTS FOR DIGGING PERGOLA FOOTINGS
Minimum Diameter
Dig a hole twelve to twenty-four inches in diameter. The diameter will be determined by how large the footing or pier size is.
Use a clam shell digger and a pry bar to help loosen stubborn rocks or cut roots if required. Alternatively rent a two-man twelve inch gas powered auger.
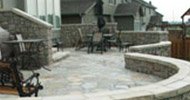
Large 24" diameter bell formed footings usually require a front or back end loader with a hydraulic auger to get the job done. This is what was done for the job shown in this photo.


FROST CONSIDERATIONS FOR TRADITIONAL FOOTINGS
If you experience seasonal freezing temperatures, make sure you dig your holes about twelve inches deeper than the average frost depth.
This might mean 48" or deeper depending on your climate.
This ensures that the pergola posts never heave and displace the structure unevenly. The hole in the photo shown here was 60" deep.
Back fill holes or around forms
As soon as the hole is properly dug, set your post or the footing. If you are just dropping a pergola post into the hole, back fill soil around it after having made sure it is plumb.
If you plan on having a cement footing under the post, you will need a day for the cement to set up before you can place the pergola post on top. But as soon as you have your post in place, back fill around it while plumbing it vertical.
Lastly, if you are using forms for a concrete pier, be sure to back fill soil around the forms as soon as you have them set in place.


cover the tube forms from rain or debris
If you plan on attaching the pergola posts to the concrete piers, make sure the forms are covered to stop rain water and debris from entering. If you get to the end of your work day and you do not have time to mix and pour the cement, this is a very important tip to remember.
Rain water can ruin all your work in a matter of minutes.
In a worst case scenario silt and muck can fill up the forms or soften and destroy them. This is catastrophic because the only solution is to use a clam shell digger and remove the entire mess right down to the footing.
Mix And CONTINUOUSLY pour cement
Once you begin mixing cement be sure to have enough for at least a single footing and pier. It must be a continuous pour in order for the cement to be homogeneous and cure together as one solid mass.
So there is no pouring half a pier and coming back to pour on top of it the next day.
The best way to do this is start mixing cement first thing in the morning and go for the entire day and get as many footings completed as you can.


Slope the edges to allow water to drain
Use a trowel and try to smooth the top and dome the perimeter edge enough that water egress is permitted. Leave a small area for any post saddle hardware to sit flat.
Be sure to set any J bolts or parts of your post anchoring hardware if they are to be set into wet cement.
If you do not create a high point in the middle of the pier, there is a risk that water may continually pool on the concrete subjecting the hardware to frequent and prolonged wet conditions. Ideally, water should naturally flow away from the anchoring hardware on the pergola footings.
now let's install pergola footings the faster, easier and less expensive way...
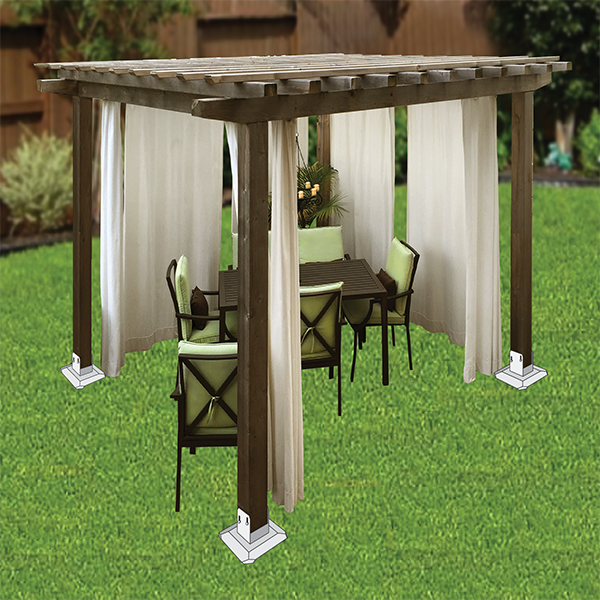
We are going to build this pergola without having to dig footings or pouring cement. This method will use a footing system called the Deck Foot Anchor.
It is a hybrid helical pier and surface resting load plate. It will distribute the weight of the pergola to the footing's load plate and the soil but it will also be securely anchored and embedded in the soil.
This means you will enjoy some of the load bearing and stabilizing properties of a ground anchored footing without the cost, time and effort associated with digging holes and pouring cement.

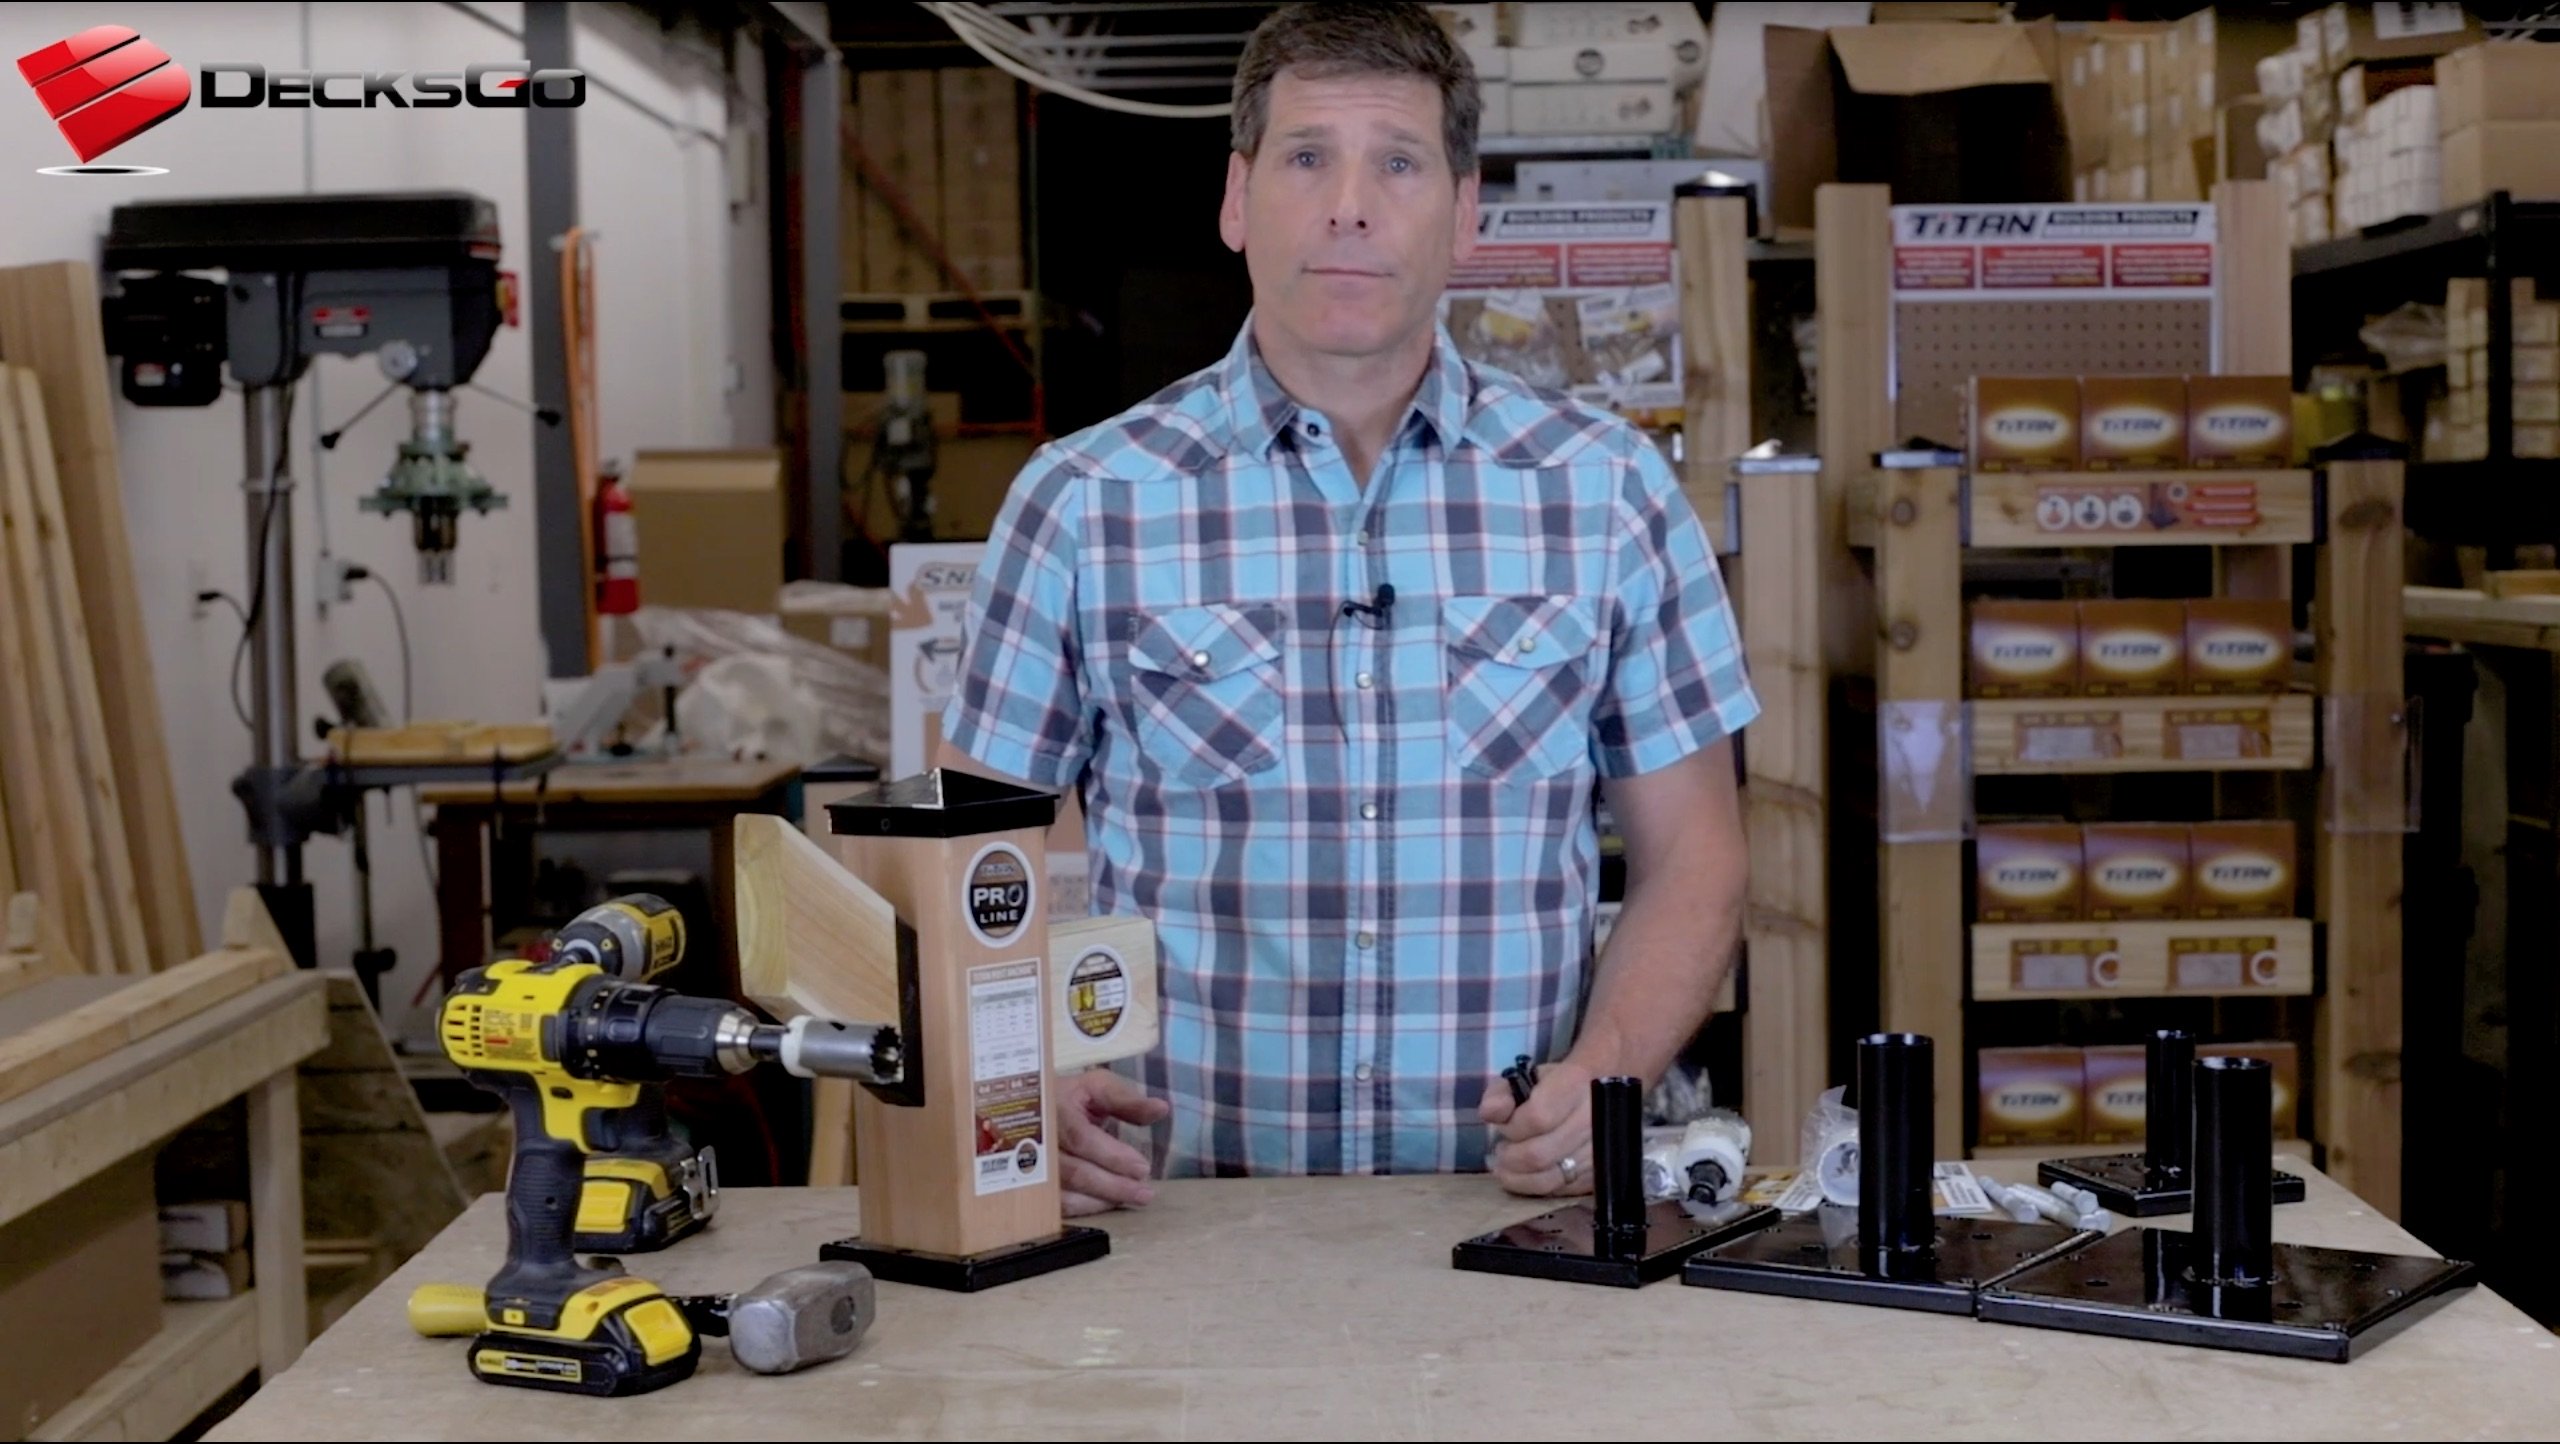
Get The Tools you need
We are going to build this pergola much faster and easier.
These pergola footings are going to be set on the Deck Foot Anchor which is a combination of a helical blade for anchoring to the soil and a large load plate that will distribute the weight of the pergola to the ground.
First, get the tools you need such as a spade for removing the sod, an impact wrench (350 ft-lb torque is ideal), a 12mm six point socket or an adjustable wrench. With these tools at hand, you will ready to go.
Remove Sod and organic material at locations of pergola footings
Find the exact locations for each pergola post and use triangulation to do so.
Using string and batter boards to layout a right angle triangle to get started. If you use the Rule of Thumb and make a 6' by 8' triangle with a 10' diagonal (hypotenuse) you will have a right angle to measure each footing location.
You can extend the string along the adjacent X and Y axes once you have the 10' diagonal marked accurately because it has to be 90 degrees.

Then using a spade, remove a 2' x 2' area of any sod and organic material in the top few inches of the soil. Put down 2-3" of small polygonal stone dust that compacts well. This substrate will protect the underlying soil from being eroded in the event of heavy rains.

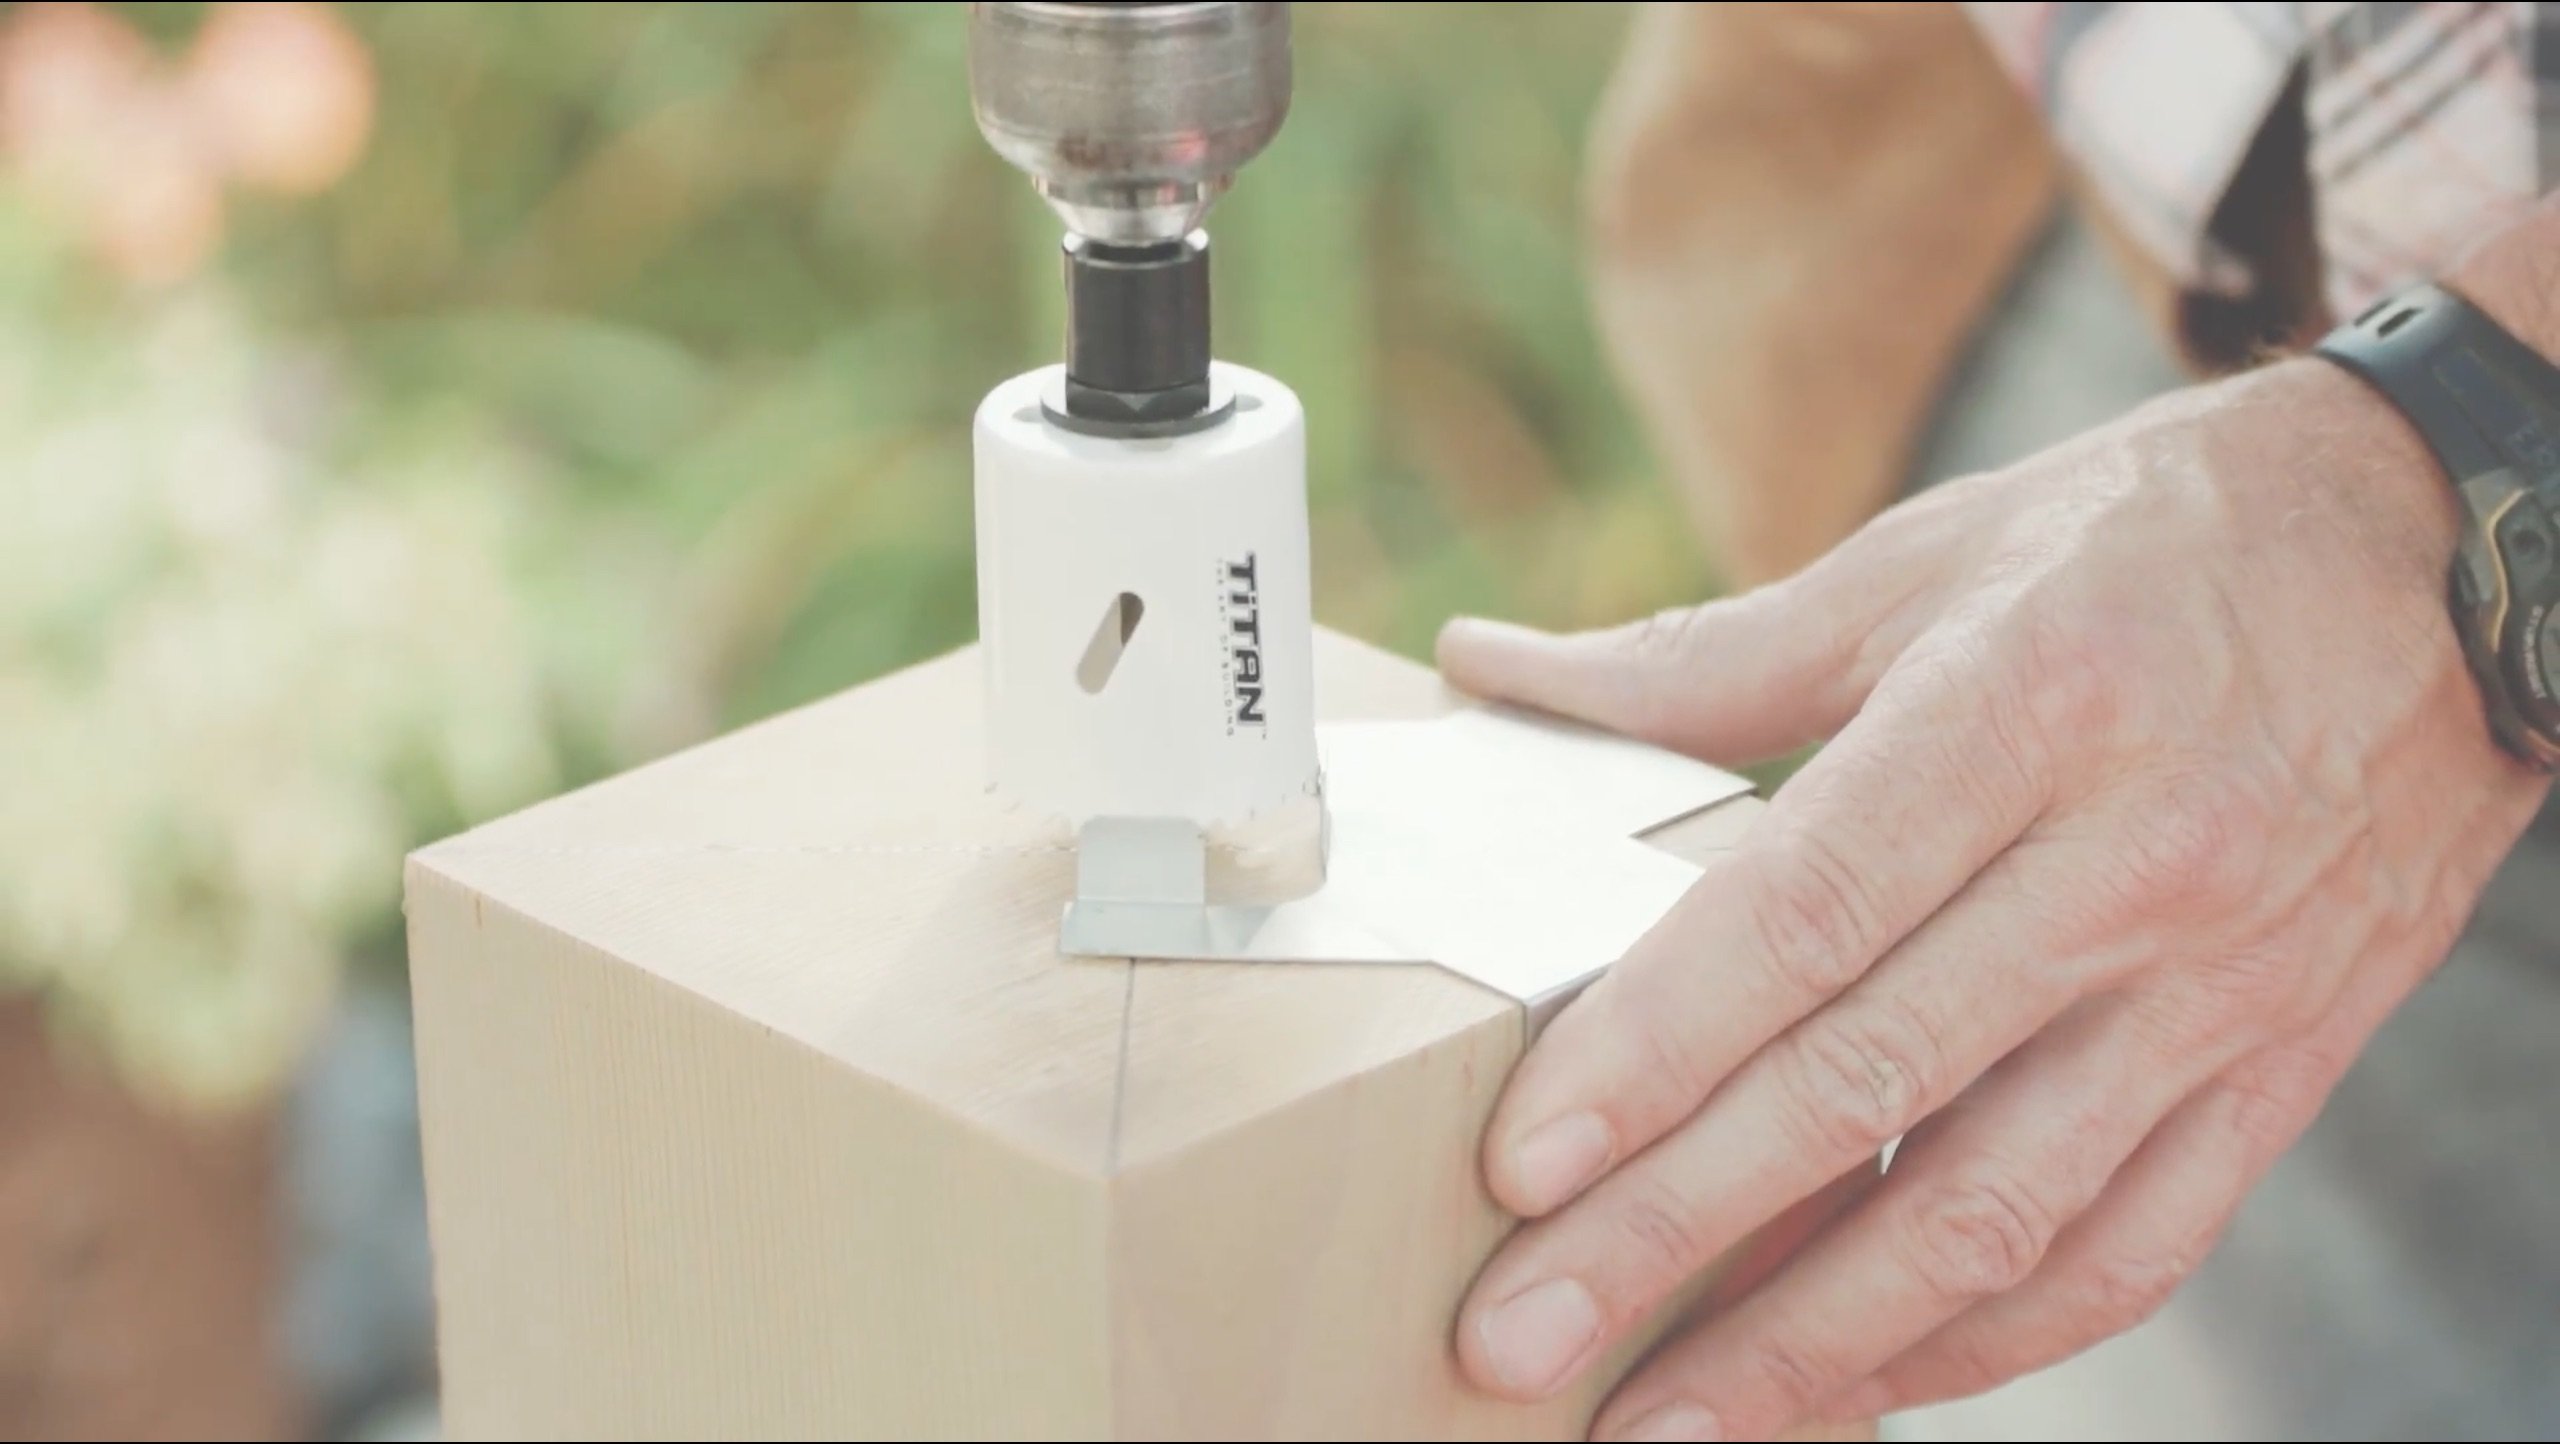
Here is how to install a footing and start building a pergola the same day

The beauty of installing pergola footings this way is that you can literally have the footings and posts in place in as little as 30 to 45 minutes if your locations are already set. Best of all is you can start building the pergola right away.
You can see from the illustration that this footing assembly is ready to be installed into the ground. The auger will turn freely and the load plate will stay still as you drive the auger into the ground.
Wear work gloves and hold the auger vertically with one hand while the other hand holds the impact wrench. The wrench will not exert any continuous torque so it will be very easy to manage. Just let the tool and the auger do the work.
drive the auger down into the soil
Drive the auger into the ground until the load plate makes good solid contact with the stone dust soil and the upper surface of the plate contacts the nut above it.
You will feel the auger continue to try and pull into the ground. Once you feel that tension in the auger stop driving it down.
Do not continue driving the auger or you may just churn up the soil around the helical blade. During the next step, the load plate will be set into place.


compress the footing load plate against the soil
Using a socket or a wrench, tighten the upper nut against the load plate so the plate is compressed against the soil and so the underside of the footing load plate makes contact with the stop washer welded to the auger.
The load plate and the auger really should be perpendicular or you will have challenges getting the saddle to sit flush on the plate. There is some wiggle room but the parts are intended to be at right angles to one another.
You will feel when the plate mates against the stop washer and the nut is tight. Stop turning the auger at that point.
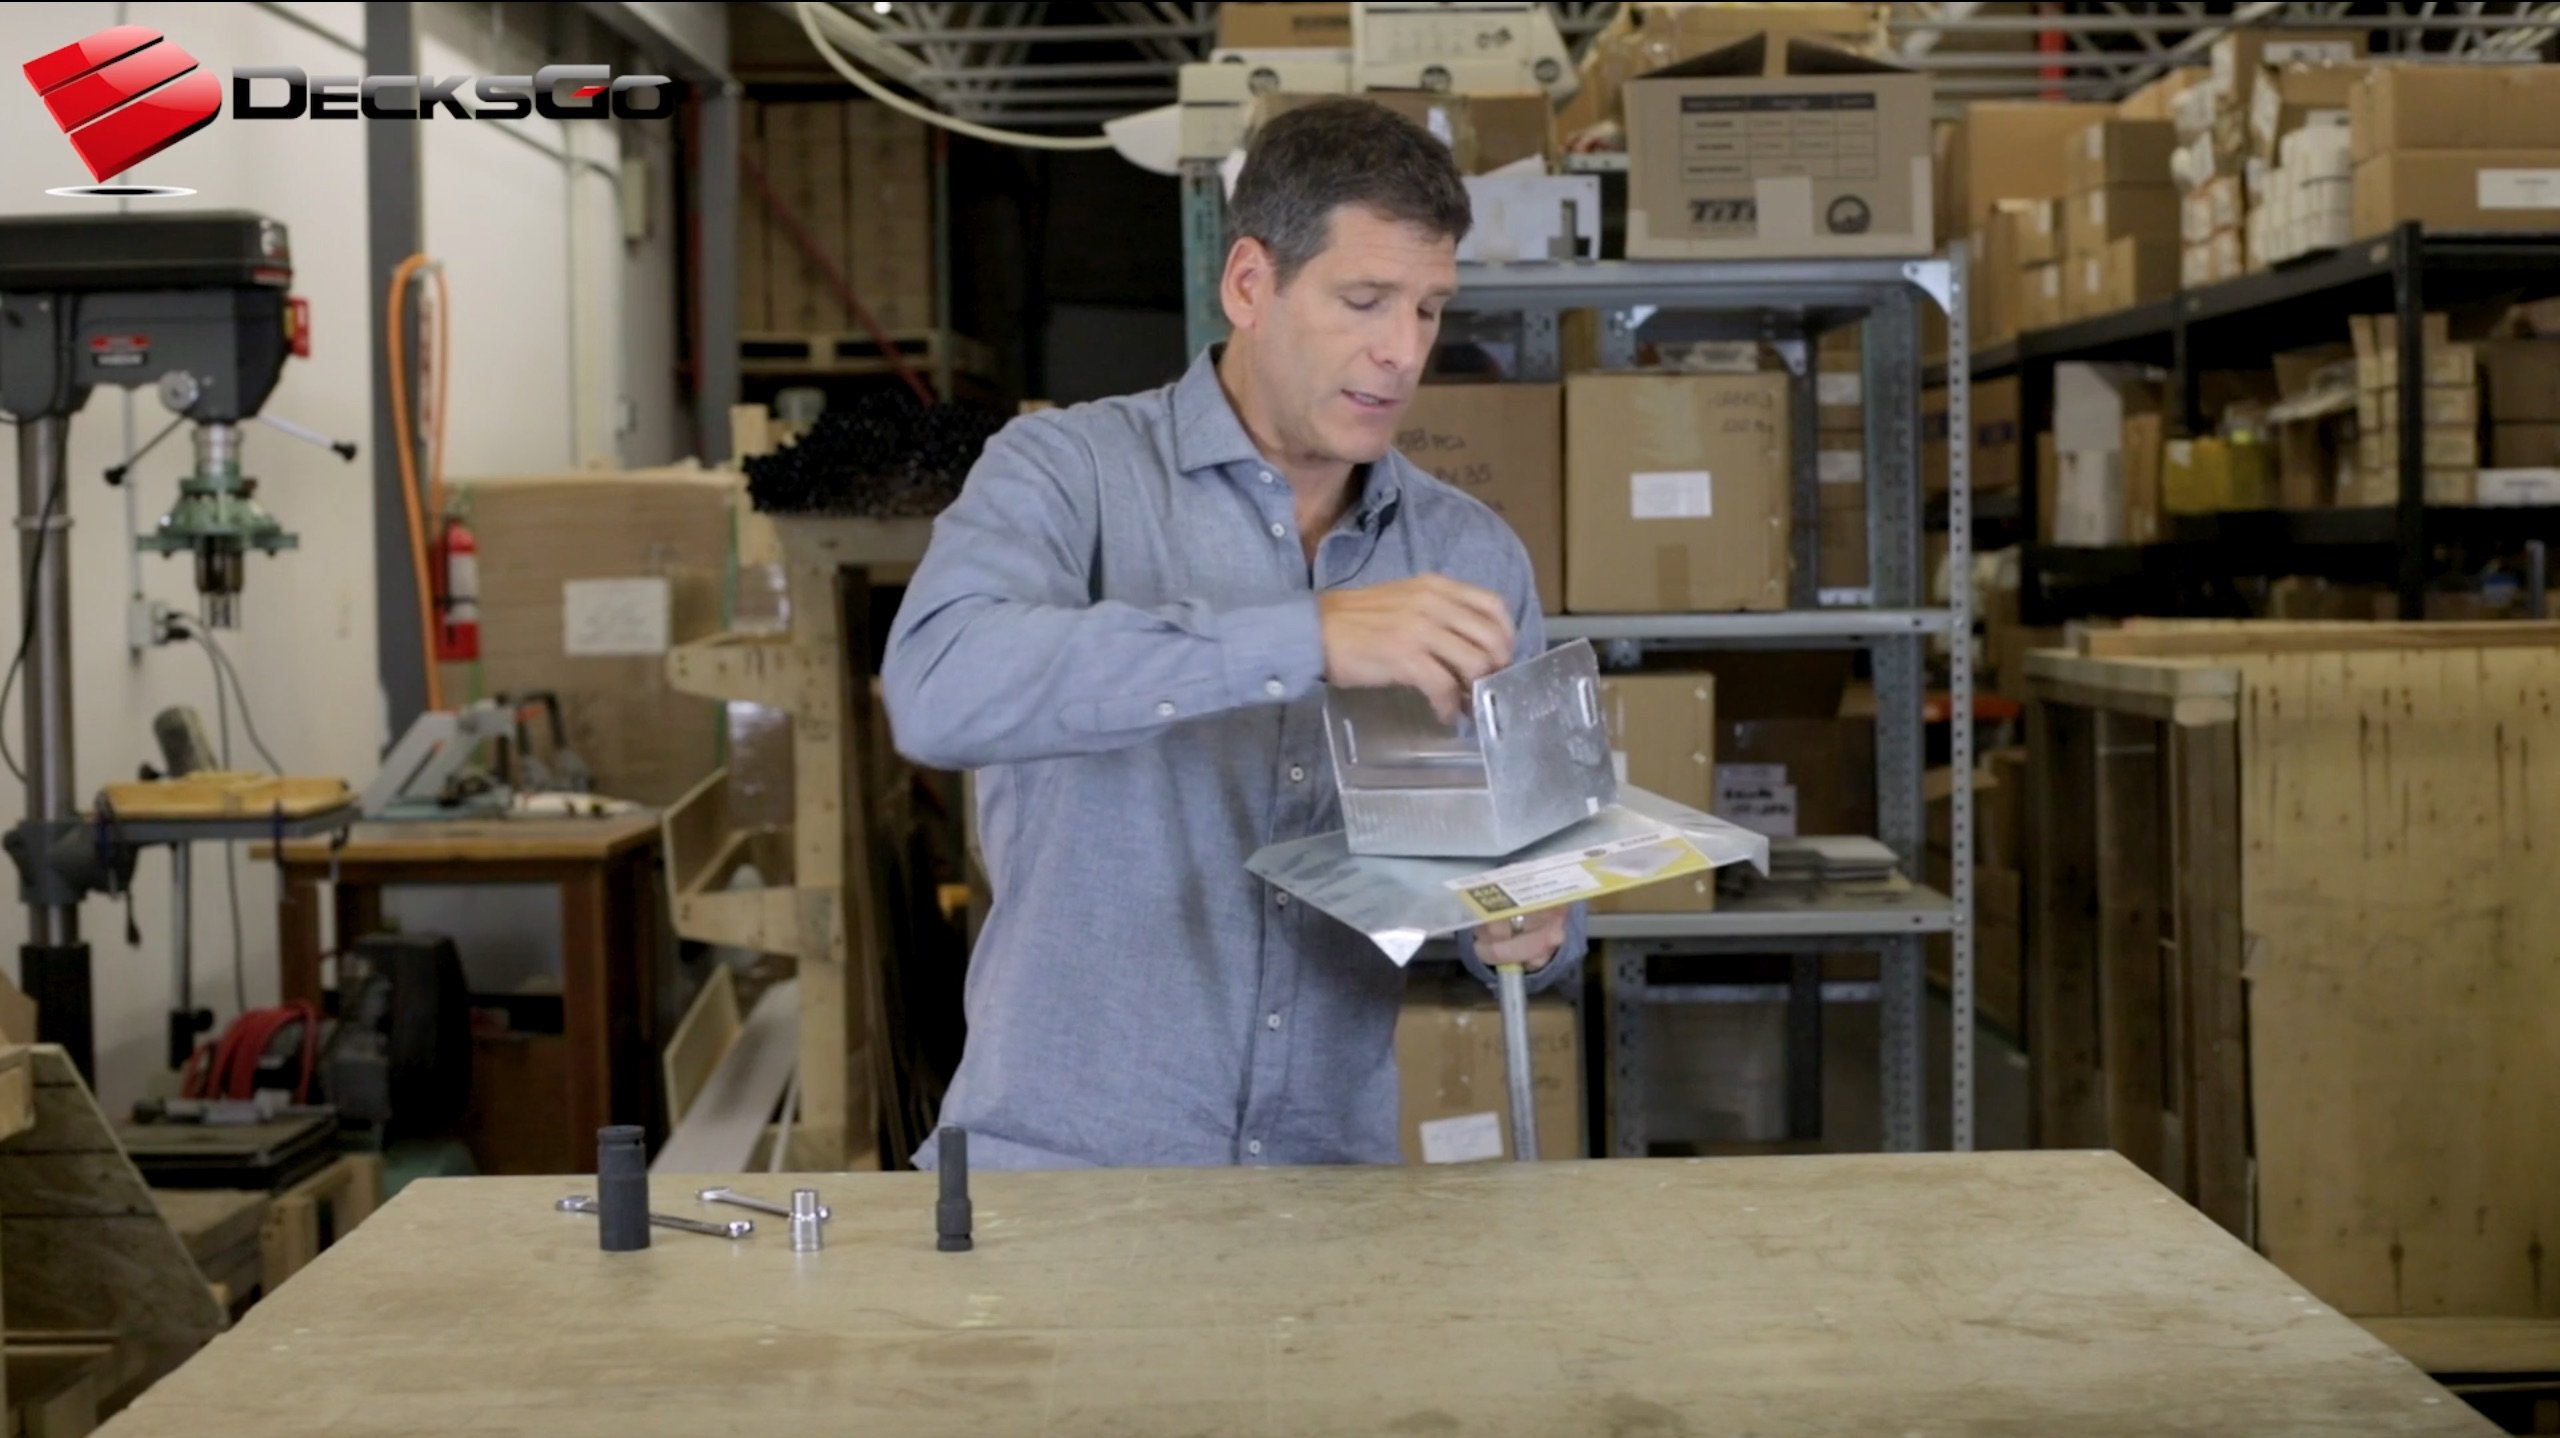
Attach 6x6 post saddle to footing
Use a 6x6 post for your pergola. The 6x6 post is the minimum recommended size in order to provide the strength, rigidity and the proportion in the final appearance.
The post saddles for the Deck Foot Anchor have a lateral slide feature which allows the saddle to be moved up to about 2" to make up for any errors in the location of your pergola footings.
Your goal should be to ensure that each footing is indeed in line with the corners of the pergola so that your structure is as close to perfectly square or rectangular as possible.

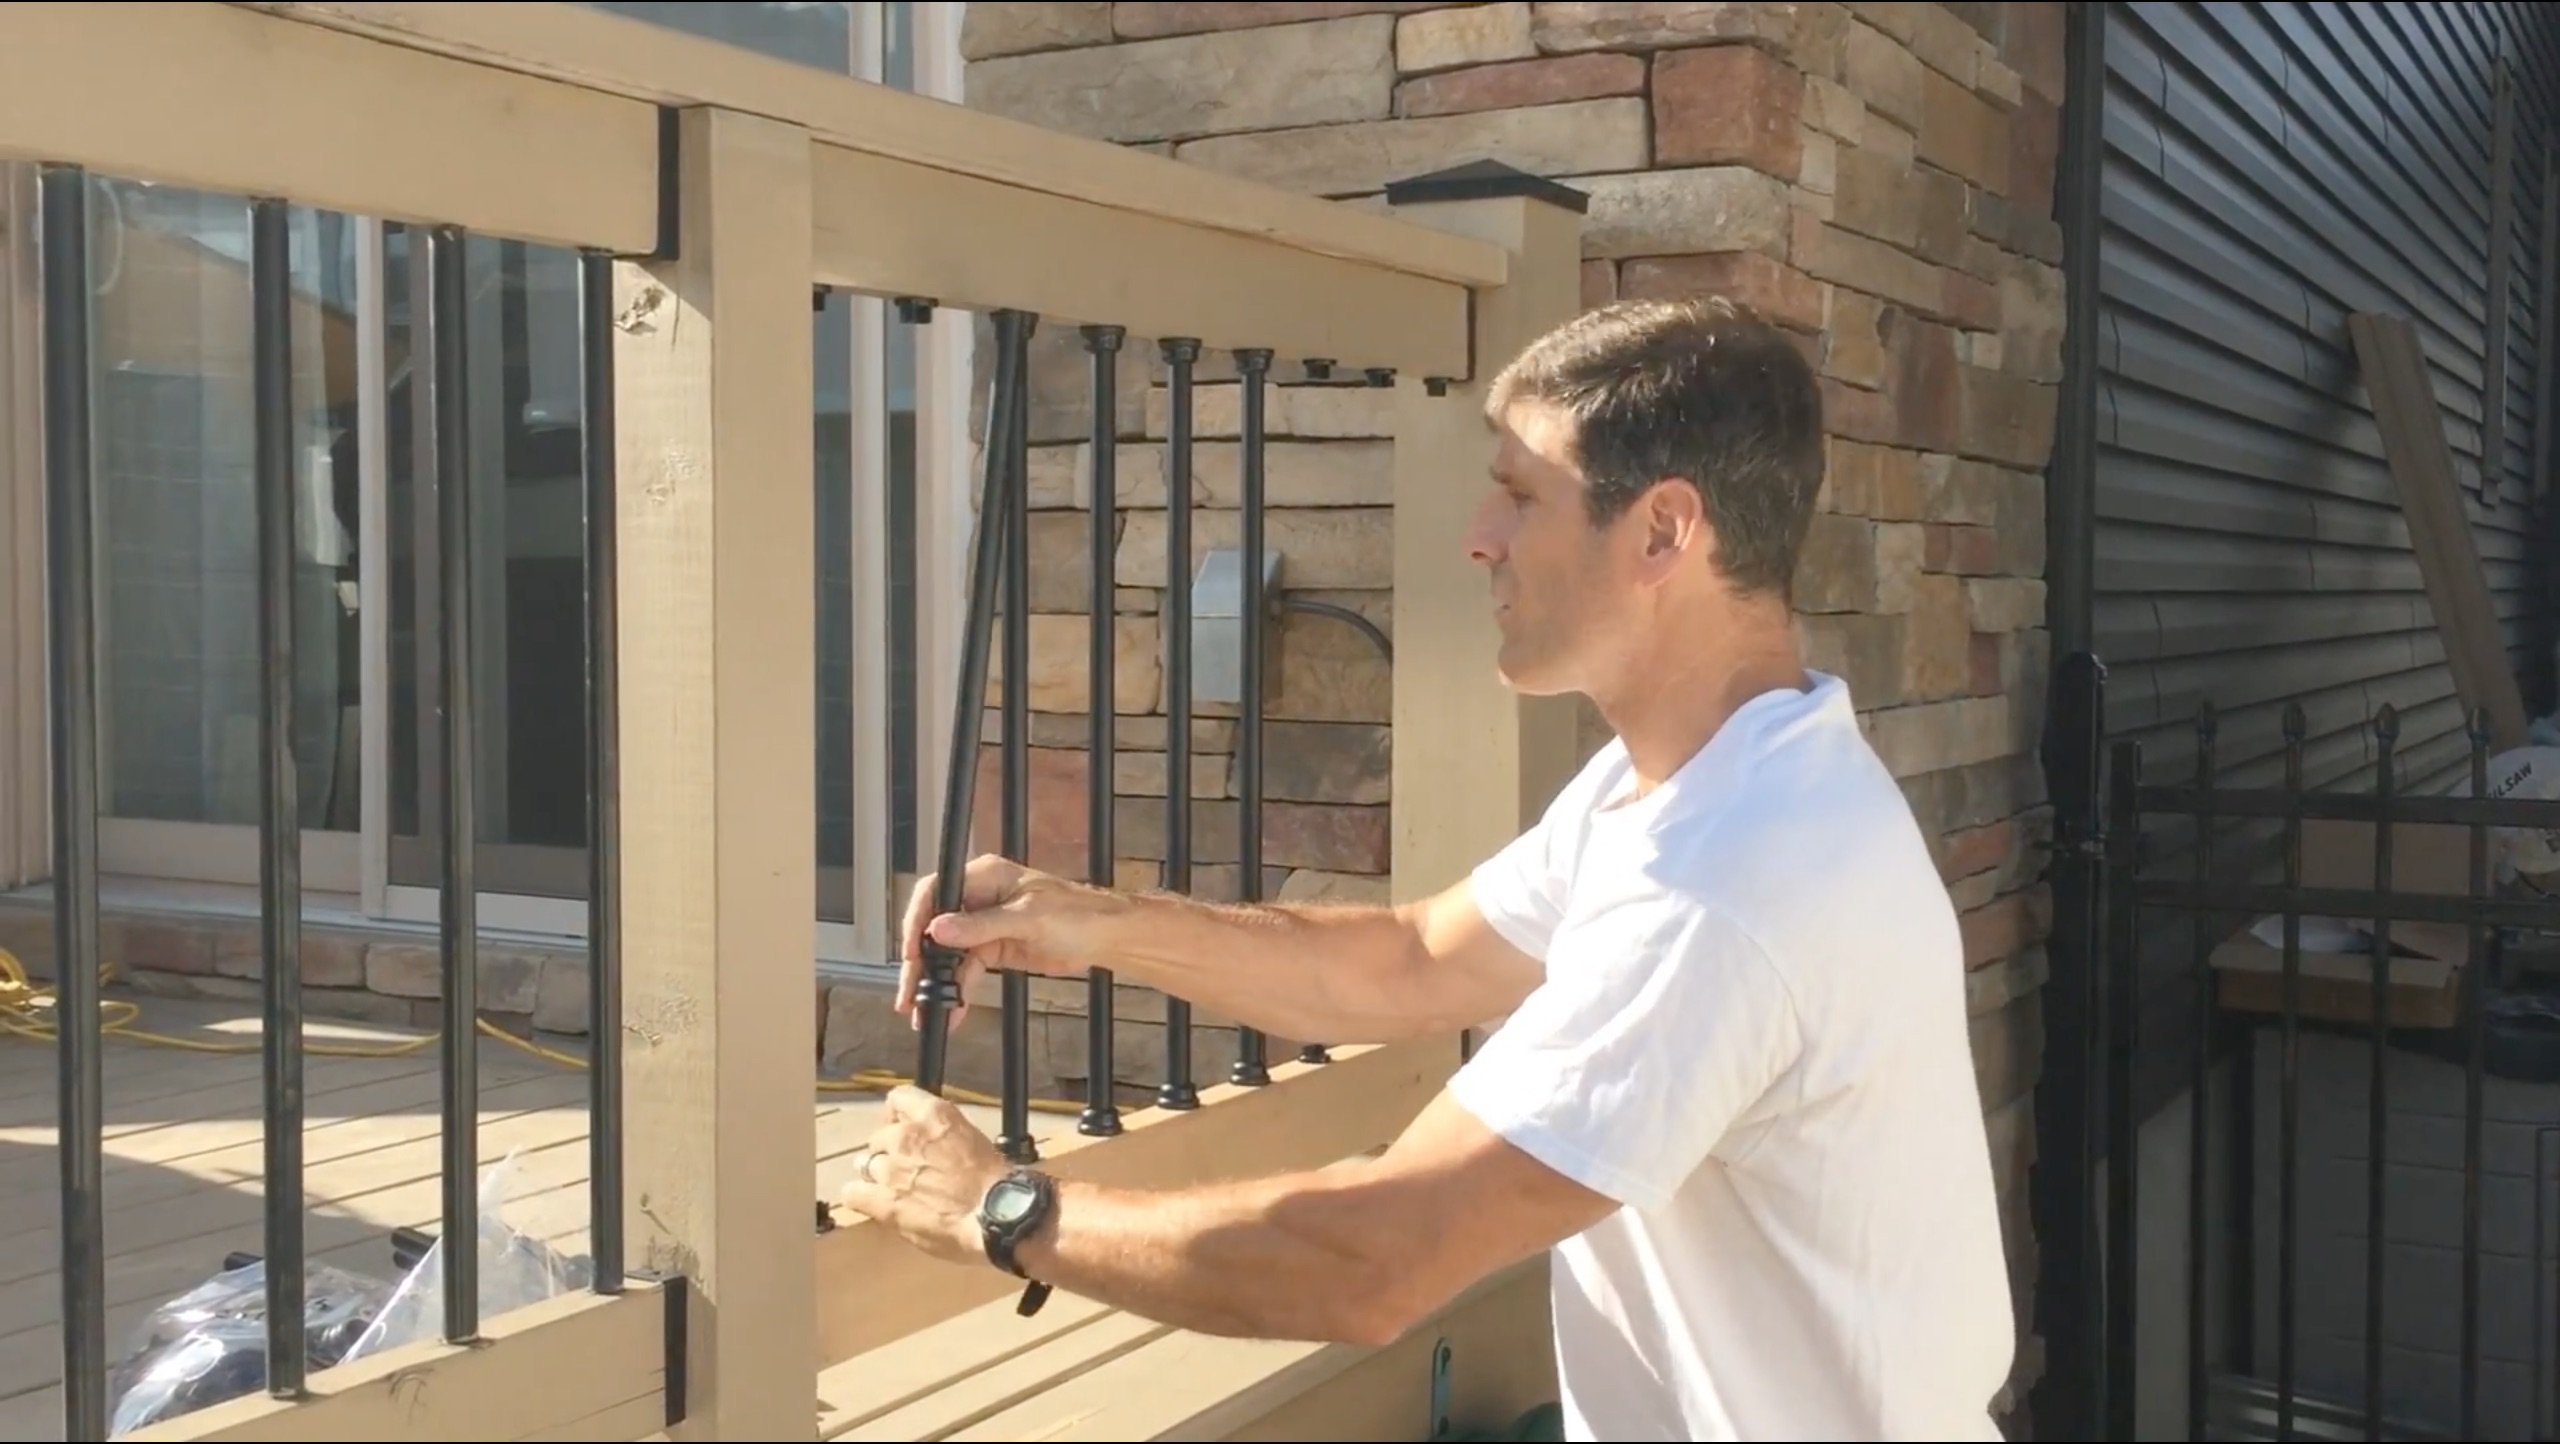
Attach pergola posts to the footings
Take your post and set it into the saddle. Use a 48" long level and set the post plumb to the soil.
Secure the post to the saddle by driving ¼" x 3" lag screws through the vertically aligned and embossed holes. The post will now be set in place on the footing.
Just remember the post will not be fully secure while standing freely. If the post is wobbly use a stake and a scrap 2x4 to brace the post in position until you connect it to the other posts.
Install the other posts for your pergola the same way.
You are now ready to begin building your pergola. This will involve attaching beams to opposing pairs of posts and then securing rafters across the beams. The posts will begin to stiffen up as the structure becomes unified.

pull out resistance
If your project requires a building permit, be sure to check if you are required to provide uplift or pull out data for your footings. There is no third party uplift data for the Deck Foot Anchor at this time so this product may not be suitable for some projects.
Pull out resistance varies depending on soil type and whether the soil is disturbed or undisturbed. This should only be used on undisturbed soil. Pulling a 36" auger from undisturbed clay will require special heavy equipment and many hundreds of pounds of force or more.
An extensive uplift testing program is currently underway with Intertek involving different soil types and locations across the USA. This data will complete a robust body of engineering data and is expected to be published later in 2021.
Benefits of installing Pergola footings with The Deck Foot Anchor
Pergolas require a minimum of three and usually four or more footings. Digging three or four holes will take you at least two or three hours depending on the soil type.
digging and back-filling
If you choose set posts directly into the ground and just back-fill the post into the hole, you must ensure the post is treated specifically for ground contact. And even then, you should expect the pergola posts will never last as long as those secured above the grade by metal post anchoring hardware.
digging, mixing & pouring cement
If you choose to use cement footings you will have to dig holes large enough to accommodate the diameter of the pier or the footing as well which can be significantly larger than the pier.
Then the next big step will be to mix and pour all the cement and then let it set for a day or two. Some post anchoring hardware will have to be set into the wet cement accurately. If done right, you should have very strong and stable pergola footings.
or IF YOU WANT TO BUILD YOUR PERGOLA WITH ... LESS TIME, LESS LABOR, LESS MONEY, LESS MESS
If you decide to use the Deck Foot Anchor to support your pergola, you can usually have four footings installed in thirty to forty minutes and begin building right away. You will avoid the cost of cement and separate hardware. The only hardware required is the Deck Foot Anchor. And of course you will avoid the labor and time required for digging.
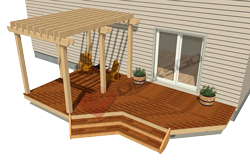
go build your Pergola the easy way
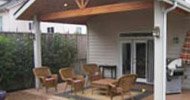
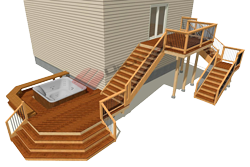
Forget digging pergola footings and use the Deck Foot Anchor as a solid alternative to common residential backyard pergolas.
This pergola is a bit of a twist on the traditional style you are used to seeing. It incorporates the horizontal linear look of so many of Franklin Lloyd Wright's timeless designs.
And yet it retains the common elements of most traditional pergolas.
If your soil is compatible with an auger style footing (not laden with rocks) then this style of pergola footing may by perfect for your next project.

Home > Deck Foot Forum > Options For Pergola Footings
Fantastic Product!
Your product is fantastic I had about 5 of my neighbors just in awe of your deck feet when I was installing them yesterday. Hardest thing was to prep and level the ground before drilling these 6 deck feet in. Honestly installed six of the 6x6 Titan Deck Feet in about 20 minutes. My wife even said this is very cool.
Used my 1/2" impact wrench and it went down very straight and easy even in very thick clay soil. Honestly one of the best products I have seen. The new direct drive top on the post anchor is ingenious to say the least you can put it down and take it back up with no issues. 10 out of 10.
K. Bacchus - Toronto, ON
I'm A Believer
I built a deck for my son earlier this summer in Columbus, Ohio using your Deck Foot product. I LOVE the Titan Deck Footers. And they were every bit as easy to install as your videos indicate, and the deck is perfectly level and solid. I'm a believer!
Rusty Allen, Columbus, OH
awesome product
The anchor works great! It was easy to install and performed just as they said! We used it to anchor a free standing pergola. Glad we found Decks Go!
Dan S., Yotpo Verified Customer
Would Take an F5 Tornado...
I wanted to let you know that we received the shipment of Titan Deck Footings and have begun construction on our deck. Thus far I am VERY pleased with your product. I think it would take an F5 tornado to rip up what I’ve built so far. :-) Seriously, I can’t thank you enough. Your deck footings have saved me countless hours and effort.
Eric Tucker - MA
Definitely Use Them Again
Easy installation into clay. 20 min for 3 deck foot anchors. Be sure to remove sod and add gravel to LEVEL ground. After that was complete it was simple to drill down the post part and then ratchet the nut tight.
I was using them on a small 10'x8' deck. I used a small post 21" to hold a beam for the joist.
It is solid and secure.
This product worked very well in this situation. NO cement to mix is a nice benefit. I would definitely use them again.
Chris Collins - Waterloo, ON
Very Slick Idea
Very slick idea and a lot less work than setting posts in concrete or using deck blocks.
For my project I would have needed 60 bags of concrete or a lot of deck blocks.
The Deck Foot is very light and the installation with an impact wrench goes very fast with minimal preparation. I used the 4x4 and would probably use the 6x6 next time to give some more room to notch posts.
Richard Todd - Kitchener, ON
Get your Ultimate Deck Foot Anchor Guide ebook


Recent Articles
-
Pergola on brick paver
Apr 05, 25 05:36 PM
I have a brick paver patio that has been in for 10 years and I would like to know if the deck anchor will penetrate the gravel/sand base -
Durability of Titan deck foot
Apr 05, 25 05:20 PM
Hi, can you advise the estimated life of a Titan Deck Foot installed in the ground? How long is it expected to last? I live in an area in Ontario Canada -
10x8 6 person spa deck
Jul 26, 22 12:17 PM
I think I might be over-engineering this but I live in CT and I'm also worried about snow weight. Adding a 8x10 deck attached to existing deck, 2x10's


It's time to start
making your memories.

How-To
Go Learn More
© 2004-2026 Decksgo.com. All Rights Reserved.