


Snap Lock BALUSTERS for a diy loft makeover - case study

NO EXPERIENCE REQUIRED TO REDO AN OUTDATED RAILING FOR A BEDROOM LOFT AND STAIRCASE.
This DIY'er had a problem. The bedroom loft railing resembled a farmers post and rail fence. Same thing for the stair rail.
It was good enough in it's day, but it's day had long since passed.
Many homeowners might feel overwhelmed at the thought of upgrading a railing like this and simply hand it off to an experienced contractor who might gut the whole thing and install a new railing.
That's a fine option but surely the most costly.
But with the Snap Lock balusters a full tear down and rebuild is not required.
The balusters use a patented and ingenious sideways snapping and locking shoe and collar system that is so easy to use virtually anyone can do it.
Here is the story of how Gary pulled off this beautiful renovation all by himself and while leaving a few more dollars in his own pocket.
about the builder

Gary is from Kentucky and enjoys taking an active role in maintaining his home. He is up for challenges and not afraid to dive in when the time calls for it.
Thankfully his renovation upgrade of the bedroom loft was a lot easier using Snap'n Lock Balusters for what he had in mind. Sideways installation without having to dismantle the entire railing made a big difference.
You can trust DecksGo just like Gary did, to lead the way in brining new and exciting building solutions to the market.
the old bedroom loft railing
Here is the loft before the new railing was installed. Its a cozy place and wood rails don't look out of place. They actually look quite nice against the pine siding.
But the 3/4" square black Snap'n Lock™ balusters would sure add a classy and timeless appearance to his railing without clashing against the pine siding and overall wood elements in the house.
In fact a tiny bit of contrast between metal and wood actually enhances the appearance.

Removing the old railing infill

The original cap rail and the center line post remained in place after Gary removed the railing infil.
He carefully marked the floor with tape to indicate the vertical plane of the railing and to provide a sight line reference when measuring out the location of each Snap'n Lock shoe.
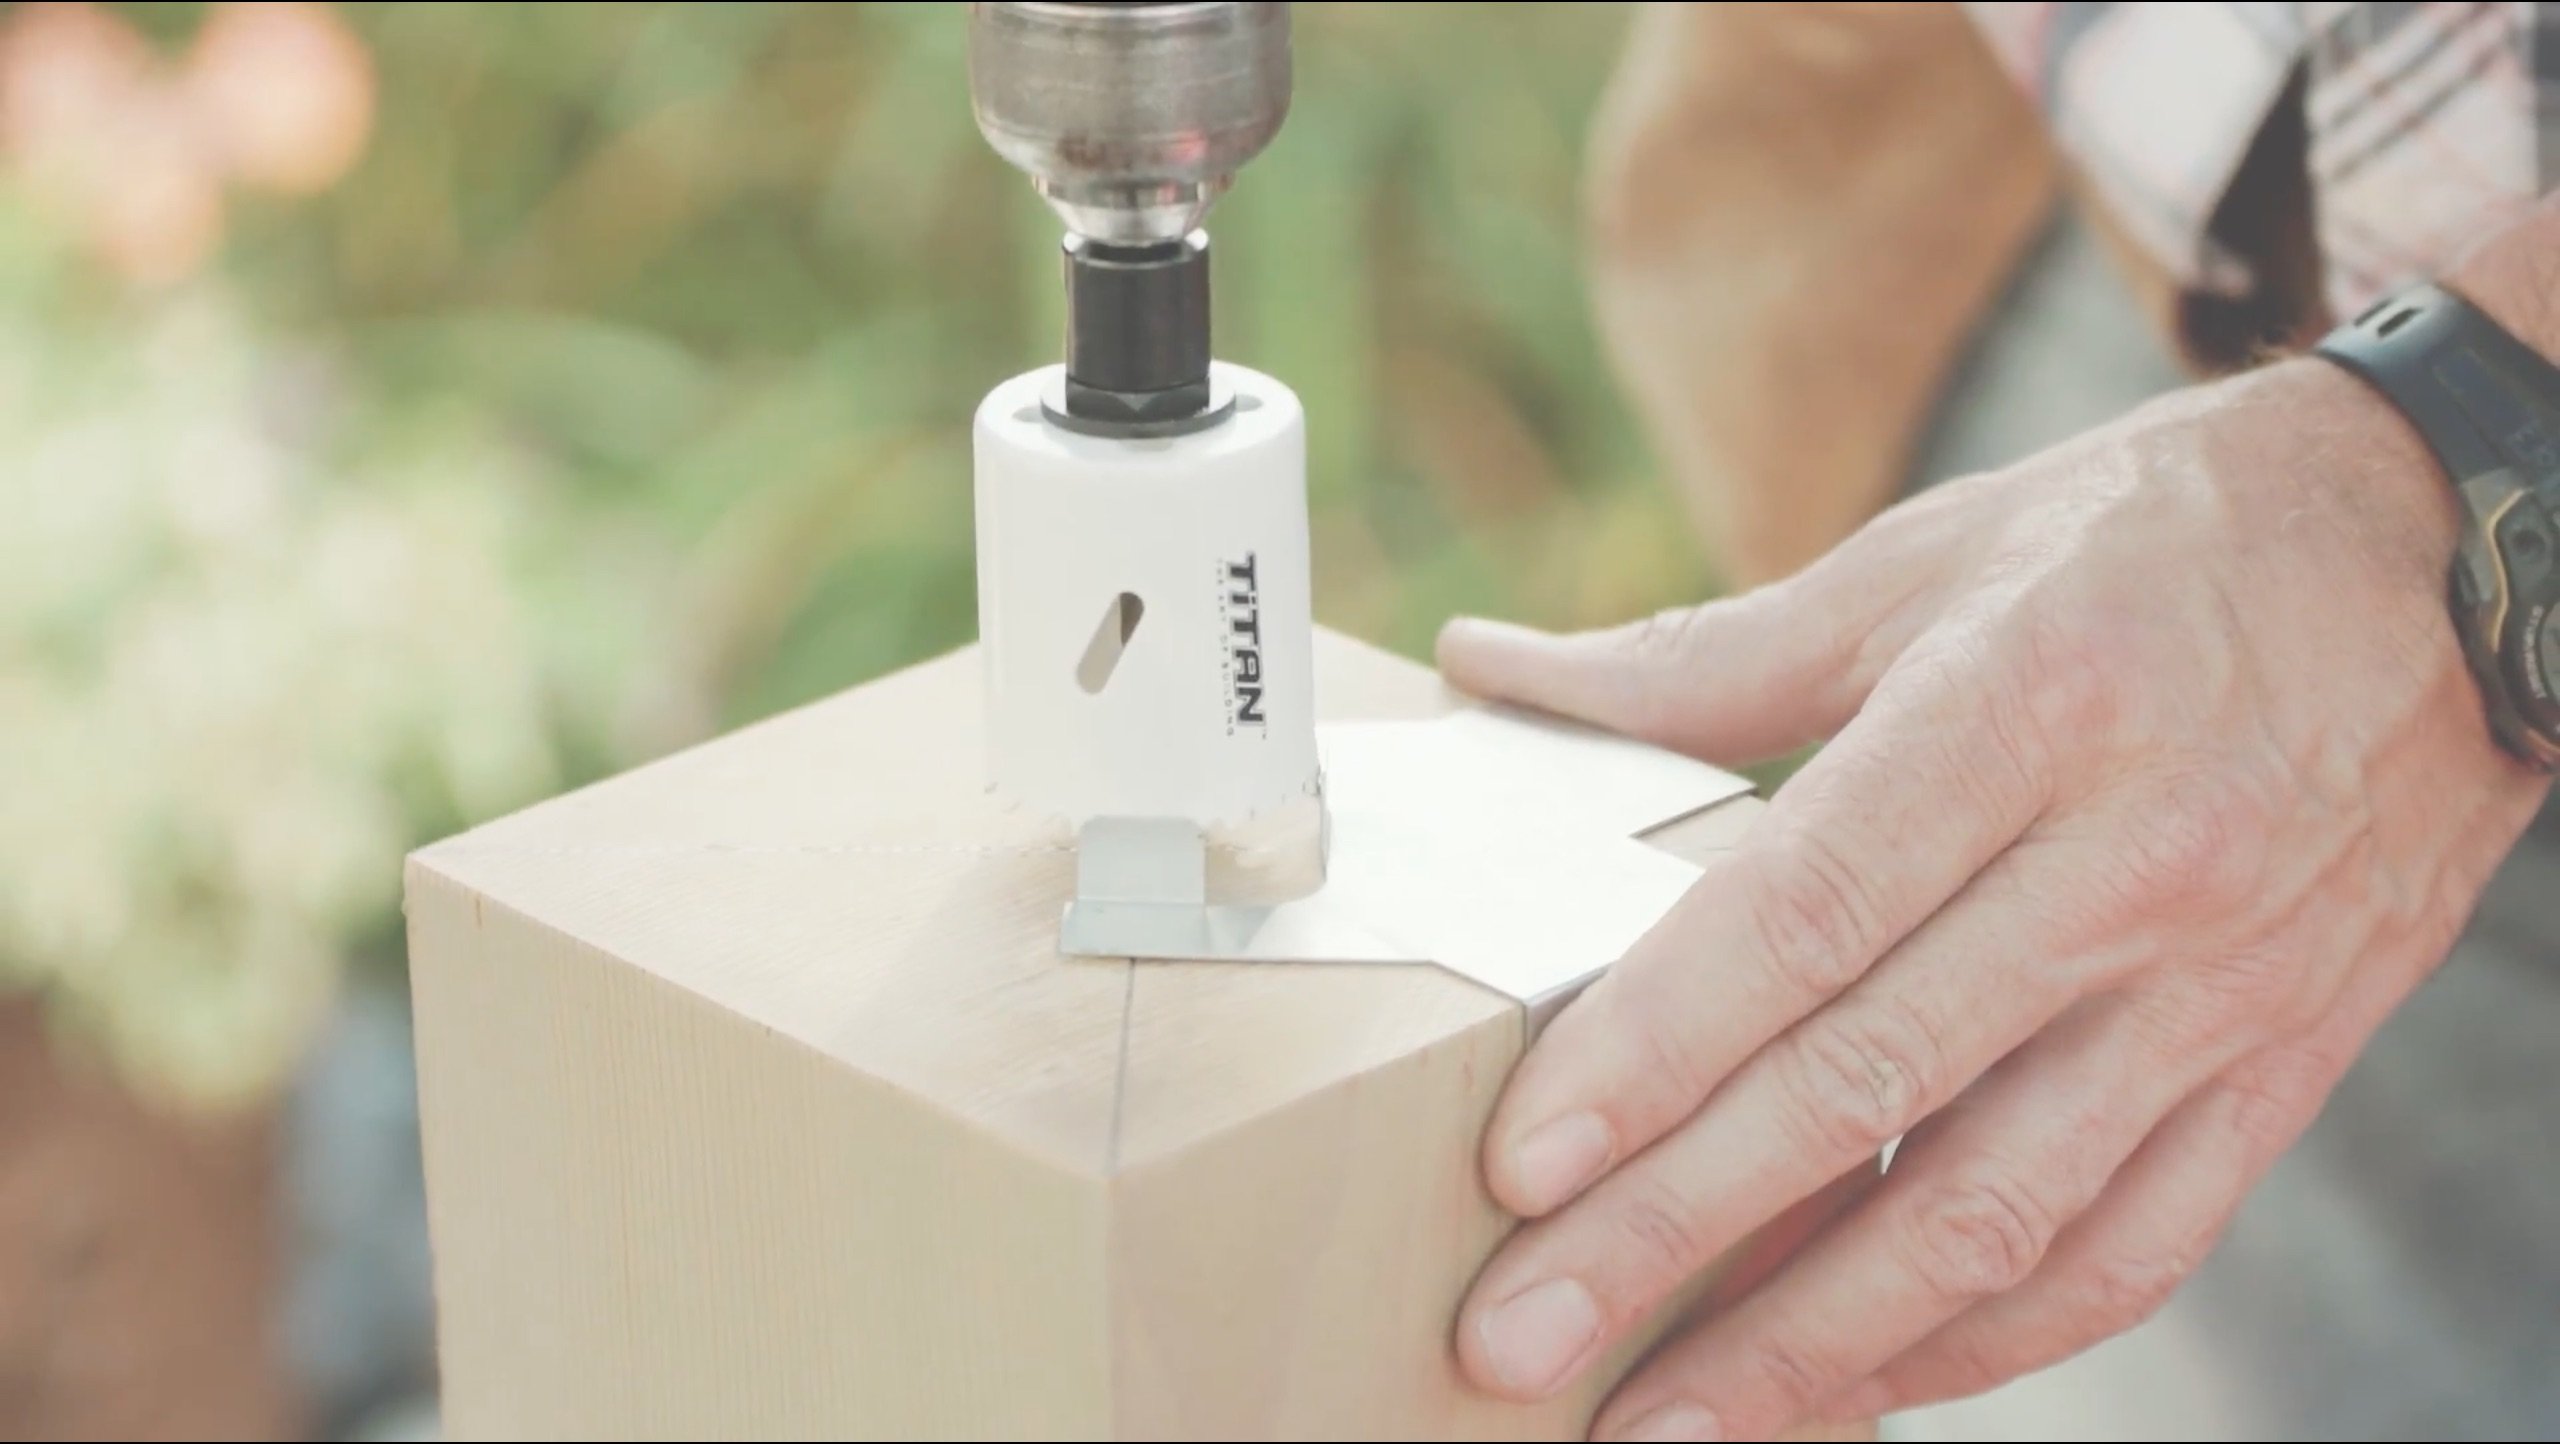
By the way, each kit of Snap Lock balusters not only comes with all the screws and connectors but the ten pack box has a spacing template printed on the inside face of the box for easily marking the location or each connector.


lower shoe connectors installed
The shoe connectors are screwed into place.
And each connector has two small cones that assist in keeping the connector perfectly located while driving the screw.
You just tap the connector with a hammer and set the gripping cones into the surface. Its a great help and makes the installation a pleasure.
Make sure the female opening of the shoes are facing the same direction.


upper shoe connectors installed
The locations of the shoe connectors for the upper railing must be spaced at the identical distances apart and directly above the corresponding show connectors on the floor.
The female openings on the connectors should all face the same direction as those on the floor.
It's simple enough to do but don't forget to do it.
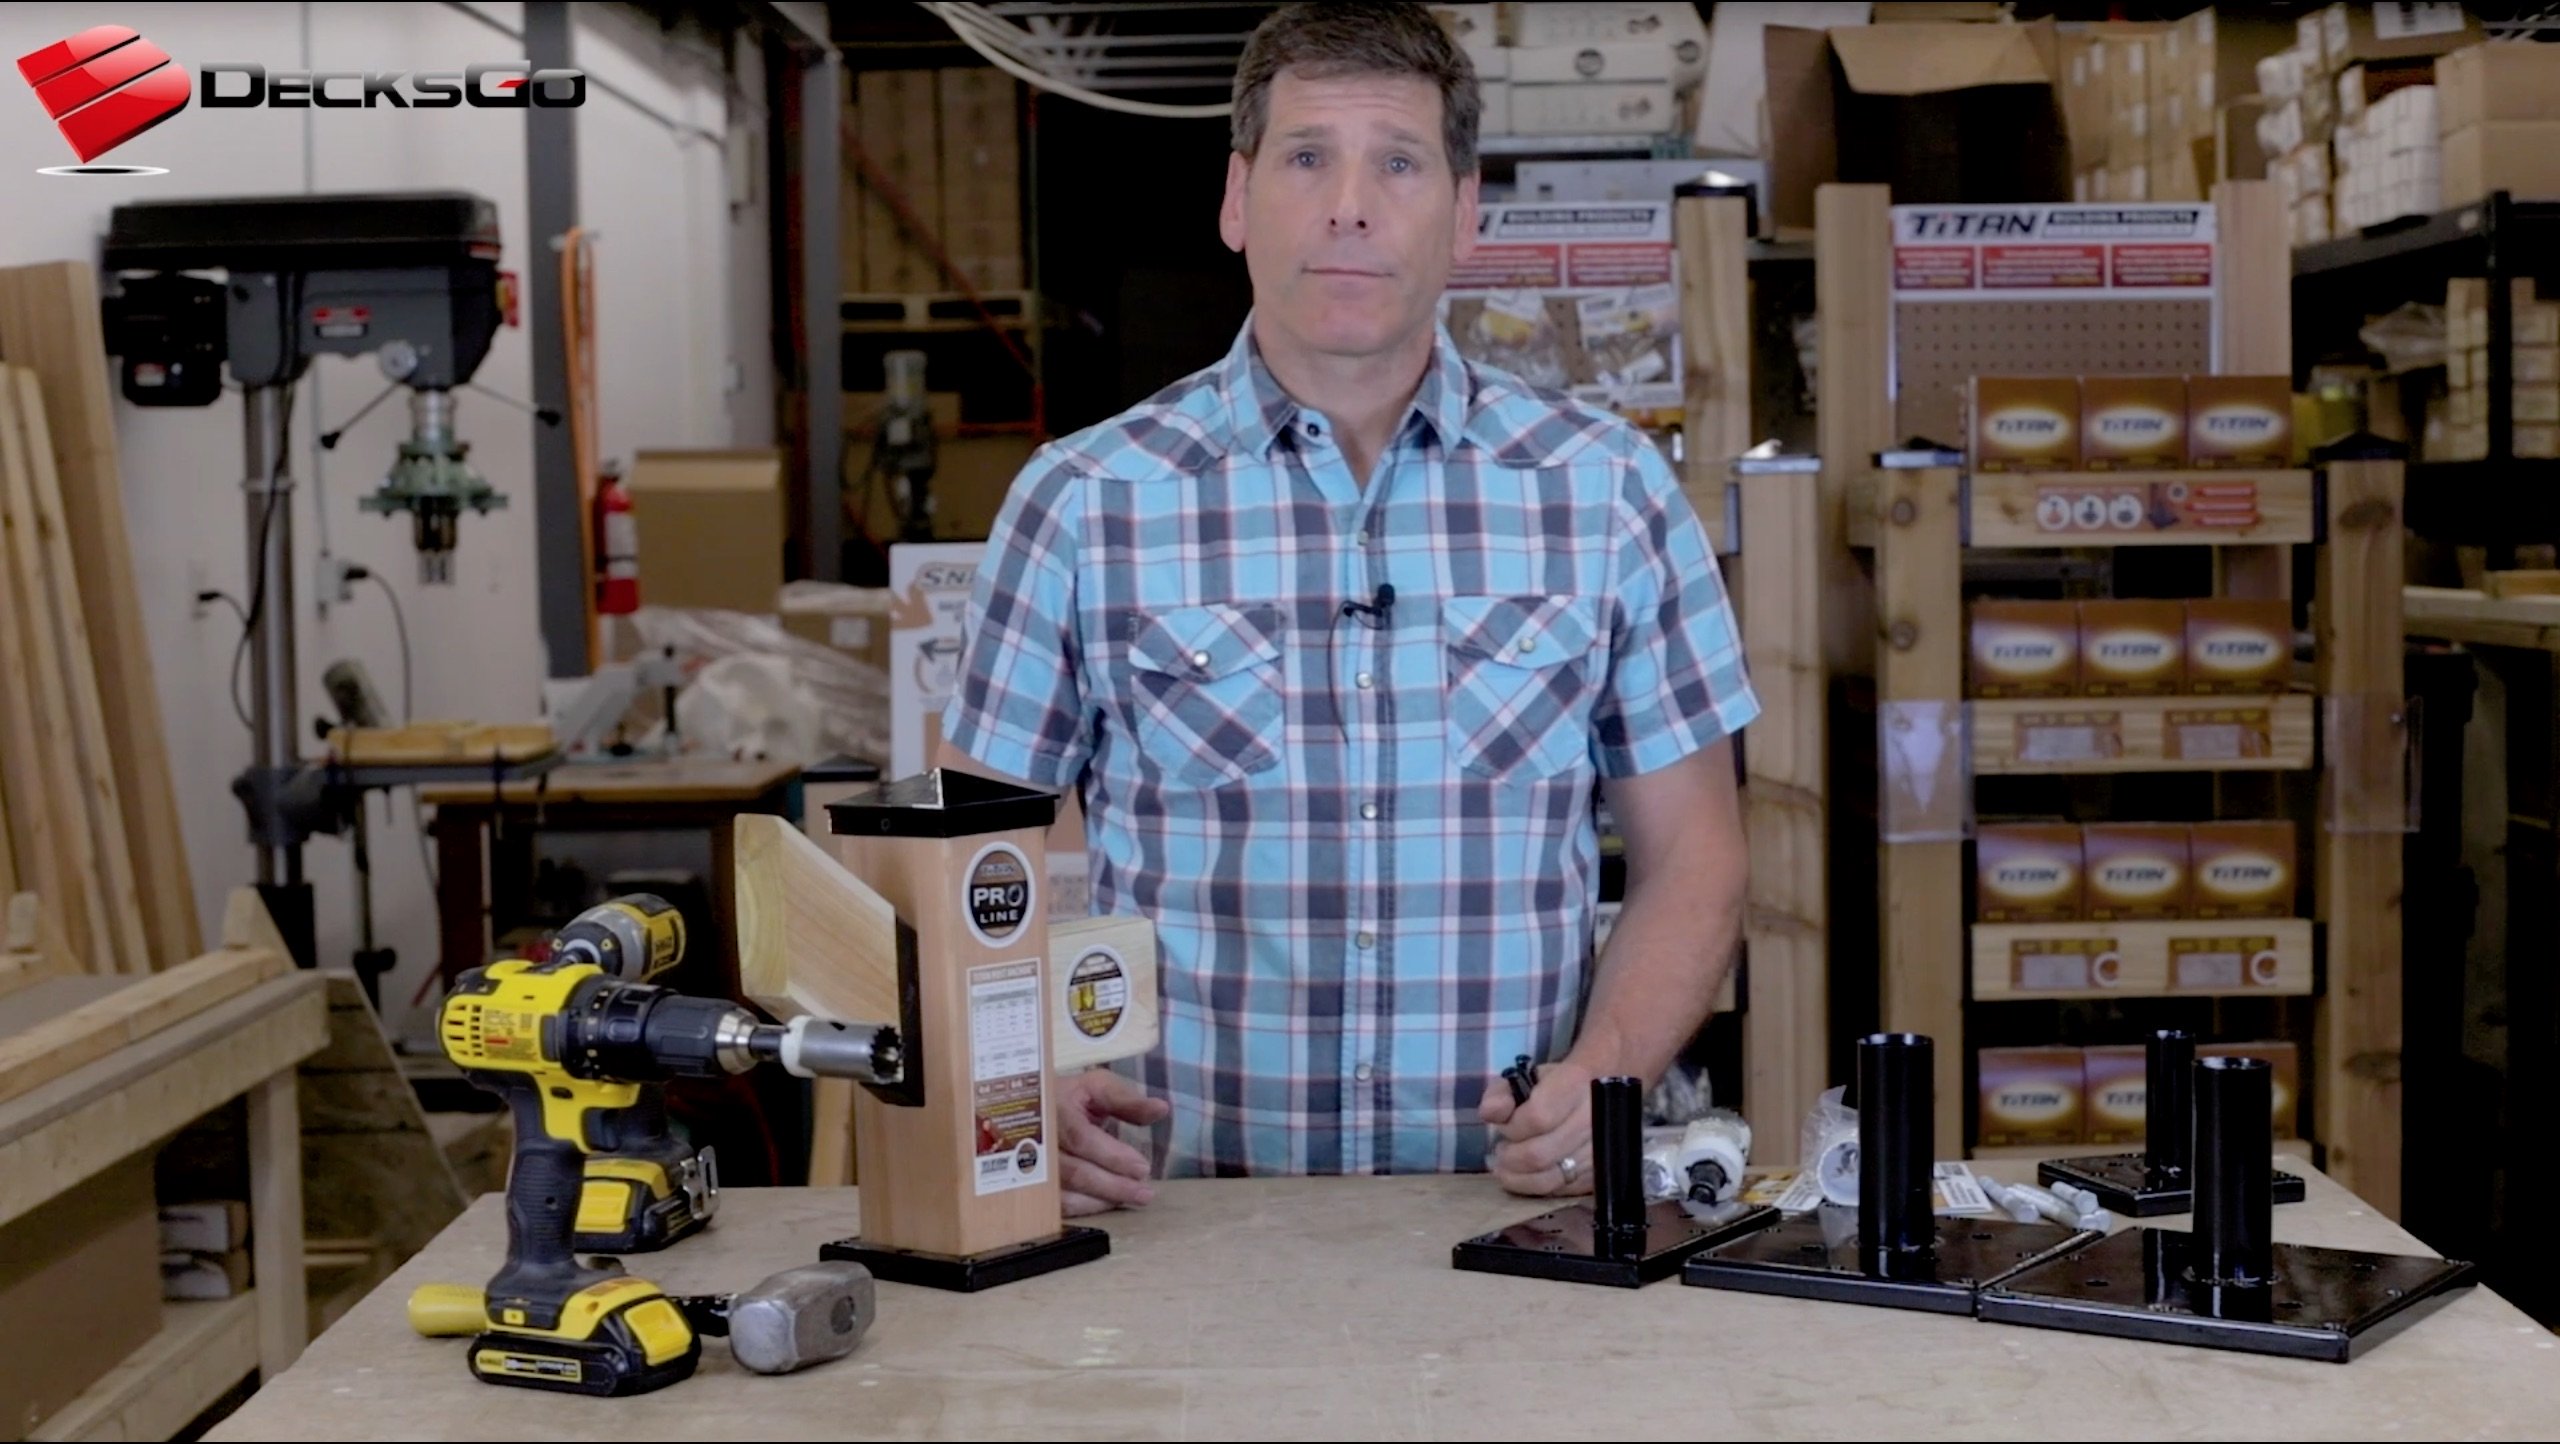
determining if balusters need to be cut to fit
Snap Lock balusters come in lengths of 25", 31", 36" and 42" lengths. If the space betweetn your upper and lower rails varies from this you will have to cut them to the correct length.
Gary is shown here measuring the distance in order to cut the balusters to length using a hand held grinder with a metal cutting wheel. Its a very easy process.
Also keep in mind that the show connectors are just under 1/4" tall so if the distance is 25-1/2" the connectors will take up 1/2" and so your baluster would have to be 25".


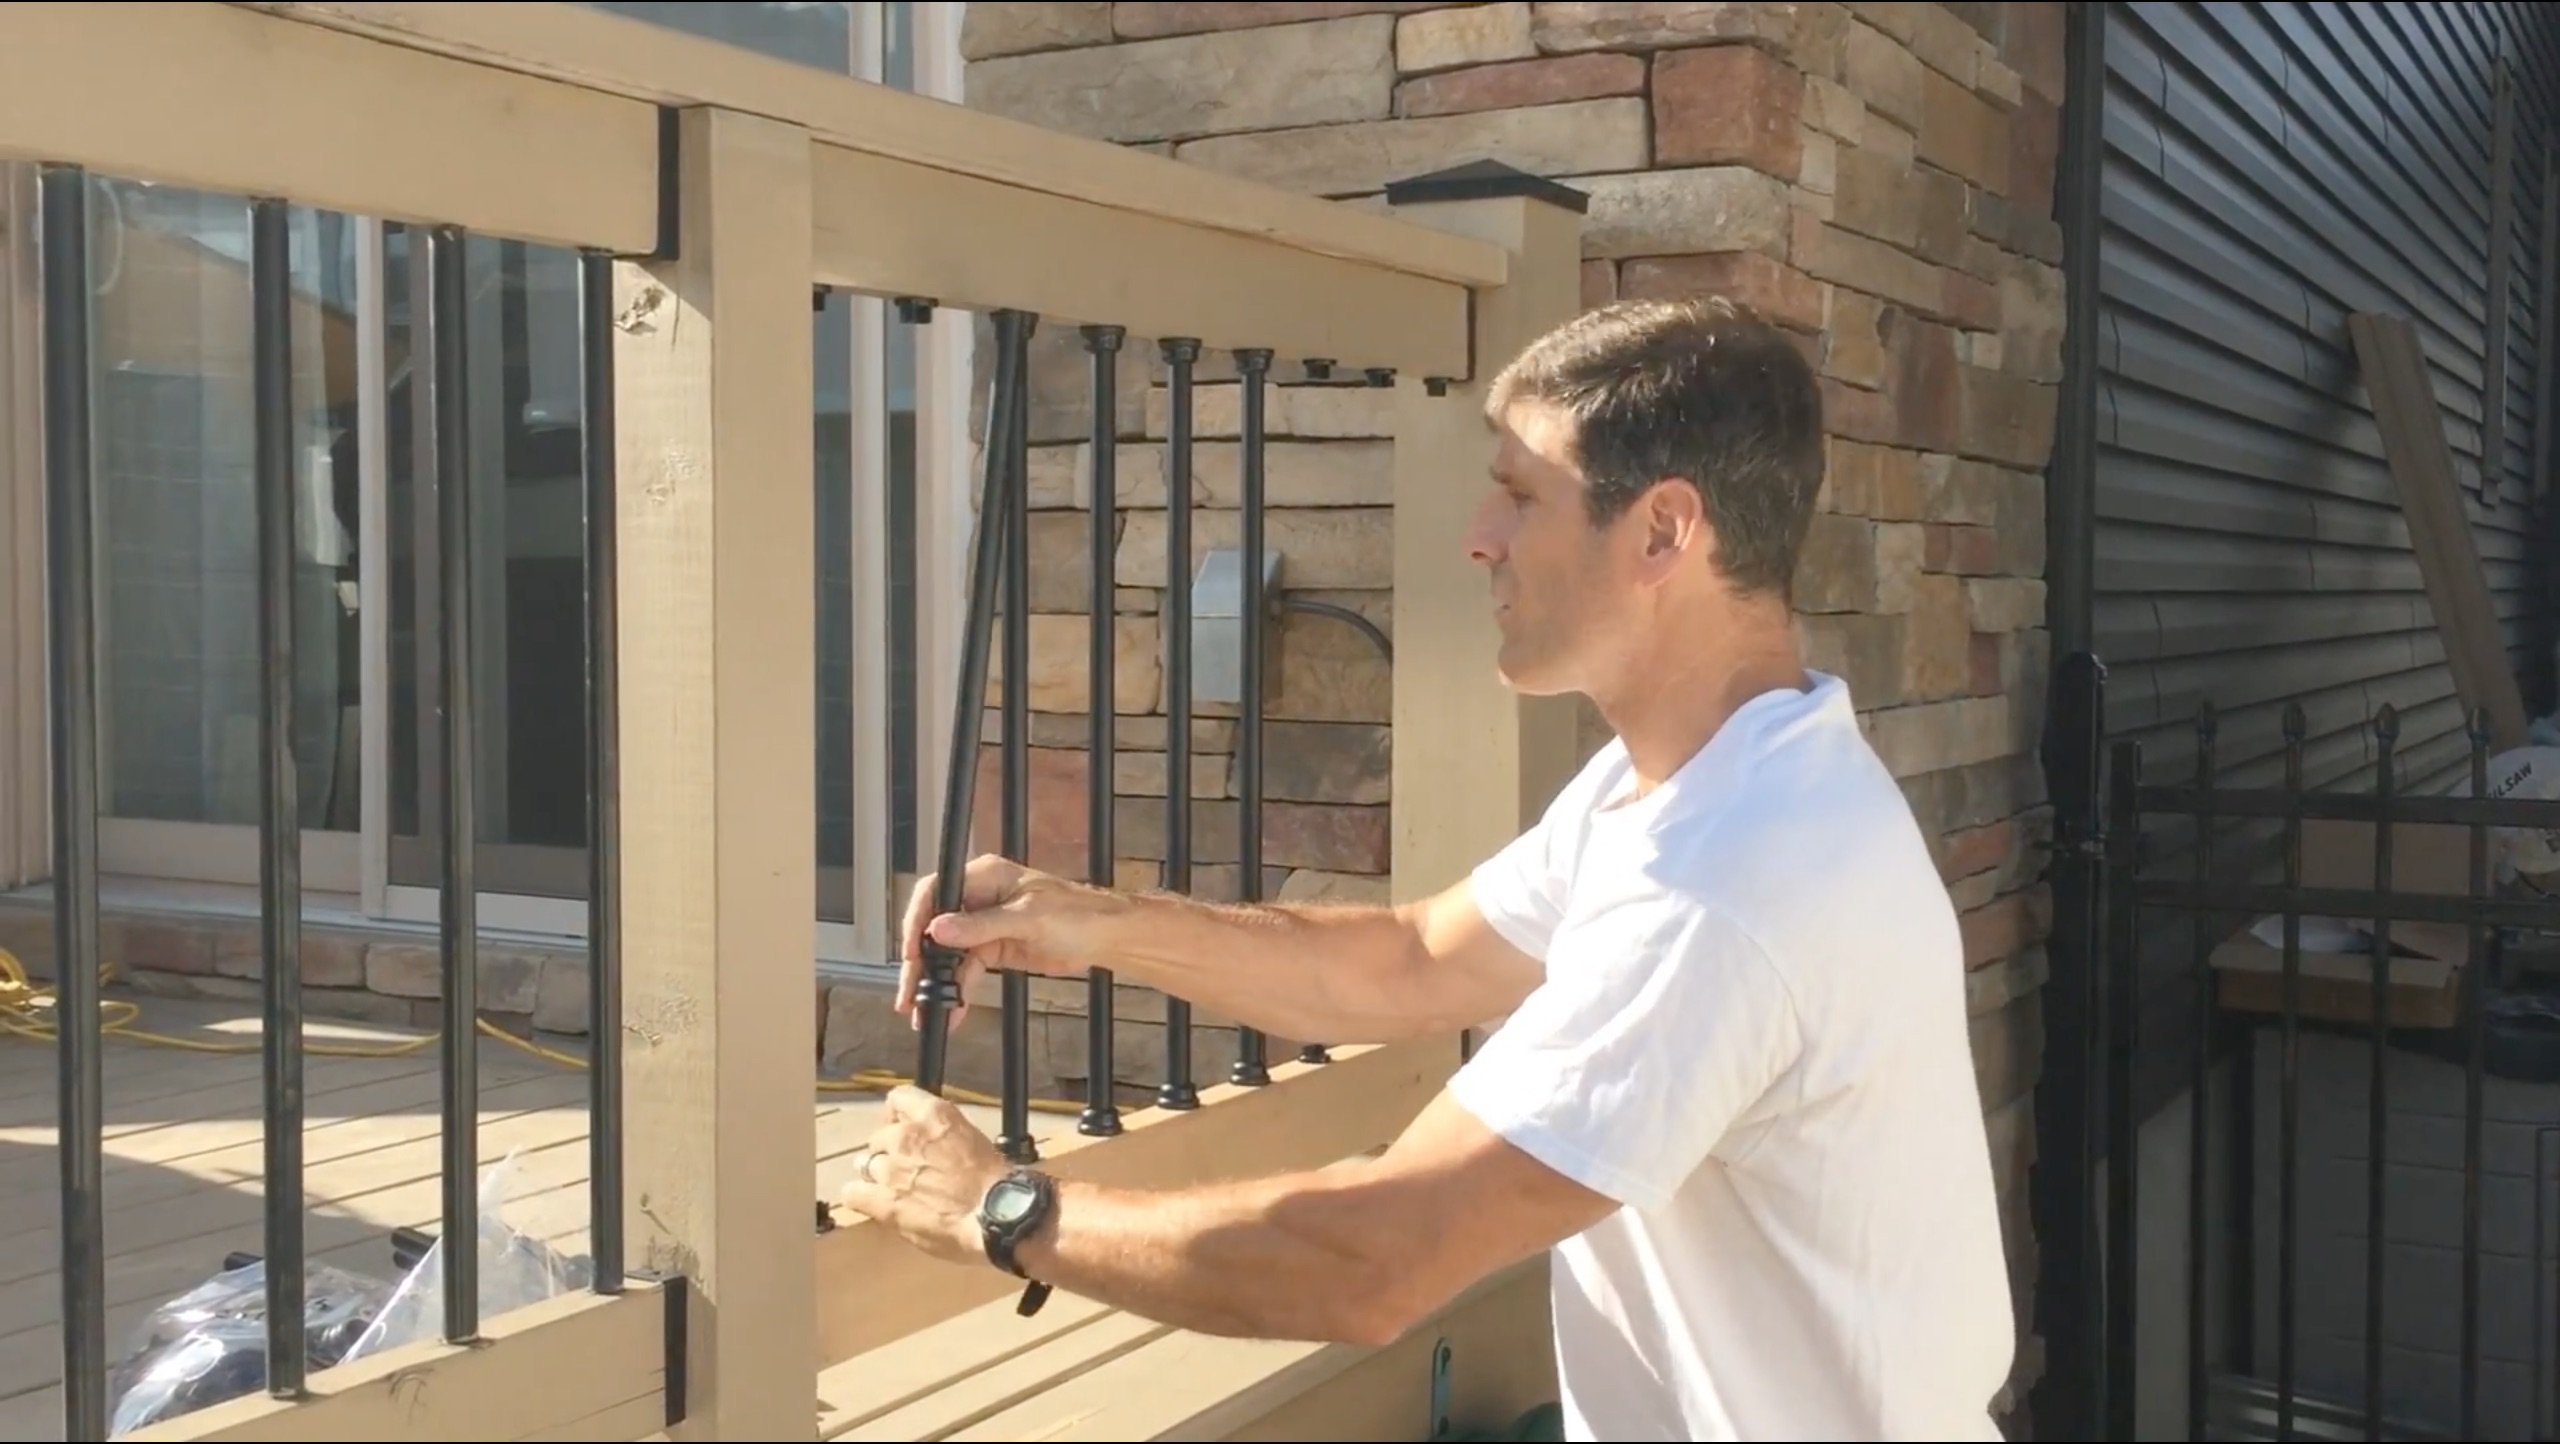
Start Snapping!
This is the fun part - snapping the balusters into the connectors.
Be sure to slide two collars on each baluster - one facing up and the other facing down.
And in the case of the square balusters make sure the male tongue on the collars aligns with the female opening of the shoe connector.
a stunning look and improvement to the baluster loft
What a clean elegant look! This is the pay off. Not only did Gary snap all these balusters into place quicky and easily they just look so darn nice. Don't you agree?


time to work on the stair railing
Gary removed all the old railing and carefully measured the baluster locations on each footing being careful to center the shoe connectors on the treads no more than 4-1/2" from center to center.
He then transferred those locations to the underside of the handrail using a 48" level to ensure each baluster would be perfectly perpendicular to the treads.
Voila! The finished stairs
In most cases only two balusters are need per tread. Some times three balusters are used for each tread but this is usually just a matter of personal preference.
This entire renovation was quick and easy to do and Gary saved a few dollars doing it himself.
The other thing is that this small upgrade really modernized the look of his home.

you can do this too
We love to feature real customers and appreciate the time it took them to share their experience with us. Hopefully, this article has helped you out.
Feeling excited? You should be...you can do this too!

The Snap Lock Balusters are a DecksGo Recommended Product. It's one that we are confident you will be happy with. It's been tested to over 500 lbs of infill load by Intertek.
DecksGo was the first company to bring this product to the market and you can expect more great "first" moments like this.
This is what we do - try to bring you leading edge building solutions before anyone else.
Home > Snap'n Lock Balusters > Case Study: Snap Lock Balusters for DIY Loft Makeover


Recent Articles
-
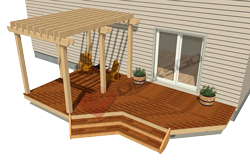
Pergola on brick paver
Apr 05, 25 05:36 PM
I have a brick paver patio that has been in for 10 years and I would like to know if the deck anchor will penetrate the gravel/sand base -
Durability of Titan deck foot
Apr 05, 25 05:20 PM
Hi, can you advise the estimated life of a Titan Deck Foot installed in the ground? How long is it expected to last? I live in an area in Ontario Canada -
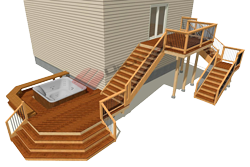
10x8 6 person spa deck
Jul 26, 22 12:17 PM
I think I might be over-engineering this but I live in CT and I'm also worried about snow weight. Adding a 8x10 deck attached to existing deck, 2x10's


It's time to start
making your memories.

How-To
Go Learn More
© 2004-2026 Decksgo.com. All Rights Reserved.