


BUILDING A DECK Railing WITH the TITAN POST ANCHOr™

HOW A DIY'er, With LiMITED Building Experience, Rebuilt his rotting Deck & Saved a Ton of Money
After several years of Jim's wife asking him to replace the deck, he finally got around to securing a few estimates. The estimates ranged from $6k to $11k.
The $6k quote seemed low to Jim since he wanted the decking to be composite and the $11K quote seemed too high especially since it assumed the contractors would be able to reuse most of the framing.
So, in the end, Jim decided to save money by removing all the decking himself and then decide on who to hire from there.
about the builder
Jim is a Global Program Manager in the IT department for a Fortune 200 company.
He sits at a desk and jumps on conference calls all day.
His building experience consists of two sheds and this deck.
And most importantly, he drives a Dodge Stratus. Just kidding! We don't know what Jim drives.:-)
Here is what was lurking under the decking
Well, much to Jim's dismay the deck was a total loss. Some of the joists and most of the decking had rotted out. In fact, it was so rotten that he was able to pull posts out by hand, concrete and all - Jim the Superhero!!
After the demolition Jim threw caution to the wind and decided that since the deck was a simple structure, he would rebuild it himself.
What Could Possibly Go Wrong?
The process was going well until it came time for Jim to build the railings. Unfortunately, he did not plan far enough ahead and realized he did not have any posts coming up through the decking to build his railings. He had no choice but to find a solution to top mount his railing posts.
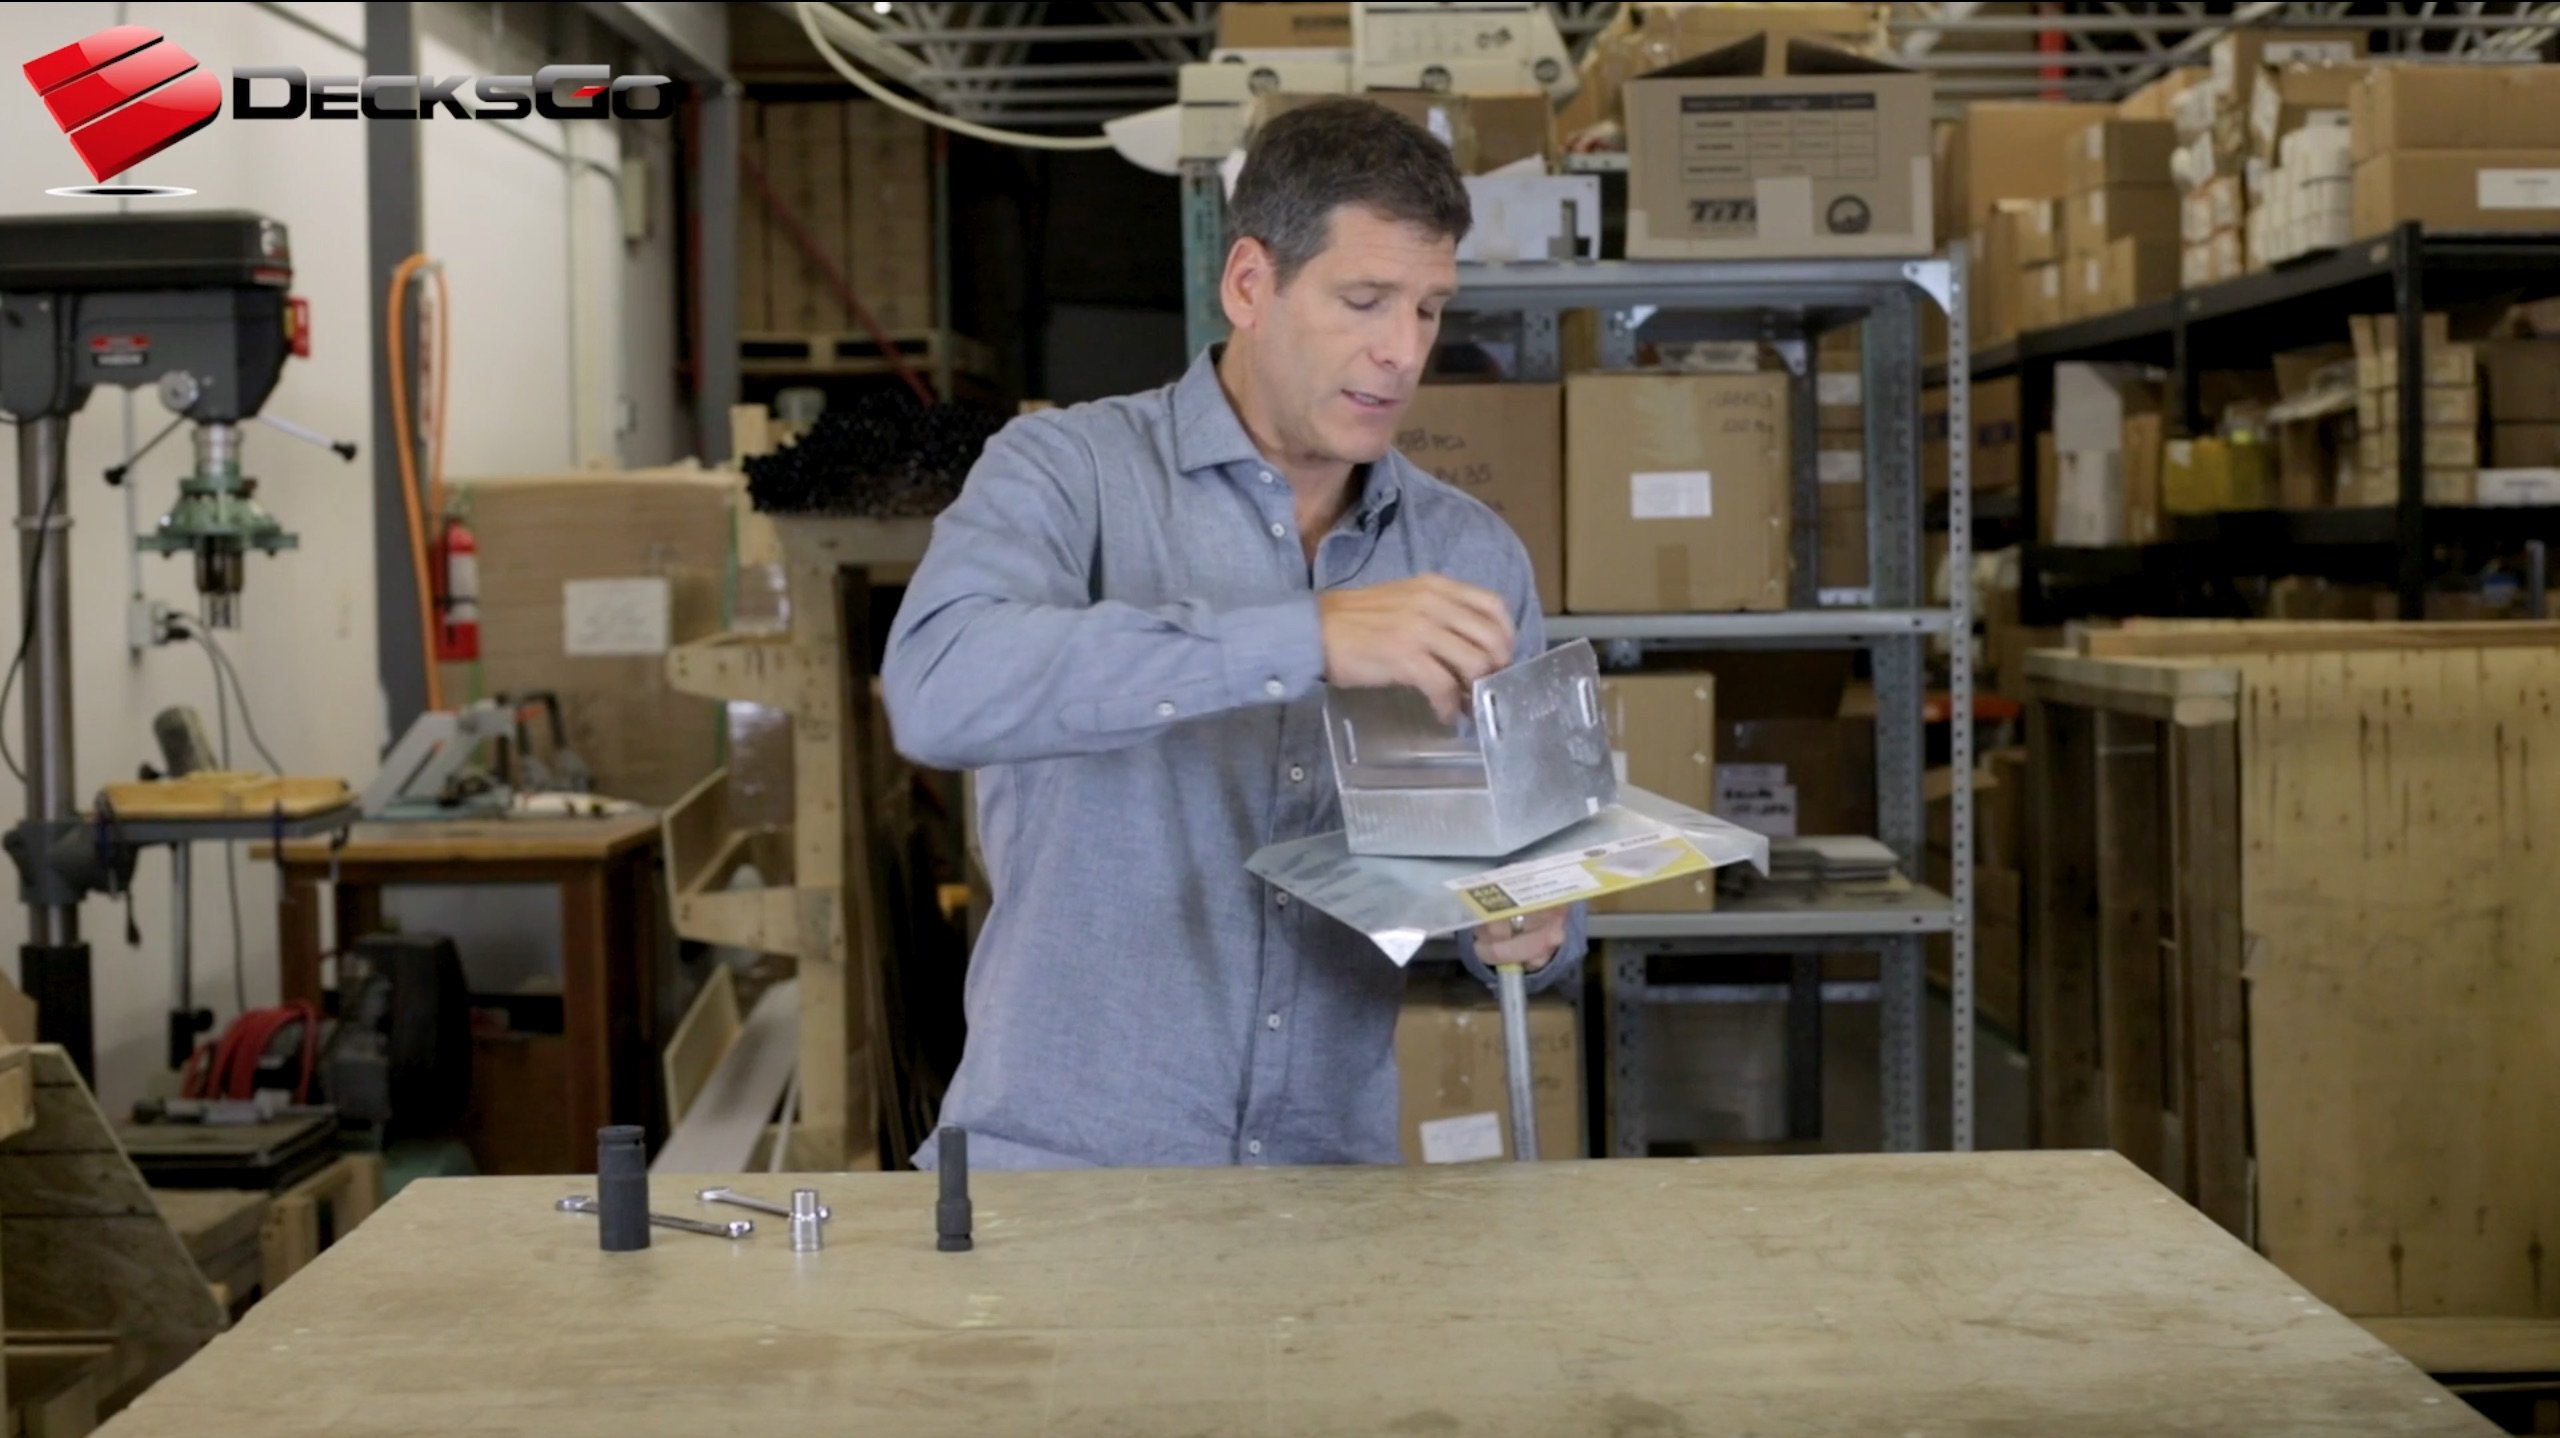
After some Googling, Jim found the Titan Post Anchor™ kit. Each kit comes with the post anchor, four lag screws (to secure the anchor to the post) and eight deck screws (to secure the anchor to the deck). Needless to say, Jim was thrilled that he found a solution to his problem and thankful he didn't have to backtrack.
IF Jim can Do It, You Can Too!
As previously revealed, Jim's building experience was limited yet he managed to install his surface mounted railing posts using the Titan Post Anchor™ easily. The fact is the skills and tools Jim required to complete this part of his project were skills and tools that most people have.
The ability to:
- Swing a 3 lb. hammer
- Draw a straight line
- Drill a plumb hole
- Pull a trigger on a power drill
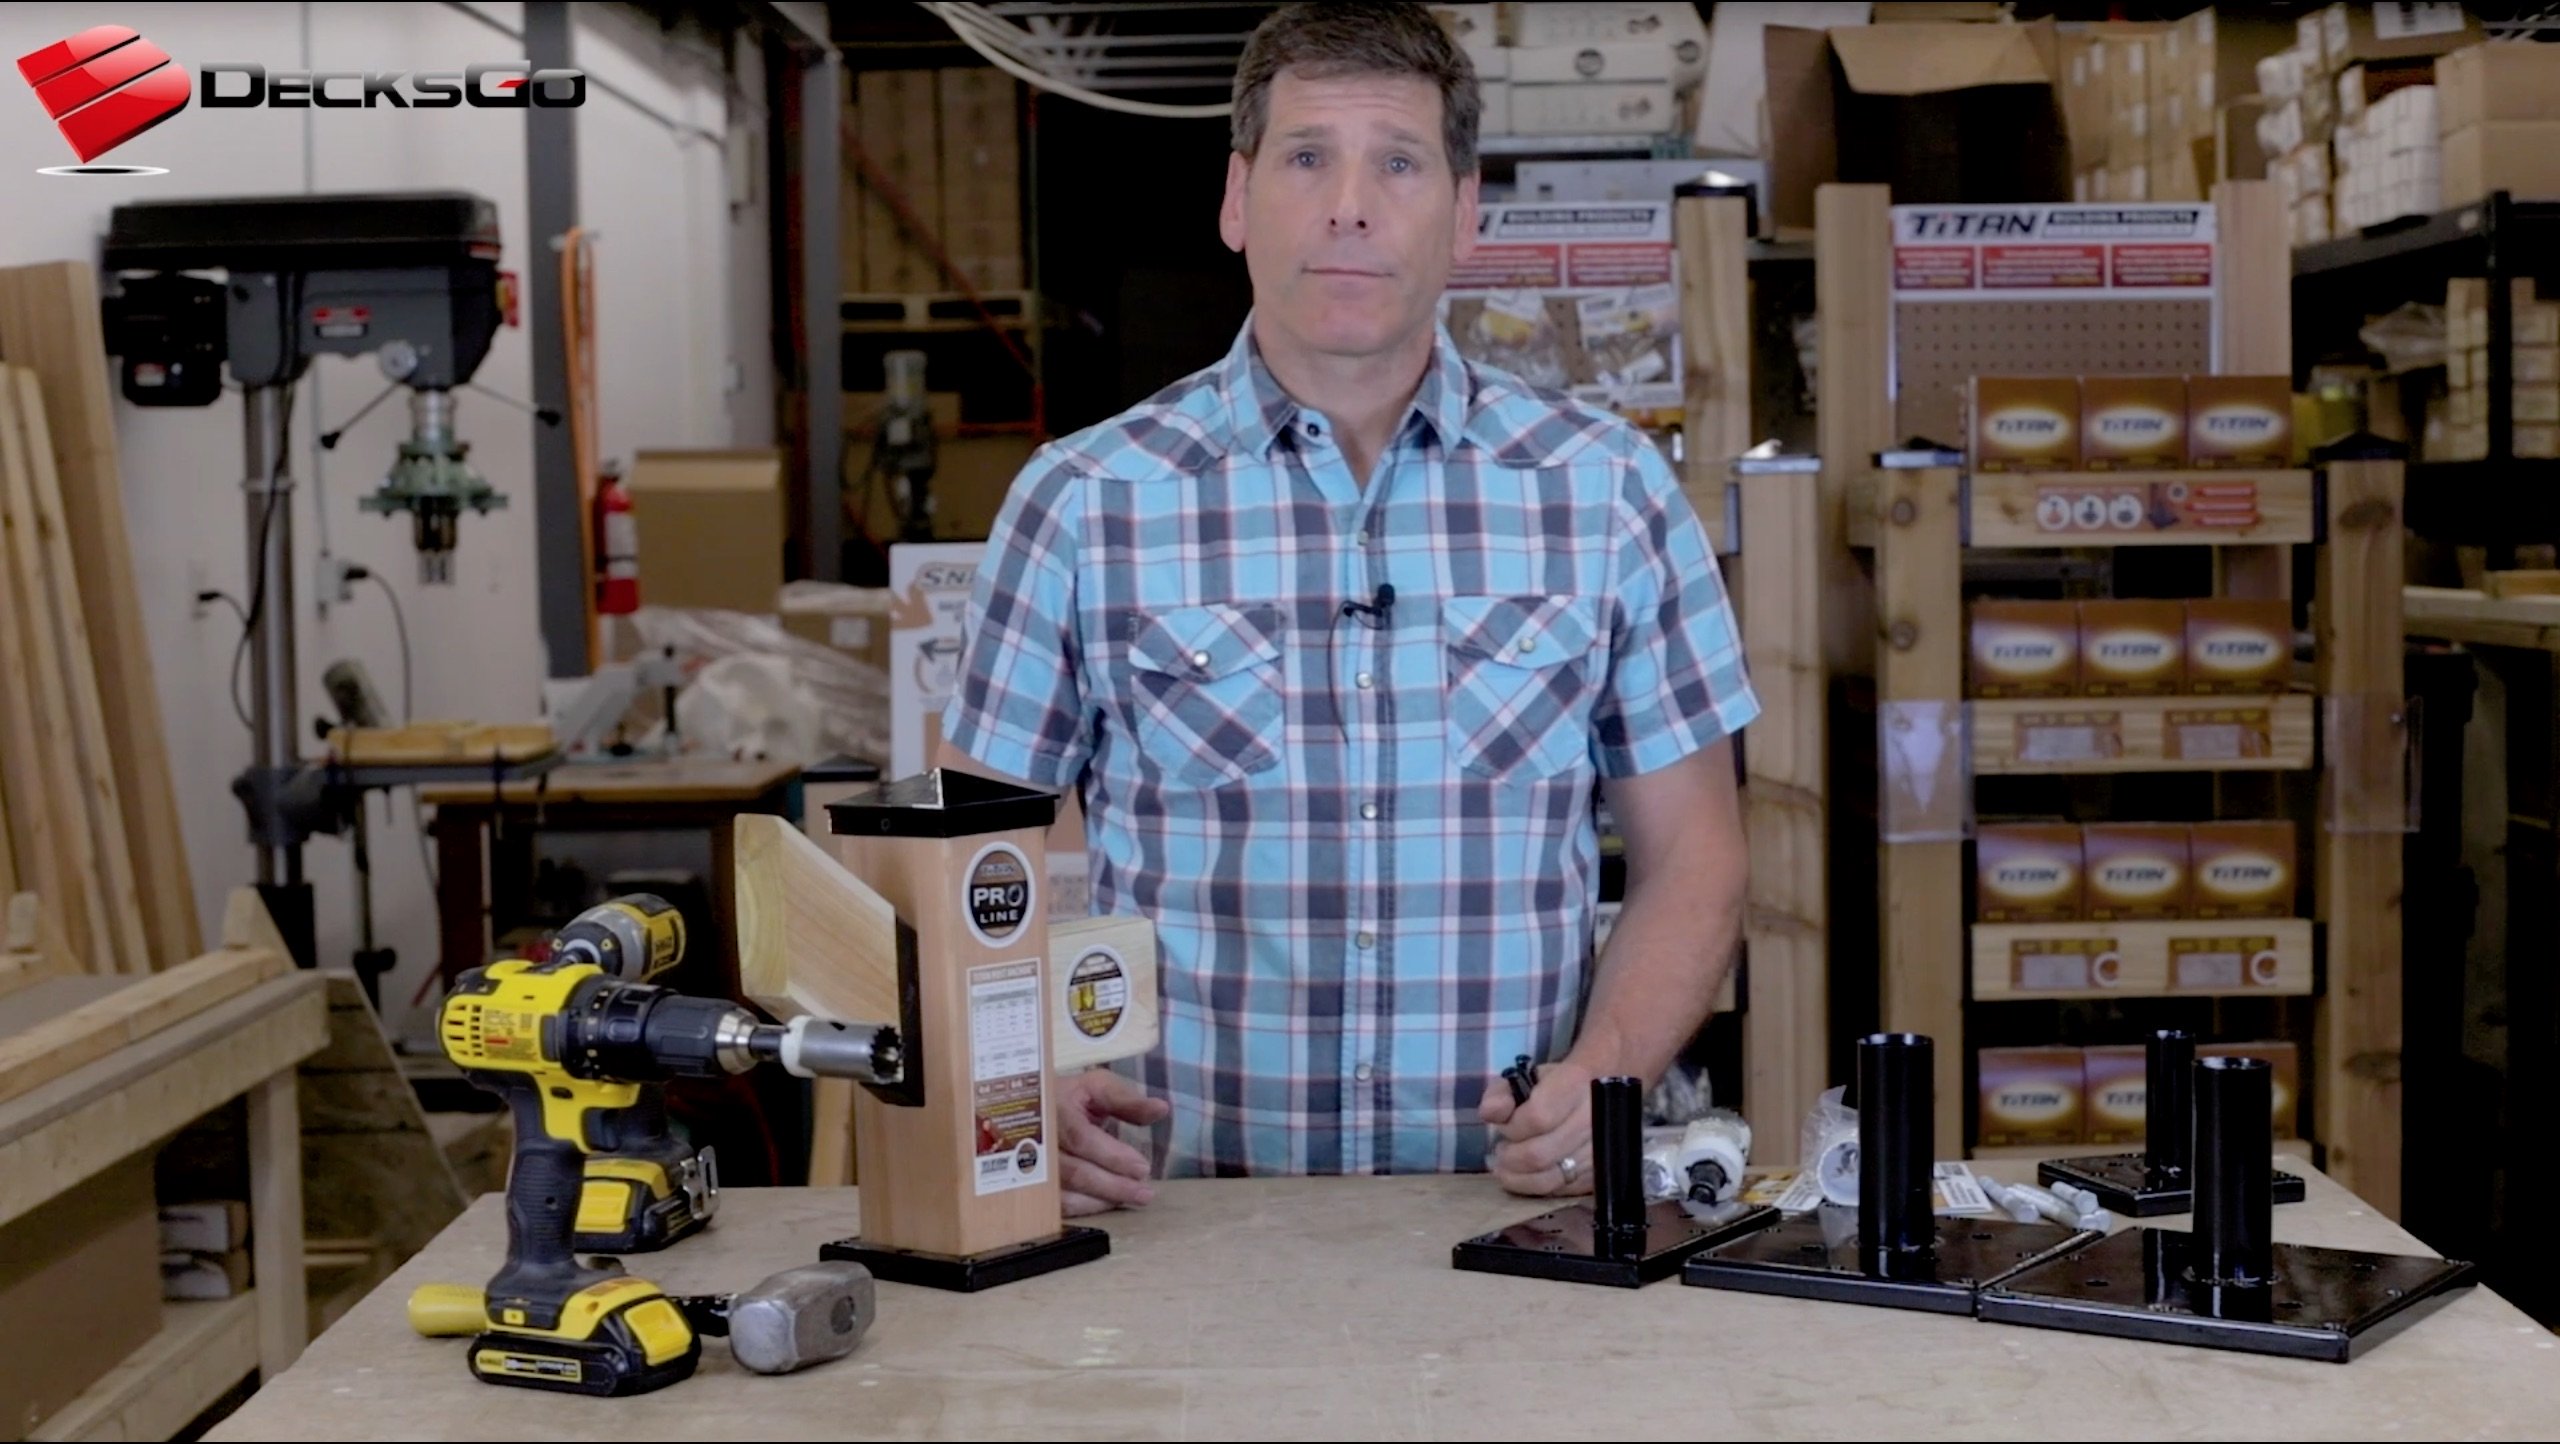
The tools required:
- Pencil
- Speed square
- 1 1/4" Hole saw
- Power drill
- 5/16" Drill bit
- 7/16" Drill bit
- 3 lb. Sledgehammer
- Level
- Shims
- Clamps
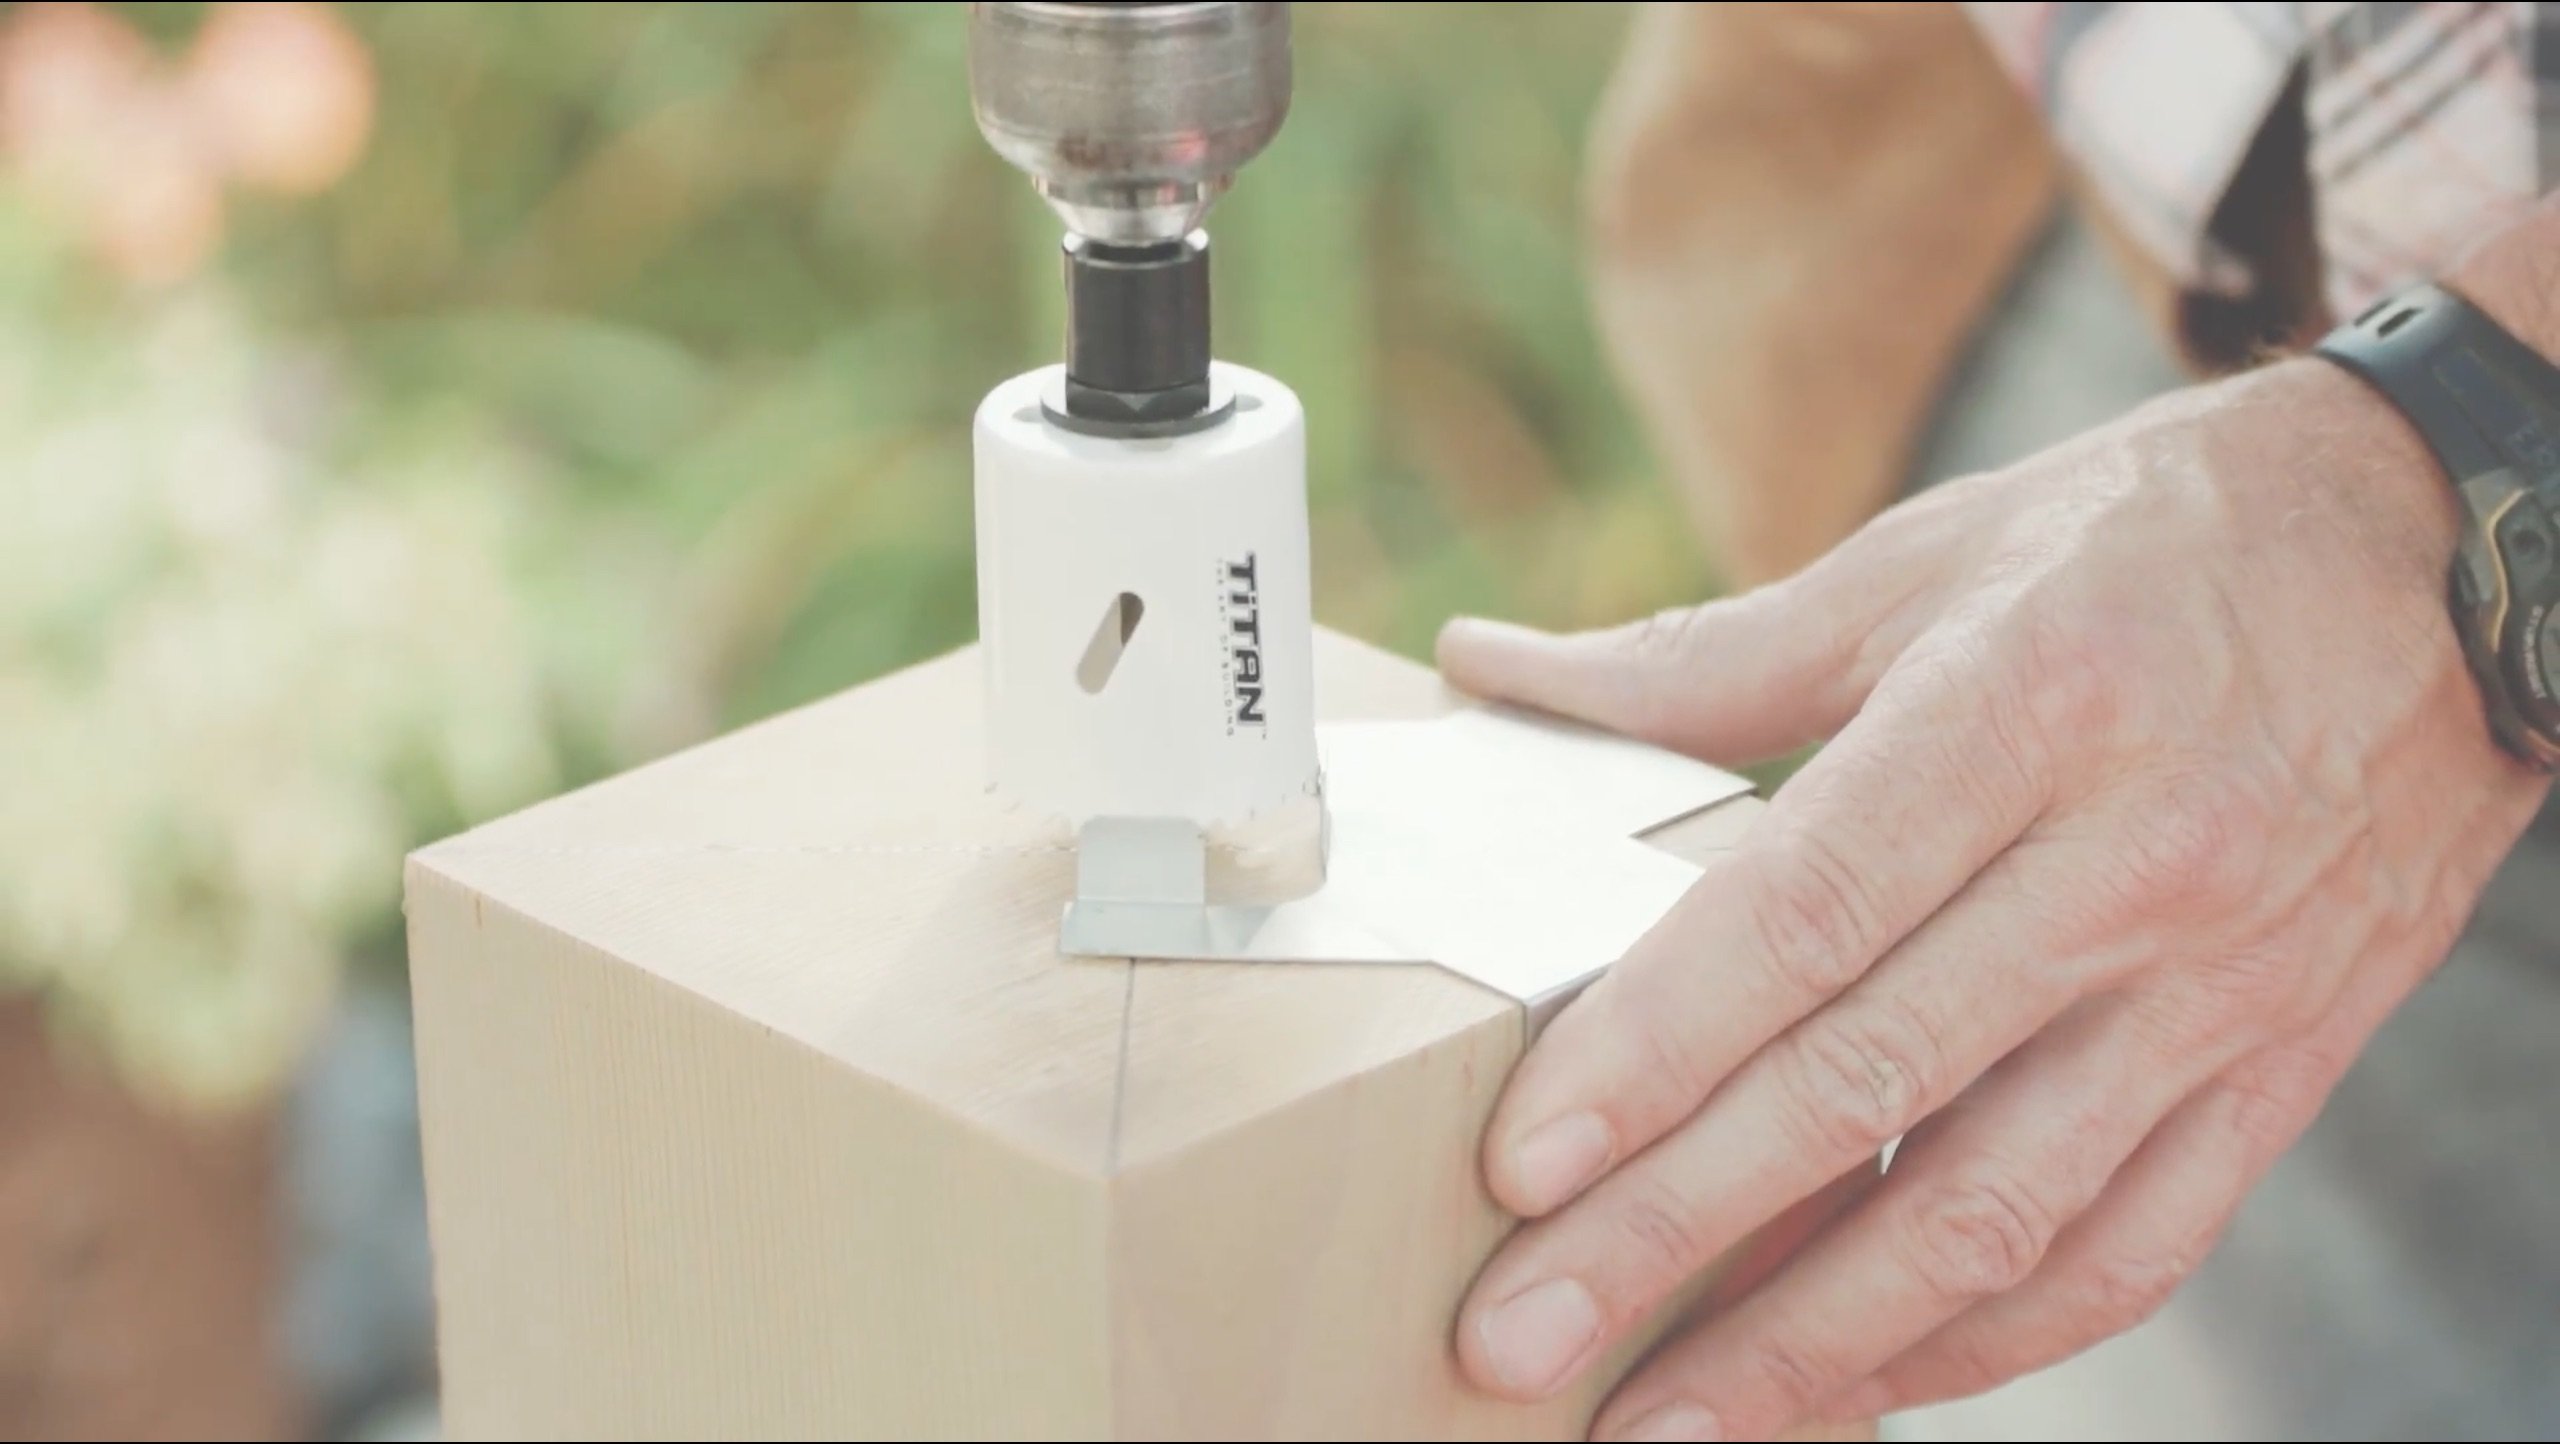
The first step Jim took to install the Titan Post Anchor™ is to find the center of the post. You do this by simply drawing an “X” on the bottom of your post using a straight edge. The center of that “X” is the center of the post.
Then he set his drill to the “drill” setting and the gear selector to “2” (low torque). He had to back it out and tap the wood dust out of the bit a few times; this will depend on how soft your wood post is. He then drilled into the post with the hole saw until it bottomed out and left the plug in the post.

Builder's Tip: Anchor the post to something with some clamps before drilling. In Jim's experience trying to hold the post and drill was a real pain in the… wrist!
Jim found the next step to be the fun part. He set the end of the post, without the pilot cut, on a firm surface (he used his concrete patio). He then inserted the Titan Post Anchor™ into the pilot cut. He just eyeballed it to ensure the anchor was square with the sides of the post. Then he grabbed his sledgehammer and gently hammered the anchor into the pilot cut. When he got close to flush with the bottom of the post, he used his hammer to square the anchor with the post. Do not be shy, Jim had to bang it hard. When he was square, he finished hammering until the post anchor was flush.
Builder's Tip: You can use the pencil lines as guides and look through the holes to help square the anchor with the post. Jim used the Trex post sleeves, so even though he did not need to be perfectly square he wanted our readers to know that given his OCD (desire for perfection) he was.
it makes a nice strong connection

Jim then used a 7/16″ drill bit and drilled out the four holes for the large lag screws. Then he swapped out that bit for the appropriate socket and drove the lag screws in. You will want to secure the post for this part too. You may have to switch from the drill/driver to a socket wrench to get the lag screws all the way in. You can also use this step to get the anchor completely flush if the hammering did not do it. That is, it, your anchor installation is complete. When Jim completed this step, he said "trust me, you’re never getting that thing out."

NOw let's talk about blocking
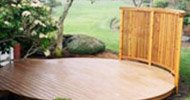
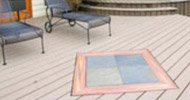
If you look at Jim's deck photos you will notice he did a nice double picture frame border to give it some character and hide the exposed edge of the Trex decking. He loves the look but the amount of blocking required for a picture frame deck deck is more complicated. To learn about picture framing see this article.
Once Jim determined where he would be placing his deck railing posts he then crawled under his deck and added 2x8 blocking between the joists. This is typically not a difficult task but unfortunately for Jim he had to deal with a broken nail gun before finishing this step :(
When it came time for Jim to drill the holes into his expensive Trex decking he did not just measure twice and drill once he measured … well let's just say way more than once!!!
Builder's Note: Be sure the deck screws of the outside edge of the post anchor hit the rim joist; the rest can go into the blocking. Jim suggests waiting to hammer one of the anchors into the post so you can use it as a template to position the post and mark where to drill. If you are using composite decking you must pre-drill at least an inch deep into your deck board.
Once Jim was ready to mount his posts he grabbed some shims, a level, his drill gun with the proper socket and a clamp. He then lined up his post with the holes he predrilled in the deck and used his screw gun to drive the lag screws in about ½ – ¾ of the way.
Since Jim was working alone he had to hold his level along one side of the post and plumb the post side to side. He slide shims in as appropriate to hold it. Then moved the level and plumbed it front to back. In retrospect Jim recommends clamping the level to the post so you have two hands free to work with. Or you can up your game and clamp two levels on the post and plumb it both ways at the same time.
Once the post was plumb both ways, he screwed down each corner, adjusting the plumb as he went then he screwed all the screws in. Again, since he used a Trex post sleeve, he didn't strive for perfection as the sleeves provide some wiggle room and hide most errors. Plus, most people don’t walk around with a level checking if your posts are plumb.

The Final Touches
Jim used the Trex post sleeve, a flat post sleeve cap and skirt for each post.
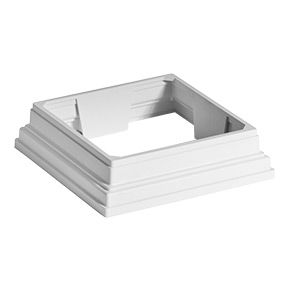
Each skirt had tabs inside that needed to be cut out. Watch out for your fingers!!
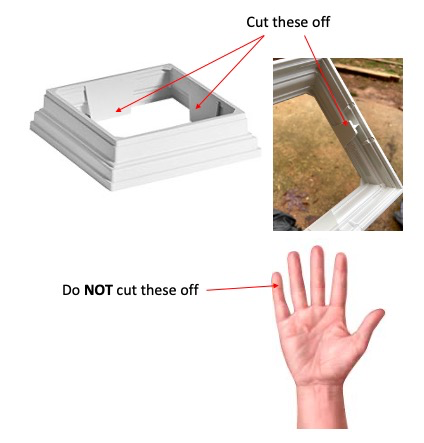
Watch the video below for more info:
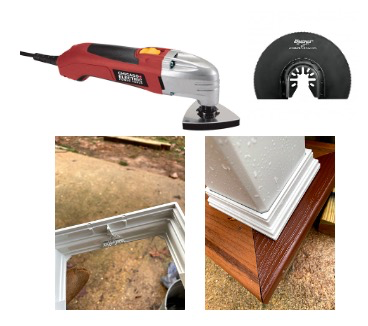
Jim used an oscillating tool with a half-moon cutting blade to cut off the tabs inside his post skirts until they fit flush on his deck.
When the weather turns dryer Jim will use silicone caulking to attach the caps and skirts.
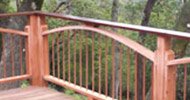
Jim was impressed with how easy the Titan Post Anchor and posts were to install and was quite pleased with how good the end-product looked.
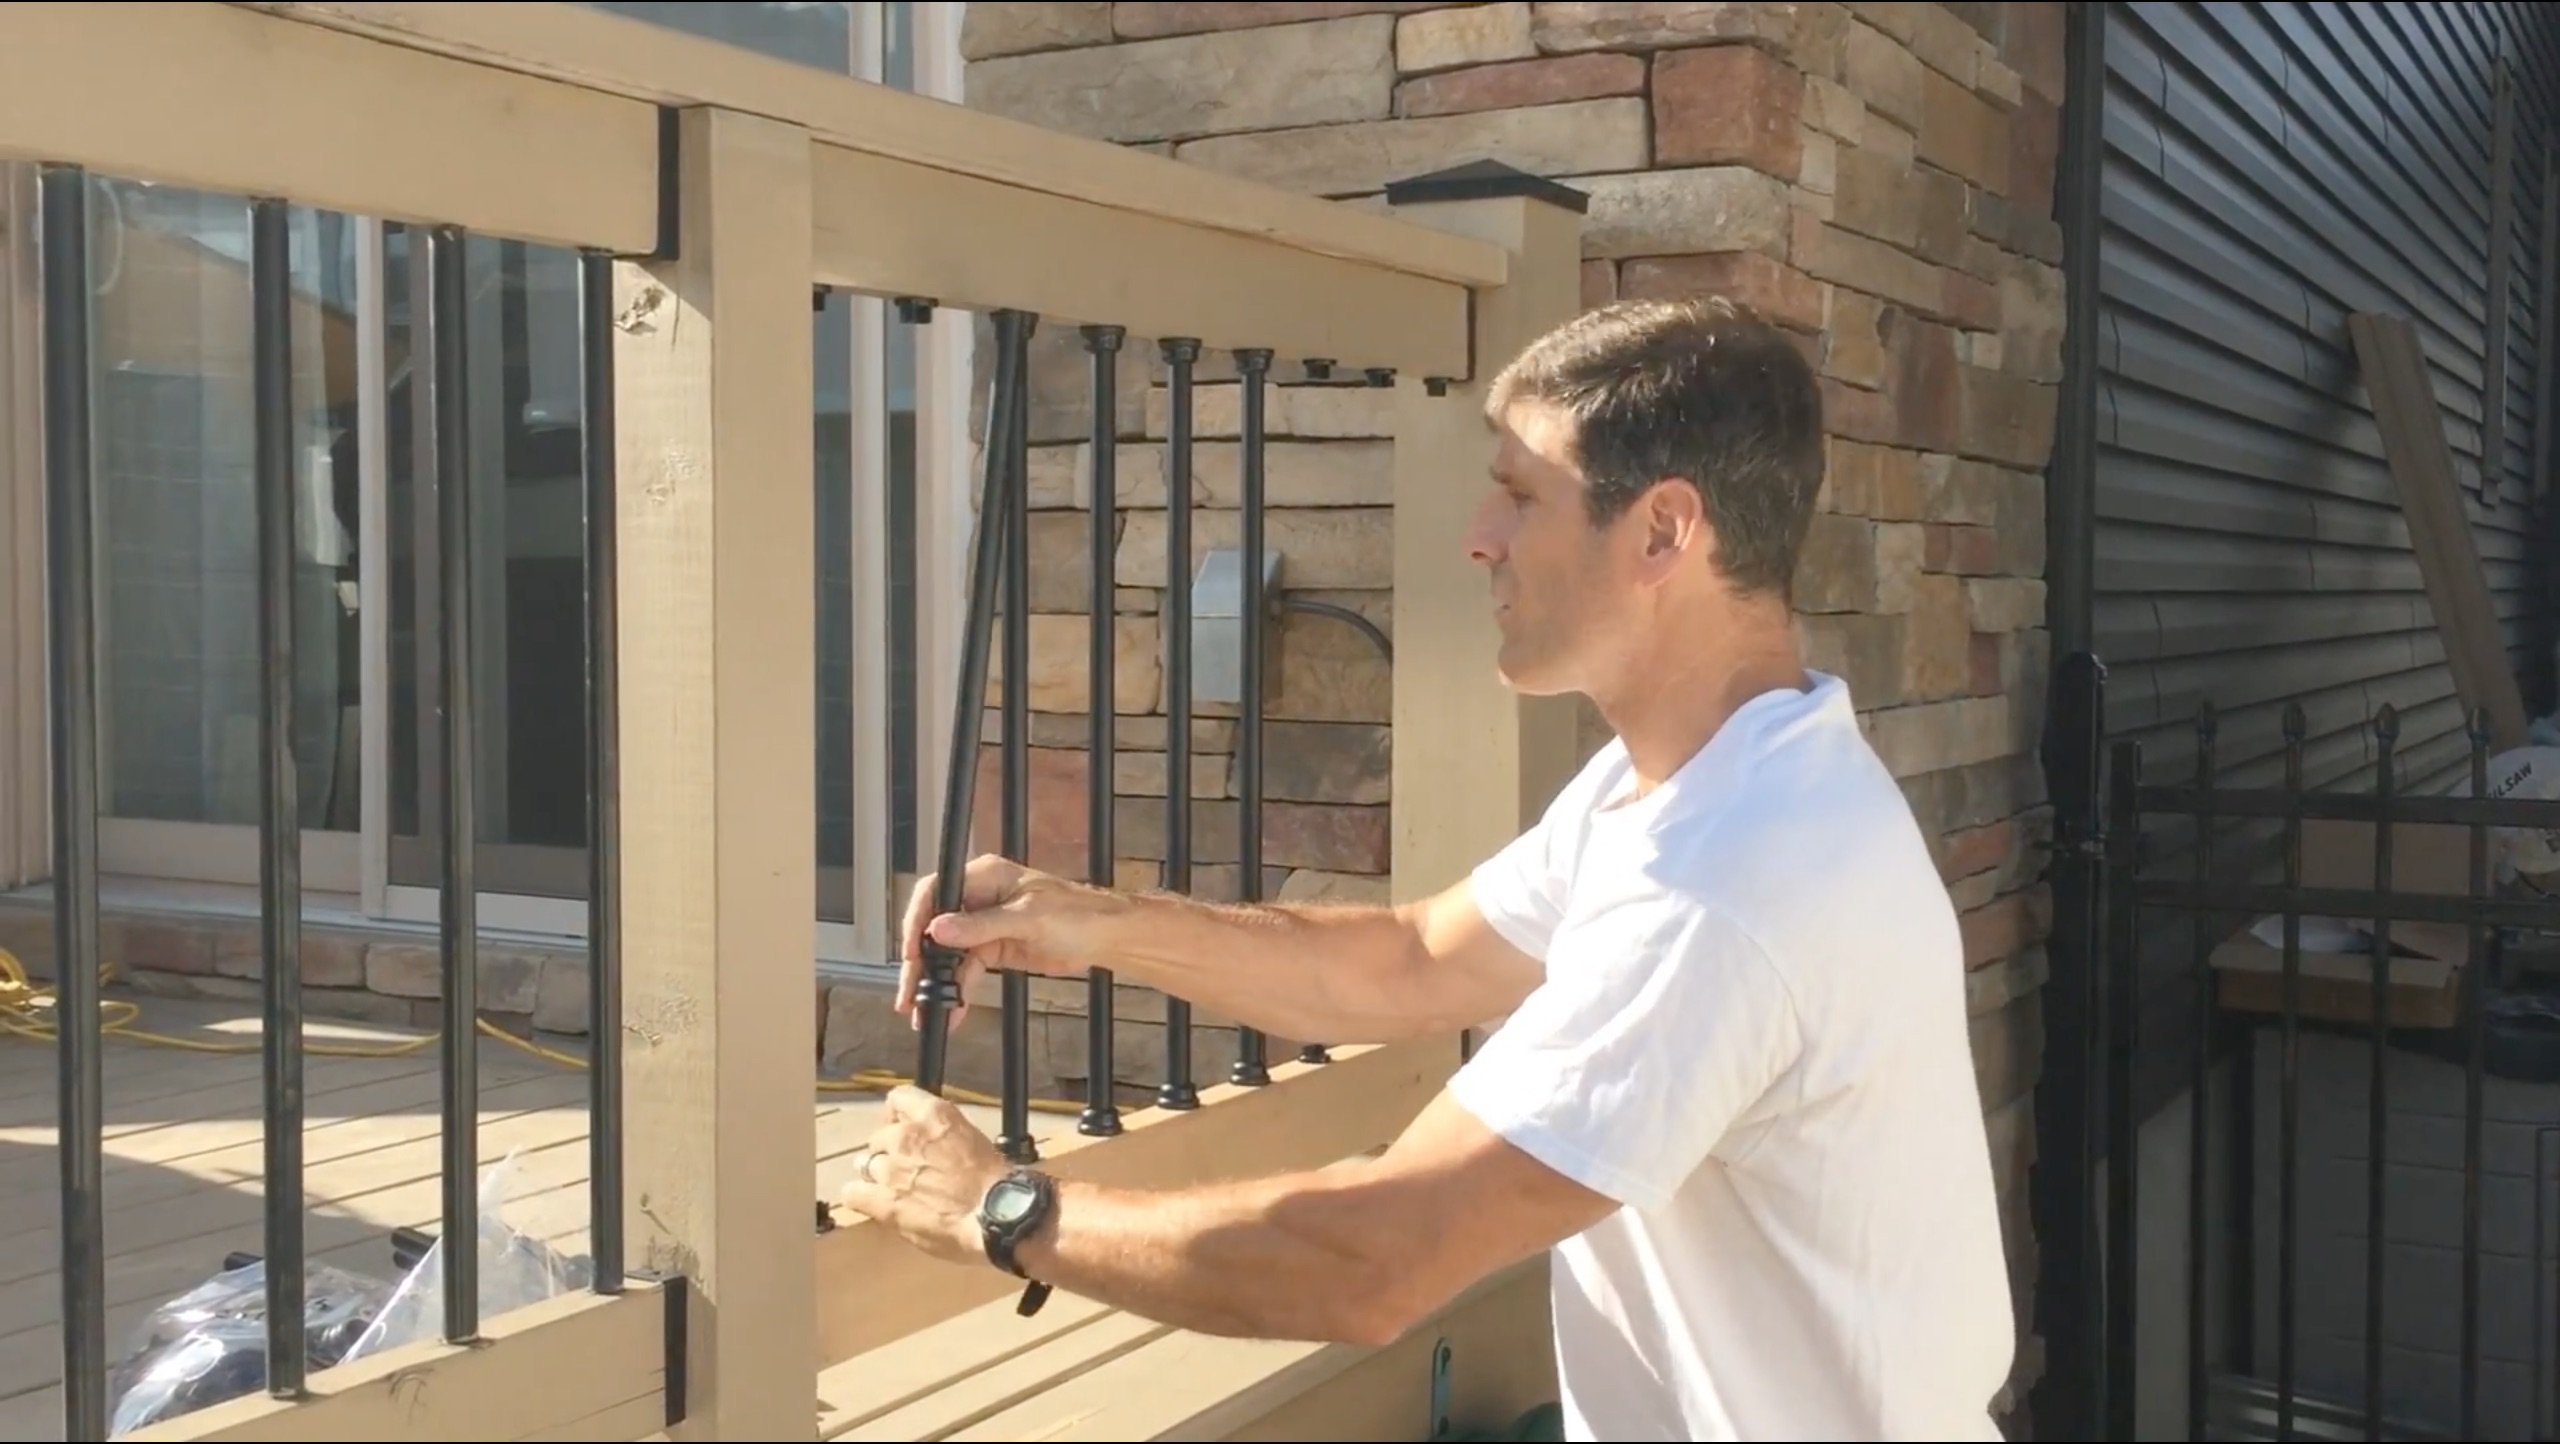
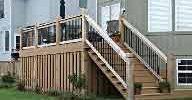
The railing installation was another story altogether.
Next step for Jim was to finish the trim work.
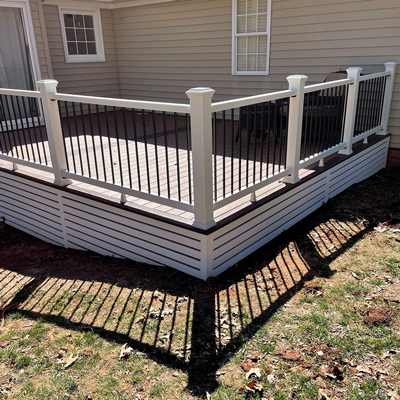
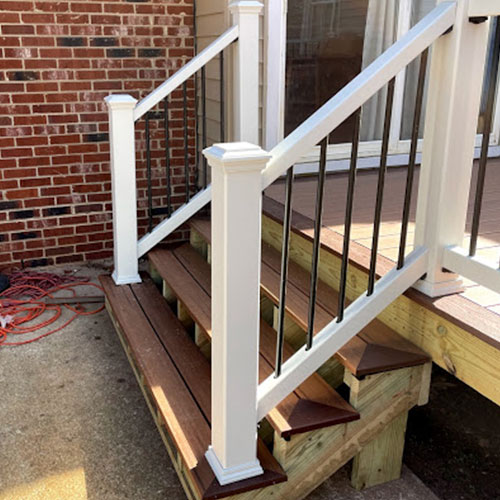
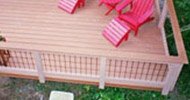
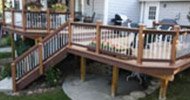
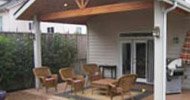
the final Product - A labor of love
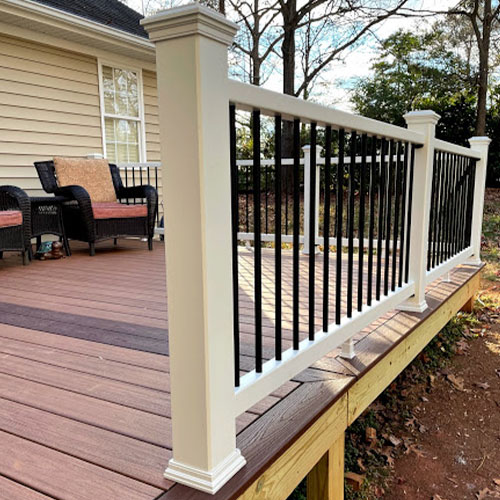
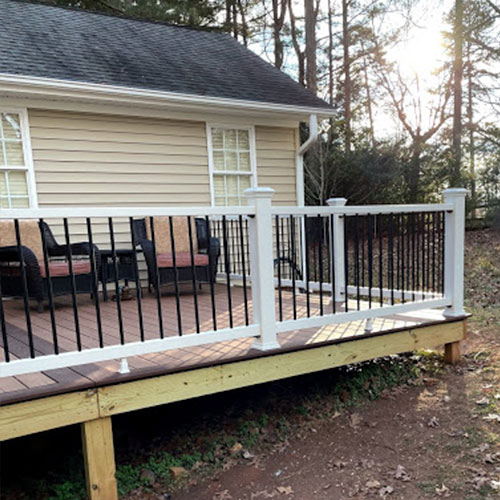
Happy Wife Happy LIfe :)
We are so thankful to Jim for sharing with us his experience building with the Titan Post Anchor™ along with lots of great photos. And, by the way Jim's wife is beyond thrilled with their new deck and very proud of Jim for tackling this project on his own. You can read more from Jim on his blog here.
- Home
- Titan Post Anchor Forum
- Build Deck With Titan Wood Post Anchor
WHAT PEOPLE are SAYing
AWESOME PRODUCT!!
These Titan post mounts were just what I needed!!
I wanted to install my railings set back from the edge of my deck. But I didn't want to cut through the actual deck to lag the posts to the joists. Plus I didn't have the time to do all that work.
With these post bases I was able to evenly space the posts where I wanted them without having to worry about "hitting a joist". They were very easy to install and are way stronger than "toe nailing" a post.
Thanks again for an awesome product!
William Mahig - East Islip, NY
everything you ever wanted to know about the Titan WOOD POST anchor...

BEST ANCHOR I'VE USED
We just completed our deck this past weekend and I have to say I'm extremely happy with both the performance and ease of use of the Titan Post Anchors.
Overall a great product way better than the Simpson Strong Ties I've used in the past which have that tall ugly box at the bottom.
Alex McClure - Wylie, TX
GREAT DESIGN, LOW VISIBILITY
Great design, low visibility. Looks professional once installed. Instructions are straight-forward and easy to follow.
I had several posts to install, so I setup sort of an assembly line process. Made it simple. I hammered them in to treated pine posts with a 2 1/2lb hammer. (after drilling the pilot hole first). Easy as pie!
They hold very securely with no wobble. Rather than using shims (deck was fairly level already), I simply cinched down on the appropriate bolts to plumb the post.
Great product. I would DEFINITELY recommend these to anyone!
Mitch Parsons - League City TX
GREAT DECK POSTS
I have installed 10 of these post anchors in the process of refinishing my deck. They work great.
Will I use this product again? Yes, most definitely.
Gary Harpold - Roanoke VA
POSTS ON CONCRETE SURFACE
I could not be more pleased. These anchors are great. I mounted porch rails on concrete. I used the recommended bolts to connect the anchor to the post, then used tap cons to connect the anchor to the concrete. This resulted in a greatly stable porch railing.
I've used these anchors and skirts on two jobs so far. Should I find the need again, I will definitely use Titan anchors.
Phillip D. Deere - Lake Mary FL
STRONG BUT GREAT LOOK
The Titan has it all. It's got the strength that is what you're looking for but the look is outstanding and combined with the other features I put on this railing system it was the right choice. And I'm happy about that.
Bob Evans - Big Rideau Lake, ON
NICE PRODUCT & LOOKS GOOD!
This is a nice product that works very well. You do need to ensure the bracing below is correctly placed for maximum strength.
I also noted that it is best to slightly angle the exterior screws when driving with an impact gun to ensure enough clearance. Customer service is excellent as well. I have received many compliments on the final results, so all-in-all I am pleased.
J. McConnell - Jacksonville, NC
MADE A STRONG RAILING
Great product, made the railing very strong.
T. Close - Troutvale, VA
GREAT PRODUCT
I used these to install a railing on a concrete stoop and walkway. Although I probably shouldn't have, I bored the mounting holes out to 3/8" to accommodate wedge anchors.
I love this product, and my project came out amazing!
Kathleen - Hauppauge, NY
NOW I AM SOLD
Was very unsure about the potential of being able to leverage the post loose.
Mounted the first post anchor and was sold, installation is simple and time is definitely saved. I will be using these post till I find something better.
This is a great alternative to all other expensive bases. I have used my share of the expensive bases and this is by far the best for your money.
Dumette Construction LLC - Gilmanton, NH
THE REAL DEAL
Great product. This is the real deal. Secure fit. Part of my arsenal now.
Barnett Deck - Ottawa, IL
CONCRETE PORCH WITH SLOPE
The Titan Post Anchors are rock solid.
I used this anchoring system for the first time on a concrete front porch with a definite pitch. Rather than shimming up the front of the anchors to keep the post plumb, I decided to use a grinding wheel to score out a "seat" for the anchor perimeter.
The key with this method is to grind out a little in back and very little on the sides. If you need to take out material to the front of where the anchor will sit, you probably took out too much on the backside. Less is more in this situation. They look great!
P. McSharry - Fairfield, CT
GAZEBO POSTS
Was building a gazebo on top of a cedar 12x12 existing decking by my pool with 6x6 posts and needed something strong to hold it in place.
Local building stores had nothing I would even consider using because they were not strong enough or would bend to easy. Found Titan Post Anchors and I was sold.
Bought 9 of these and let me tell you they were solid metal, for the same price for a piece of cheap tin from my local stores. Came with all the hardware I needed to install them. great product. Company was fast shipping and even answered the phone when i needed more info about their products.
So bottom line, they are steel and will hold any post where you need the extra support. Well worth the money.
D.Price - Saint Libory, IL
RECOMMEND TO ANYONE
Purchased 9 - 6 x 6 Titan Post Anchors to assemble to a new construction PT deck surface. Installation to the 6 x 6 was easy, with a little sledge hammer help. The lag screws were a bit short for 2 x 6 decking, so I opted to purchase longer lags to attached through the 2 x 6 decking and into 2 - 2 x 6 scraps together. This proved to strengthen everything very well.
Titan Post Anchors make my deck look very nice and strengthen everything very well. Would recommend to anyone!
Jesse - St. Marys, PA
Thank You For Creating This
I will continue to use your Titan Post Anchors — there is simply nothing else out there that is not either flimsy, or ugly, or both.
The Titan Post Anchor represents a long-awaited improvement upon other bases on the market. If I didn't think so, I would not waste my time writing you.
H. Kirchen - Michigan
Innovative
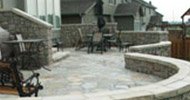
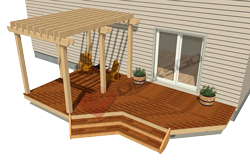
Being a Civil Engineer by degree and a custom builder and remodeling contractor by profession, I take pride in having a reputation for solving construction conundrums to a high level with cost effectiveness, and in the instance of this pergola, the main concern was, how to structurally attach the 6x6 post columns to the existing stone pedestals.
Structurally, I was primarily concerned with lateral stability strength and shear, and secondarily with uplift. Aesthetics too, were just as important, since the pergola was to have no visible fasteners showing from the ground.
I researched various fasteners on the market, and ultimately found the Titan Post Anchors to be the most suitable for this project.
I core filled the existing pedestals with concrete, attached the Titan Post Anchors to the pergola cedar columns, and then attached the columns with the Titan's to the concrete core filled stone pedestals.
The post anchors were a key component in helping the homeowner in salvaging the existing stone pedestals as a structural base for mounting the pergola columns. This ultimately saved the homeowner money and time by not having to scrap them, and allowed Macek Custom Builders to fasten the cedar columns to the stone pedestals with aesthetic and structural confidence!
Thank you for a great innovative product in the Titan Post Anchor.
R. Macek - Macek Custom Builders, OH
The Best
These are the best post anchors on the market by far.
There is some work to install them in the post but that is to be expected for a solid anchor. The video said to use a 3 pound hammer but that was difficult. I actually used a splitting maul and improved the installation time. I will be buying more for a pergola project. Five Stars!!!!
R. Adams, Mt. Vernon, KY
Awesome
Awesome . Best post system I have ever used. Will never use another system. Much better than Simpson strong ties. Good price too. Package arrived in good time but was beaten up in transit.
Armando Cabrera - Roswell, GA


Recent Articles
-
Pergola on brick paver
Apr 05, 25 05:36 PM
I have a brick paver patio that has been in for 10 years and I would like to know if the deck anchor will penetrate the gravel/sand base -
Durability of Titan deck foot
Apr 05, 25 05:20 PM
Hi, can you advise the estimated life of a Titan Deck Foot installed in the ground? How long is it expected to last? I live in an area in Ontario Canada -
10x8 6 person spa deck
Jul 26, 22 12:17 PM
I think I might be over-engineering this but I live in CT and I'm also worried about snow weight. Adding a 8x10 deck attached to existing deck, 2x10's


It's time to start
making your memories.

How-To
Go Learn More
© 2004-2026 Decksgo.com. All Rights Reserved.