


Building Wooden Railings With Style
Quick tips to building wooden railings that last and look good.
|
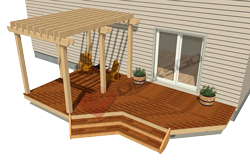
For those of you looking at building a deck for the first time, here are some simple construction techniques and ideas for assembling basic wood rails. These will last and look good and are affordable for the average person.
We will cover securing posts to joists, rail to post connections and baluster configurations. |
 |
Guardrail Posts Outside, Inside Joists or Surface?
One of the first things to decide is which way you plan to build your guardrail posts.
You can mount them to outside of the rim joist. Or you can secure them inside the perimeter joist and along or between the main floor joists. Finally, you may wish to go for a surface mounted post.
These are all important questions to understand and answer before you go further along with your building plans.
You might wish to read more about this topic in this article and then come back here.
How to Build Reliable Rail to Post Connections
Get the framing and blocking and hardware right.
This is a critical area if you are planning on building your railing post with traditional techniques where to you secure to the joists.
Remember, the joists and rim joist will now take all the load, the moment force. So there are some important things to know to do this right.
There are also different framing challenges depending on the post being in a corner, parallel to joist, along side a joist and many other.
To really learn the right way of building wooden railings, it is highly recommended that you read our article on post and joist connections.


Connecting The Rails to Posts Quickly and Easily
|
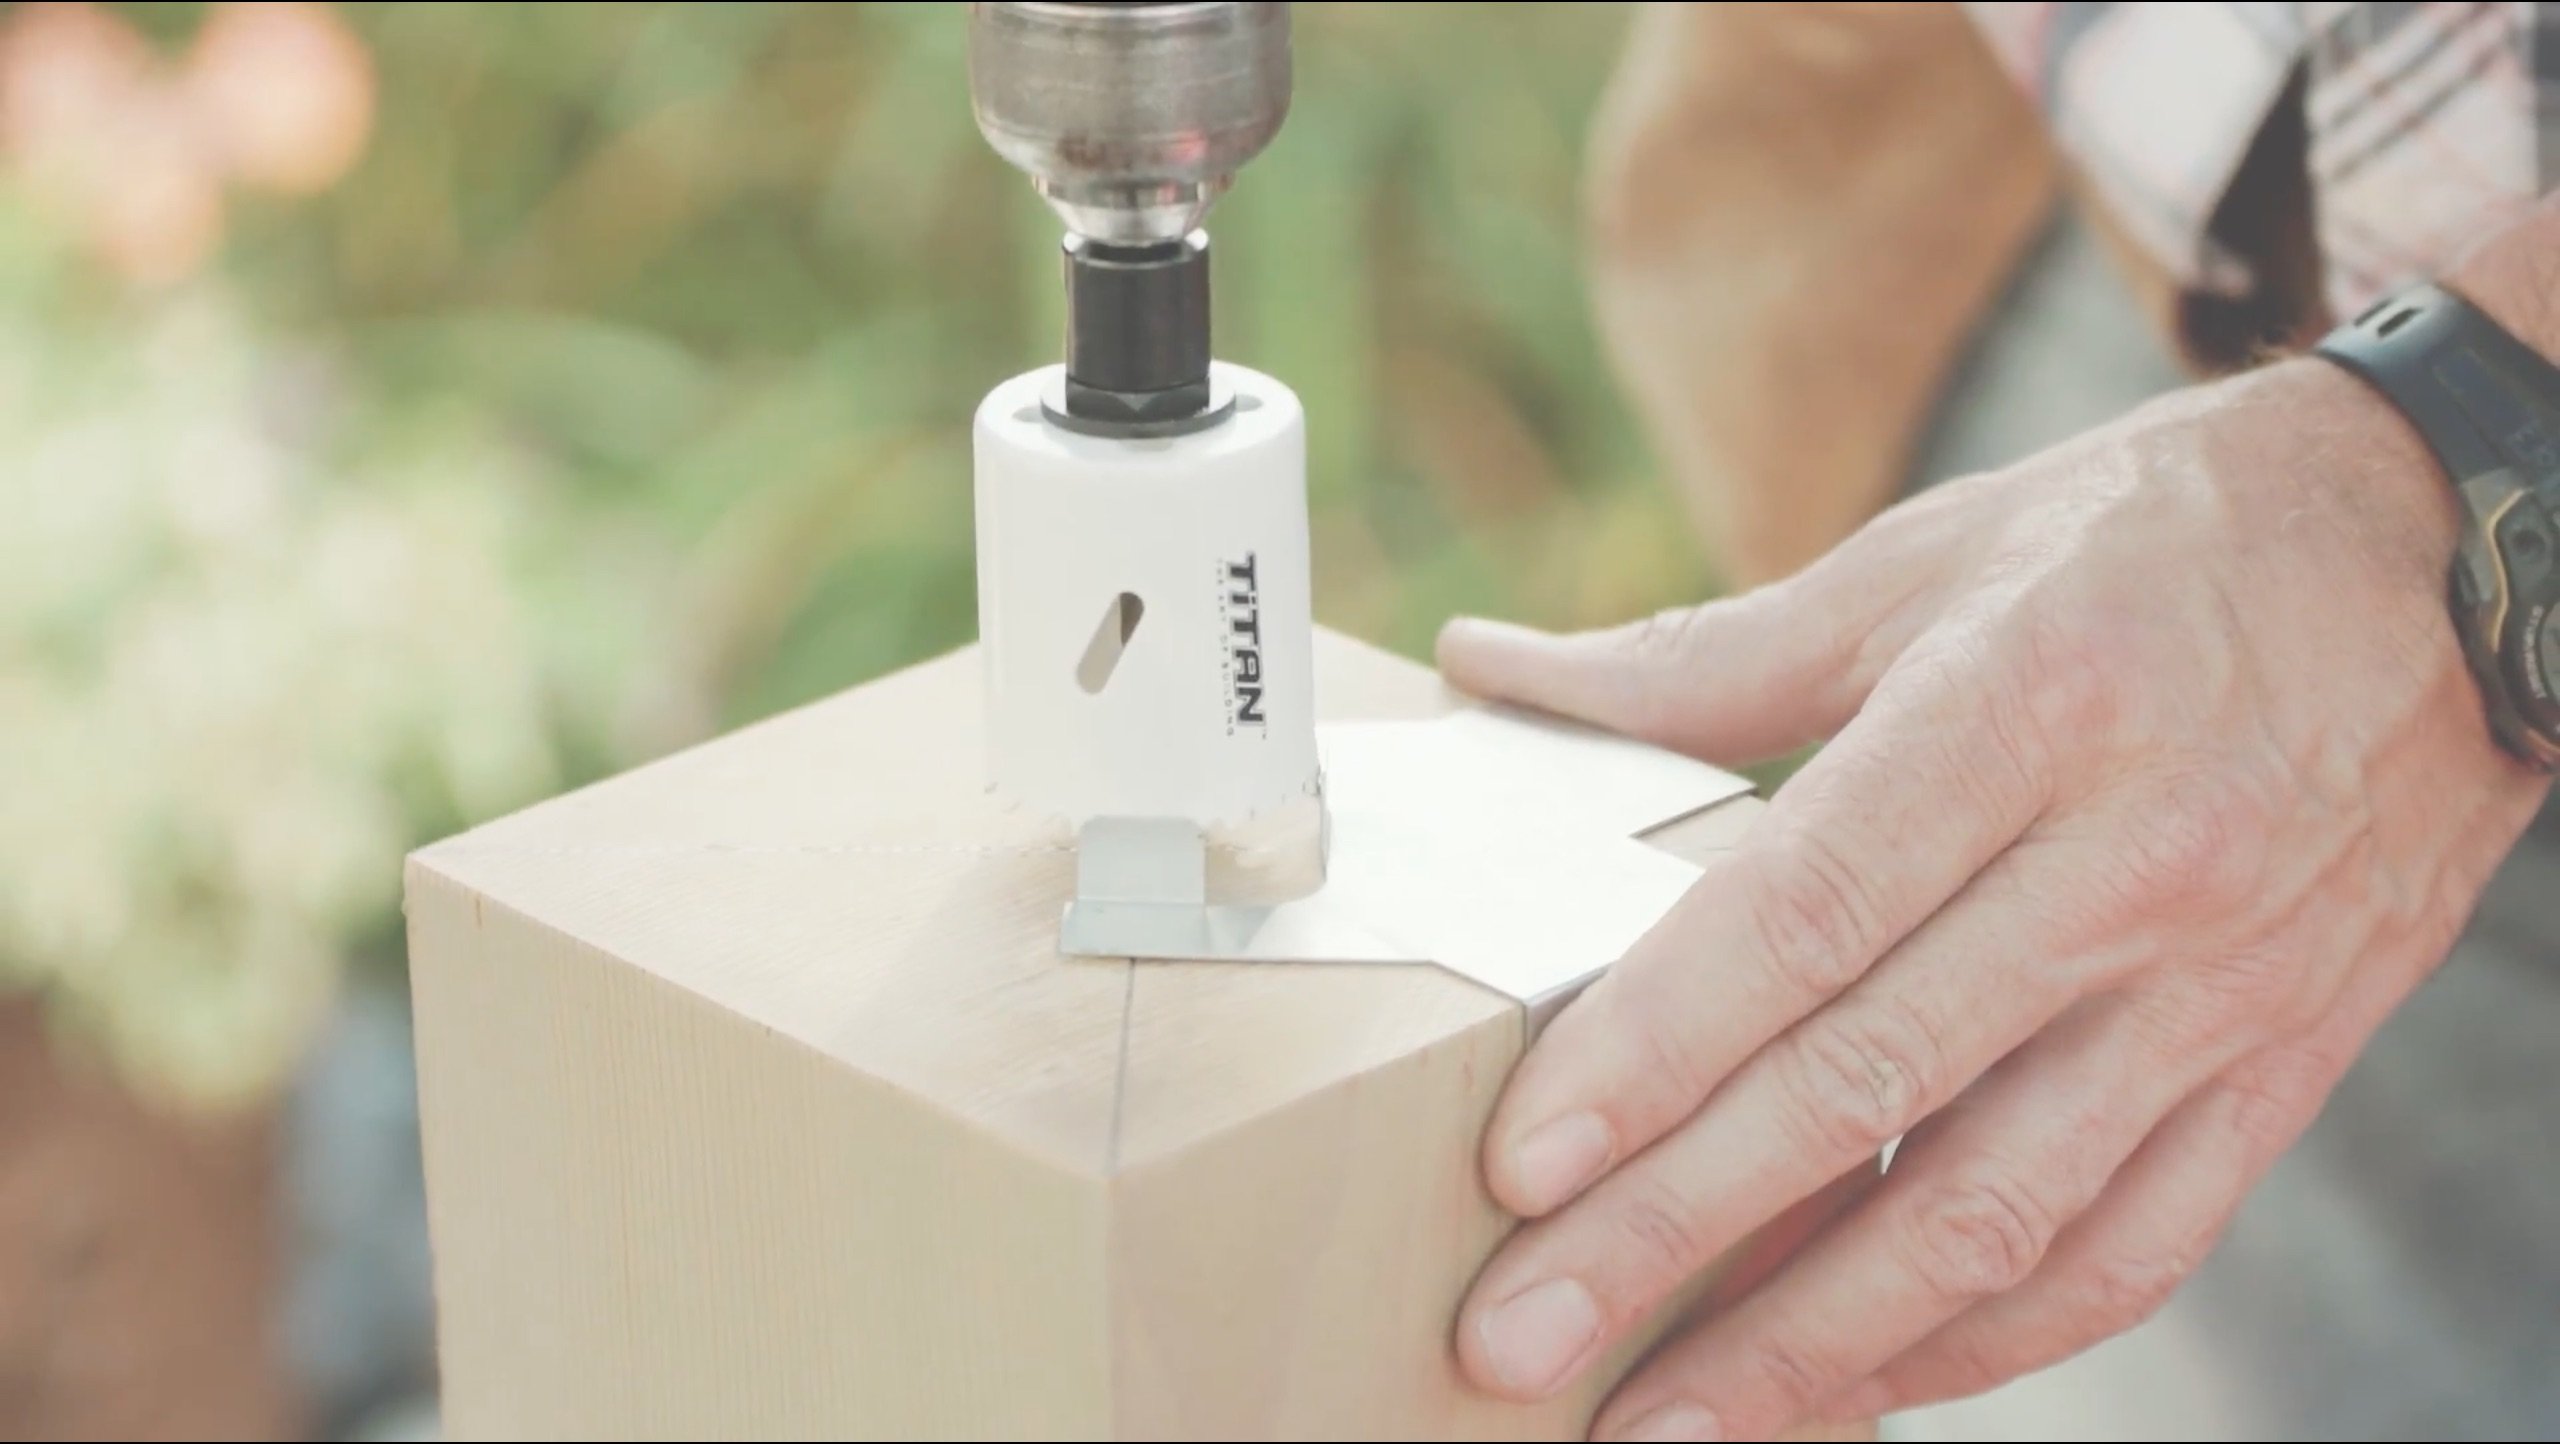
Standard plastic rail to post connectors are a great idea. As well as making the perpendicular connection of the 2x4 to the 4x4 post, these little connectors make it pretty easy to do and keep the rail and post connection drier over time. Here is a simple way to set the gap from the deck to the underside of the bottom rail. This is a 2x4 on edge and sets the gap at 3.5" which is less than the maximum 4" allowed under the code. |
 |
 |
Set top rail with the post. Cut the post to the correct height and secure the top rail flush with the top of the railing post. This is a very simple method of building wooden railings. You can't really go too wrong. And if you are a young carpenter you will be sure to have a successful outcome. |
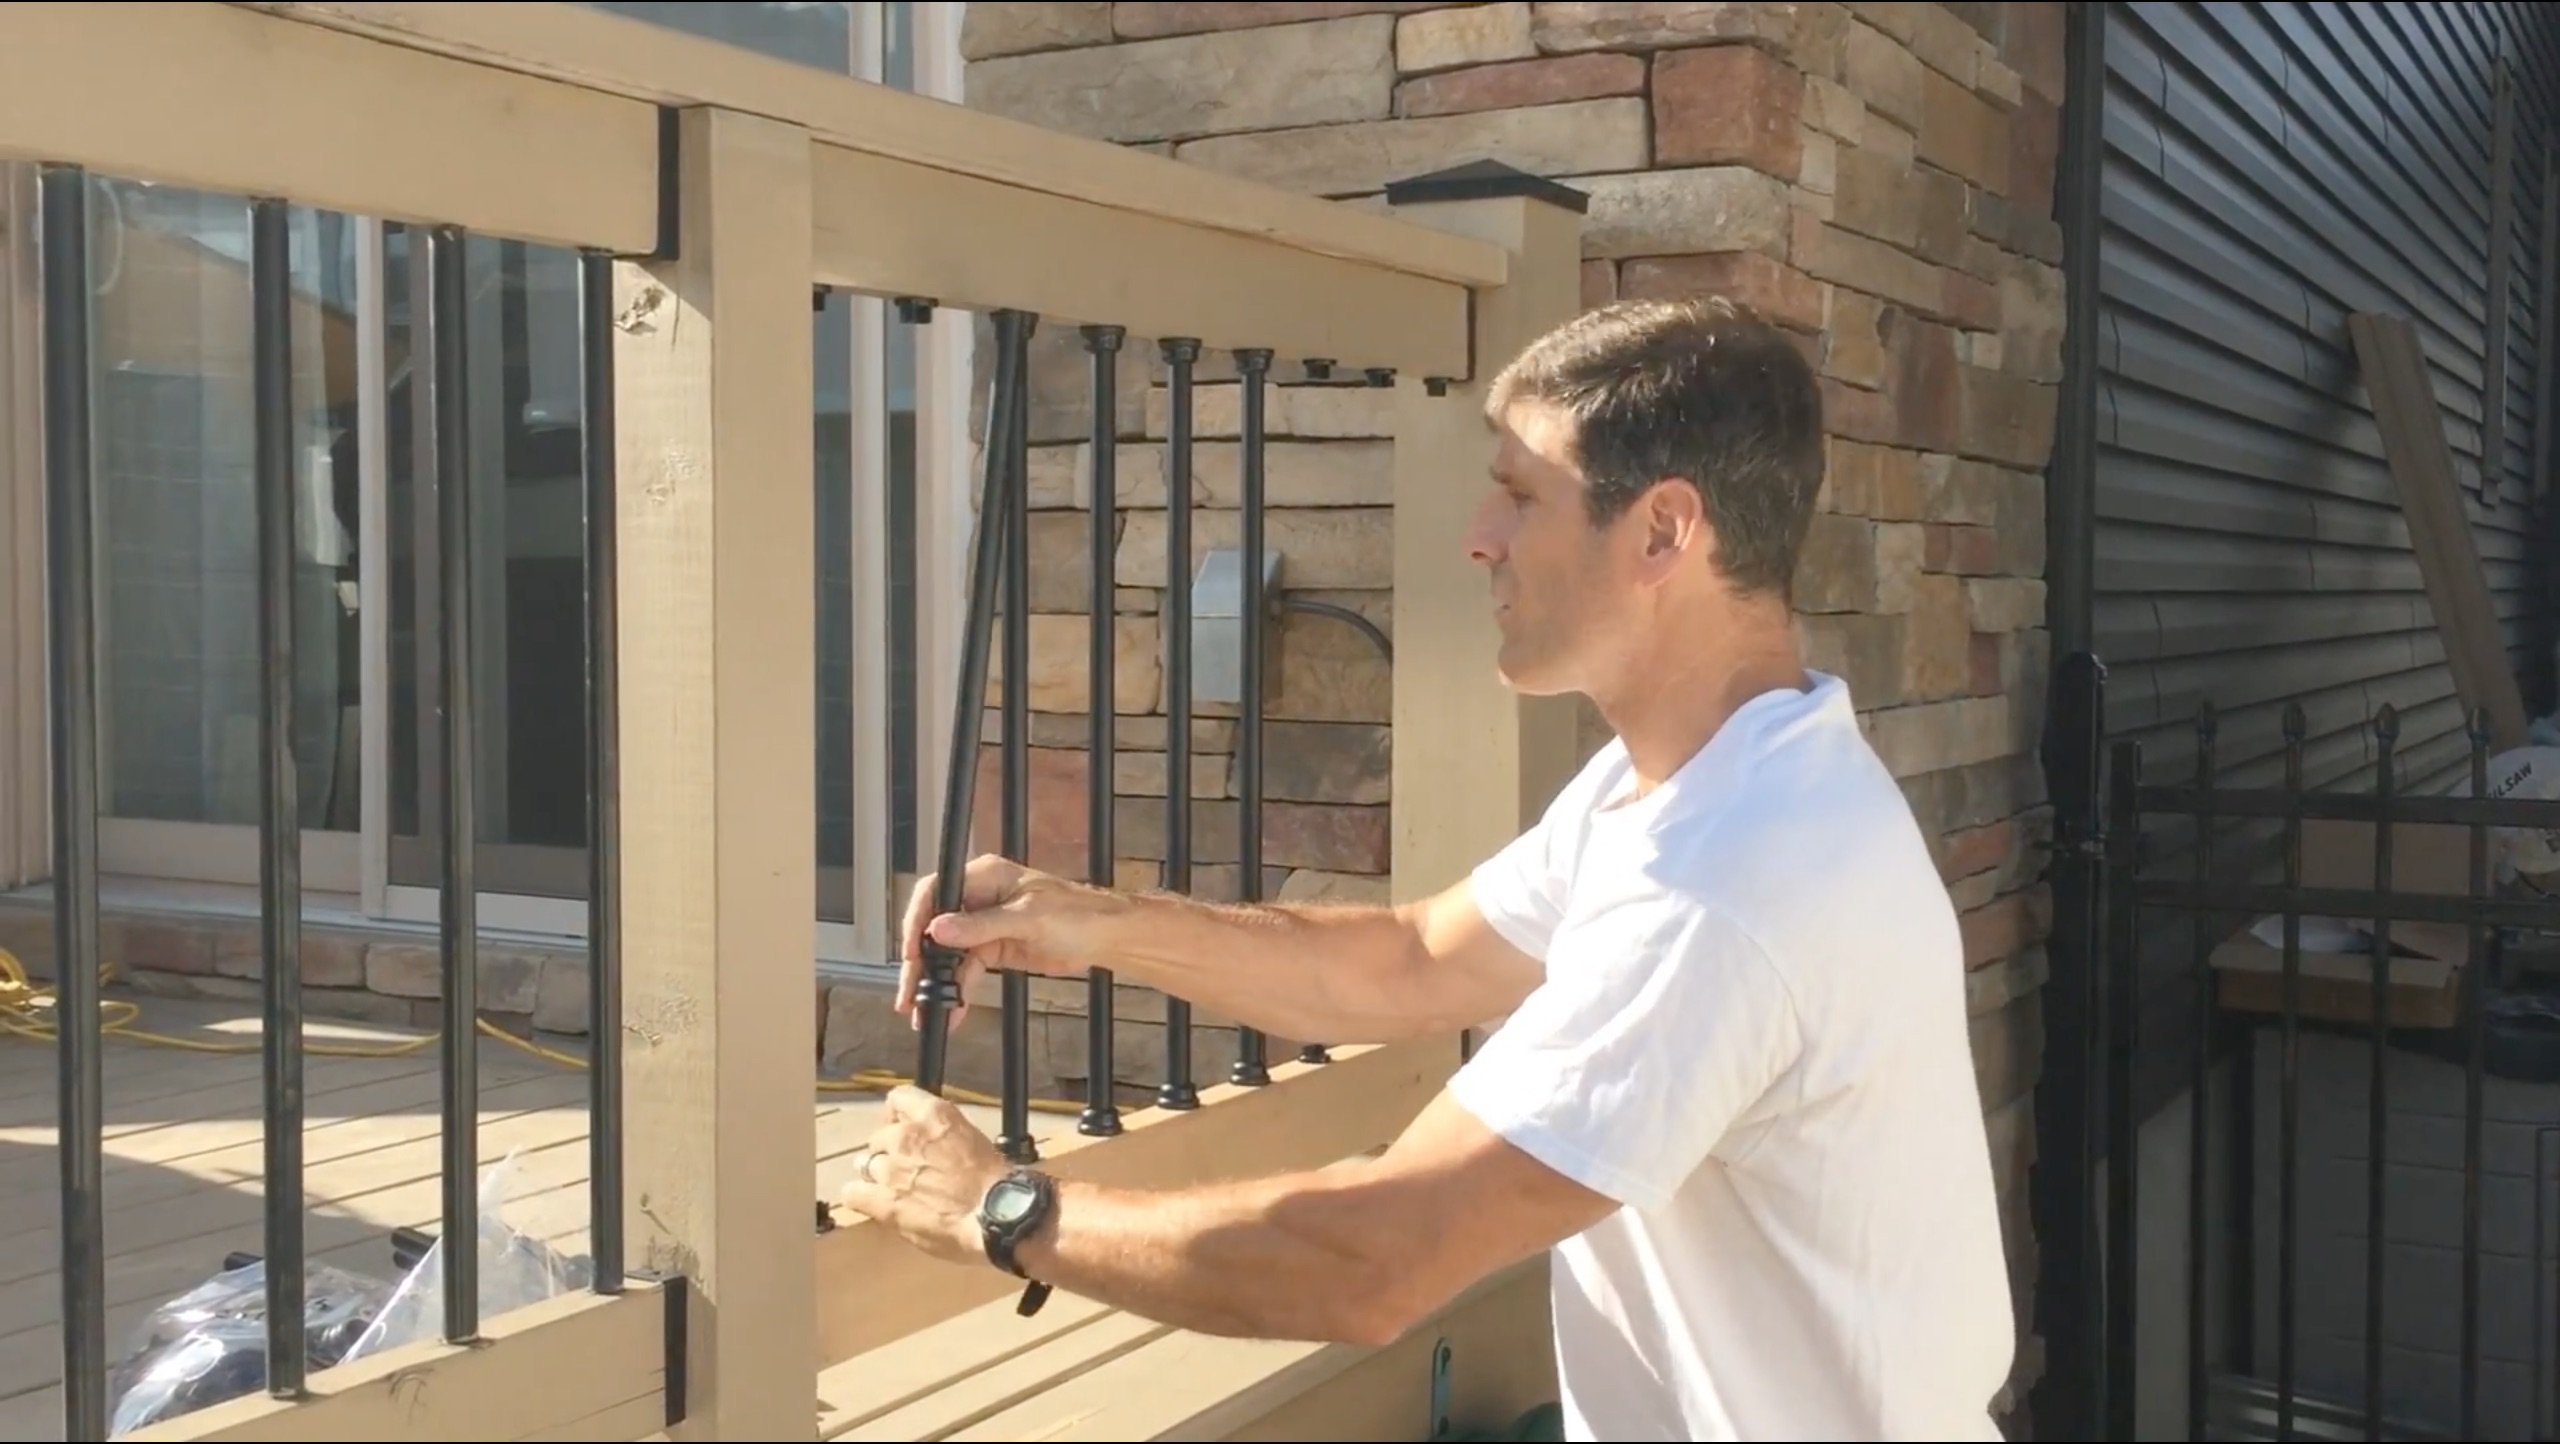
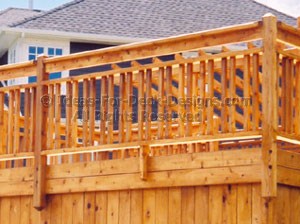
Here is one possible rail to baluster style setup.
With this set up, the 2x2 pickets and the horizontal rails both fall inside the periphery of the 4x4 posts.
This is nice because if you are using only a 2x4 top cap rail it covers the posts and all the rails and balusters below nicely.
You can see how you have to offset the rail a little bit inside of the post wall so that the railing connector does not stick out beyond it.

 |
Now you are ready to attach all the 2x2s With the frame built and ready to go, figure out the spacing between each baluster. And make sure the final spaces between the posts and the last balusters are equal so you get a nice balanced look.
To do that, why not try our Rail Calculator? |

Other Baluster Configuration Considerations
|
Fasten to deck fascia or top and bottom rails? You can fasten 2x2 balusters on to either the perimeter joist or fascia board of the deck or to the sides of the 2x4 top and bottom rails. Screwing the balusters or pickets to the fascia is the simplest way to go. But there are a few draw backs. It doesn't look that impressive and the pickets will be in constant contact with the wet deck surface. Building wooden railings this way is inexpensive and you get a basic deck railing. |
 |

Add a bottom rail to keep balusters drier.
Similarly you could add a bottom rail and fasten the balusters to the bottom rail just like the top rail. It looks like this.
It's a visual improvment but still a bit clunky looking.
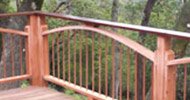
Move rails and balusters inside periphery of posts.
You can see a significant visual improvement by moving the bottom rail 2x4 inside the posts, orient it flat and secure the balusters directly above and below the rails.
But you will have to add a support block mid span under the bottom rail to stop if from sagging.

You're All Set To Start Building
Follow these simple steps and you will be building wood railings that perform well and are safe for years to come.
Home > Deck Railings > Building Wooden Railings


Recent Articles
-
Pergola on brick paver
Apr 05, 25 05:36 PM
I have a brick paver patio that has been in for 10 years and I would like to know if the deck anchor will penetrate the gravel/sand base -
Durability of Titan deck foot
Apr 05, 25 05:20 PM
Hi, can you advise the estimated life of a Titan Deck Foot installed in the ground? How long is it expected to last? I live in an area in Ontario Canada -
10x8 6 person spa deck
Jul 26, 22 12:17 PM
I think I might be over-engineering this but I live in CT and I'm also worried about snow weight. Adding a 8x10 deck attached to existing deck, 2x10's


It's time to start
making your memories.

How-To
Go Learn More
© 2004-2026 Decksgo.com. All Rights Reserved.