


Installing Deck Railing - Step by Step
There are several ways of installing a railing for your deck. Some are easier than others but also have draw backs as well.
The simplest way of doing it is to attach 2x2 pickets to the outer rim joist and then horizontally attach a 2x6 on edge to the top of the vertical 2x2s.

It's simple, cheap and quick to do.
But it’s also more likely to rot quickly because each of the direct wood to wood contact points of each 2x2 along the deck perimeter.
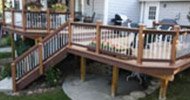
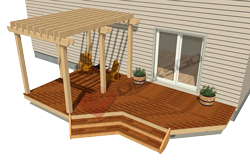
The railing design used in this deck project requires a bit more work, but looks better. Building it in this manner will last a little longer because there are less wood to wood contact points among the railing components where water pools or drains.
First Step
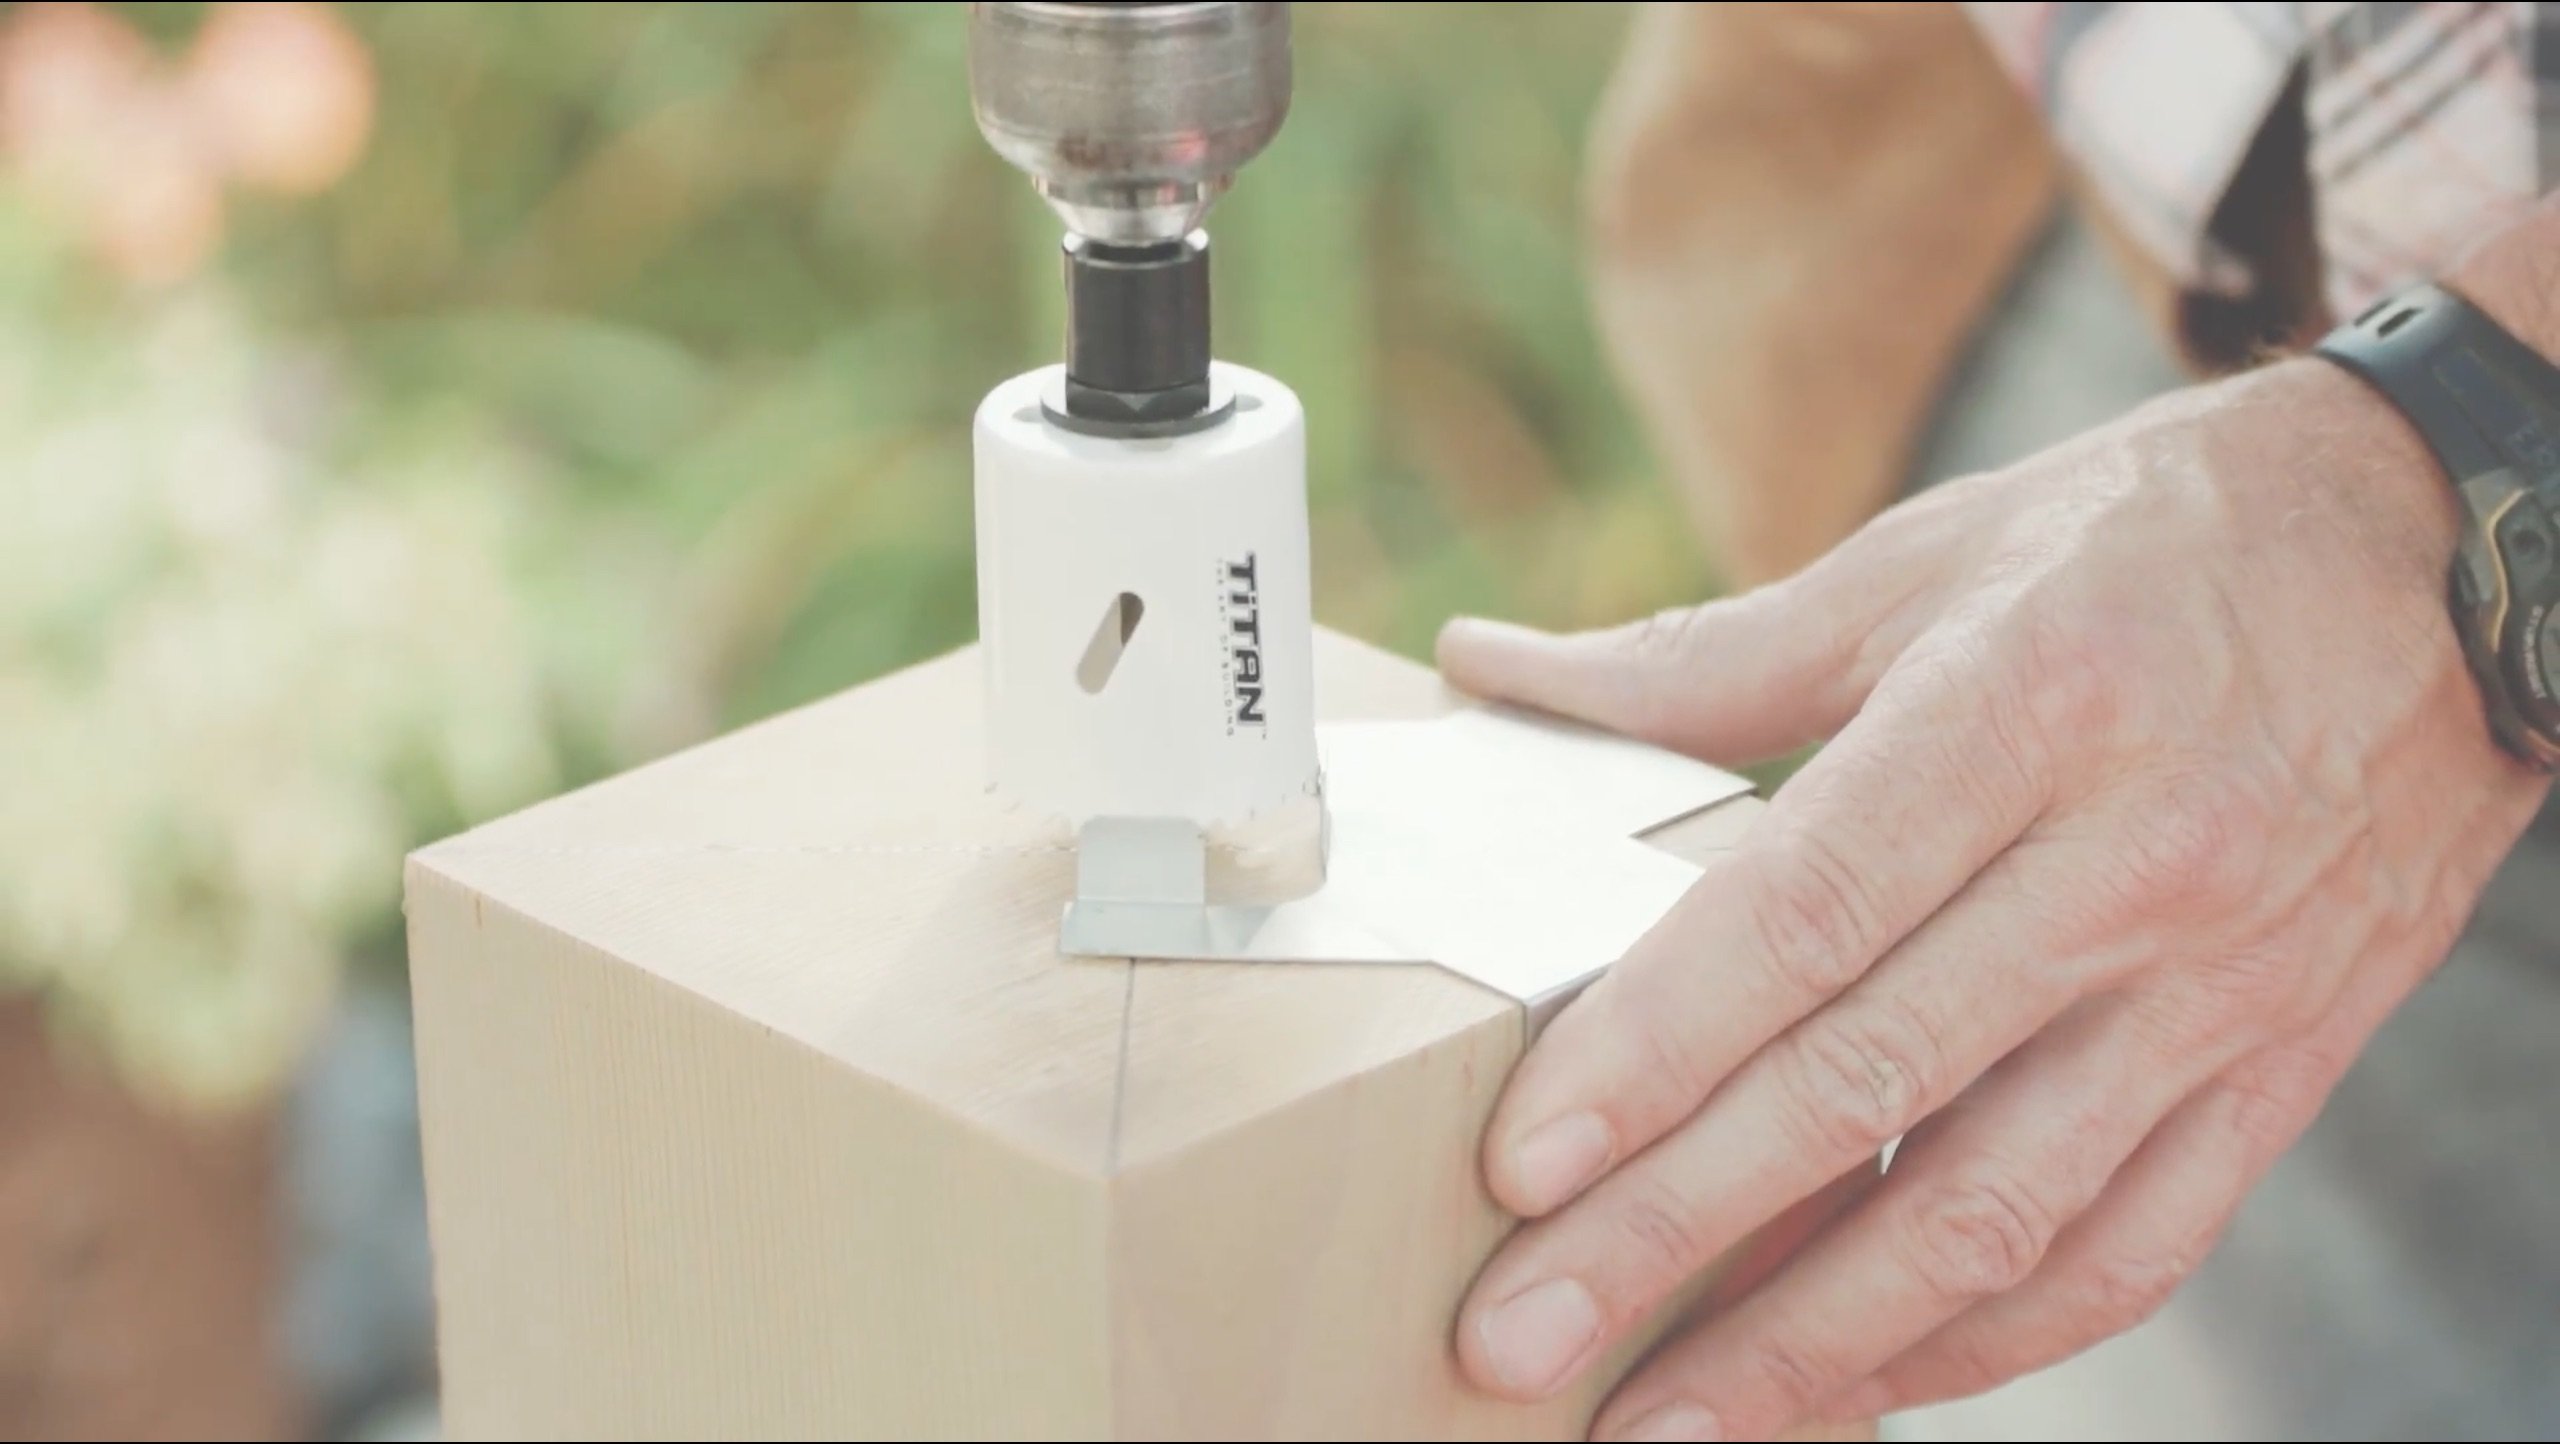
Begin setting the posts inside of the joists. If you haven’t read the section on attaching the railing posts, go back and read it before proceeding any further.
Second Step
Build the railing sections from 2x2s with a 1x2 cap running at opposite ends of the 2x2s for the entire length of the railing section. Double screw or nail the 1x2 to the 2x2s to prevent twisting. For this deck we built five sections of 2x2s cut to the exact gap between the posts.
Third Step
Cut the bottom rails pieces from 2x2 to the exact gap between each of the railing posts. The 45 degree corner section required the 2x4 bottom rail to be cut at about an 11 degree angle.

I used a sliding bevel against the inside face of the post and a scrap 2x4 that spanned between the posts to get an exact replication of the angle.
Trace that to your 2x4. Cut one end. Go back to the opening and measure the gap between the inner corners of the opposing posts.
Transfer this measurement to your bottom rail. Trace the angle from the sliding bevel and cut. This should give you a perfect piece to fit in between the posts as your bottom rail.
Fourth Step
Install all bottom rail pieces between each set of posts leaving at most a 4” gap between the decking and the underside of the bottom rail. Install a small piece of blocking in the middle of the long spans to prevent sagging.
You can also install the same kind of blocking at opposite ends of the each bottom rail. Then screw the bottom rail against each post in a toe-nail fashion.
Fifth Step
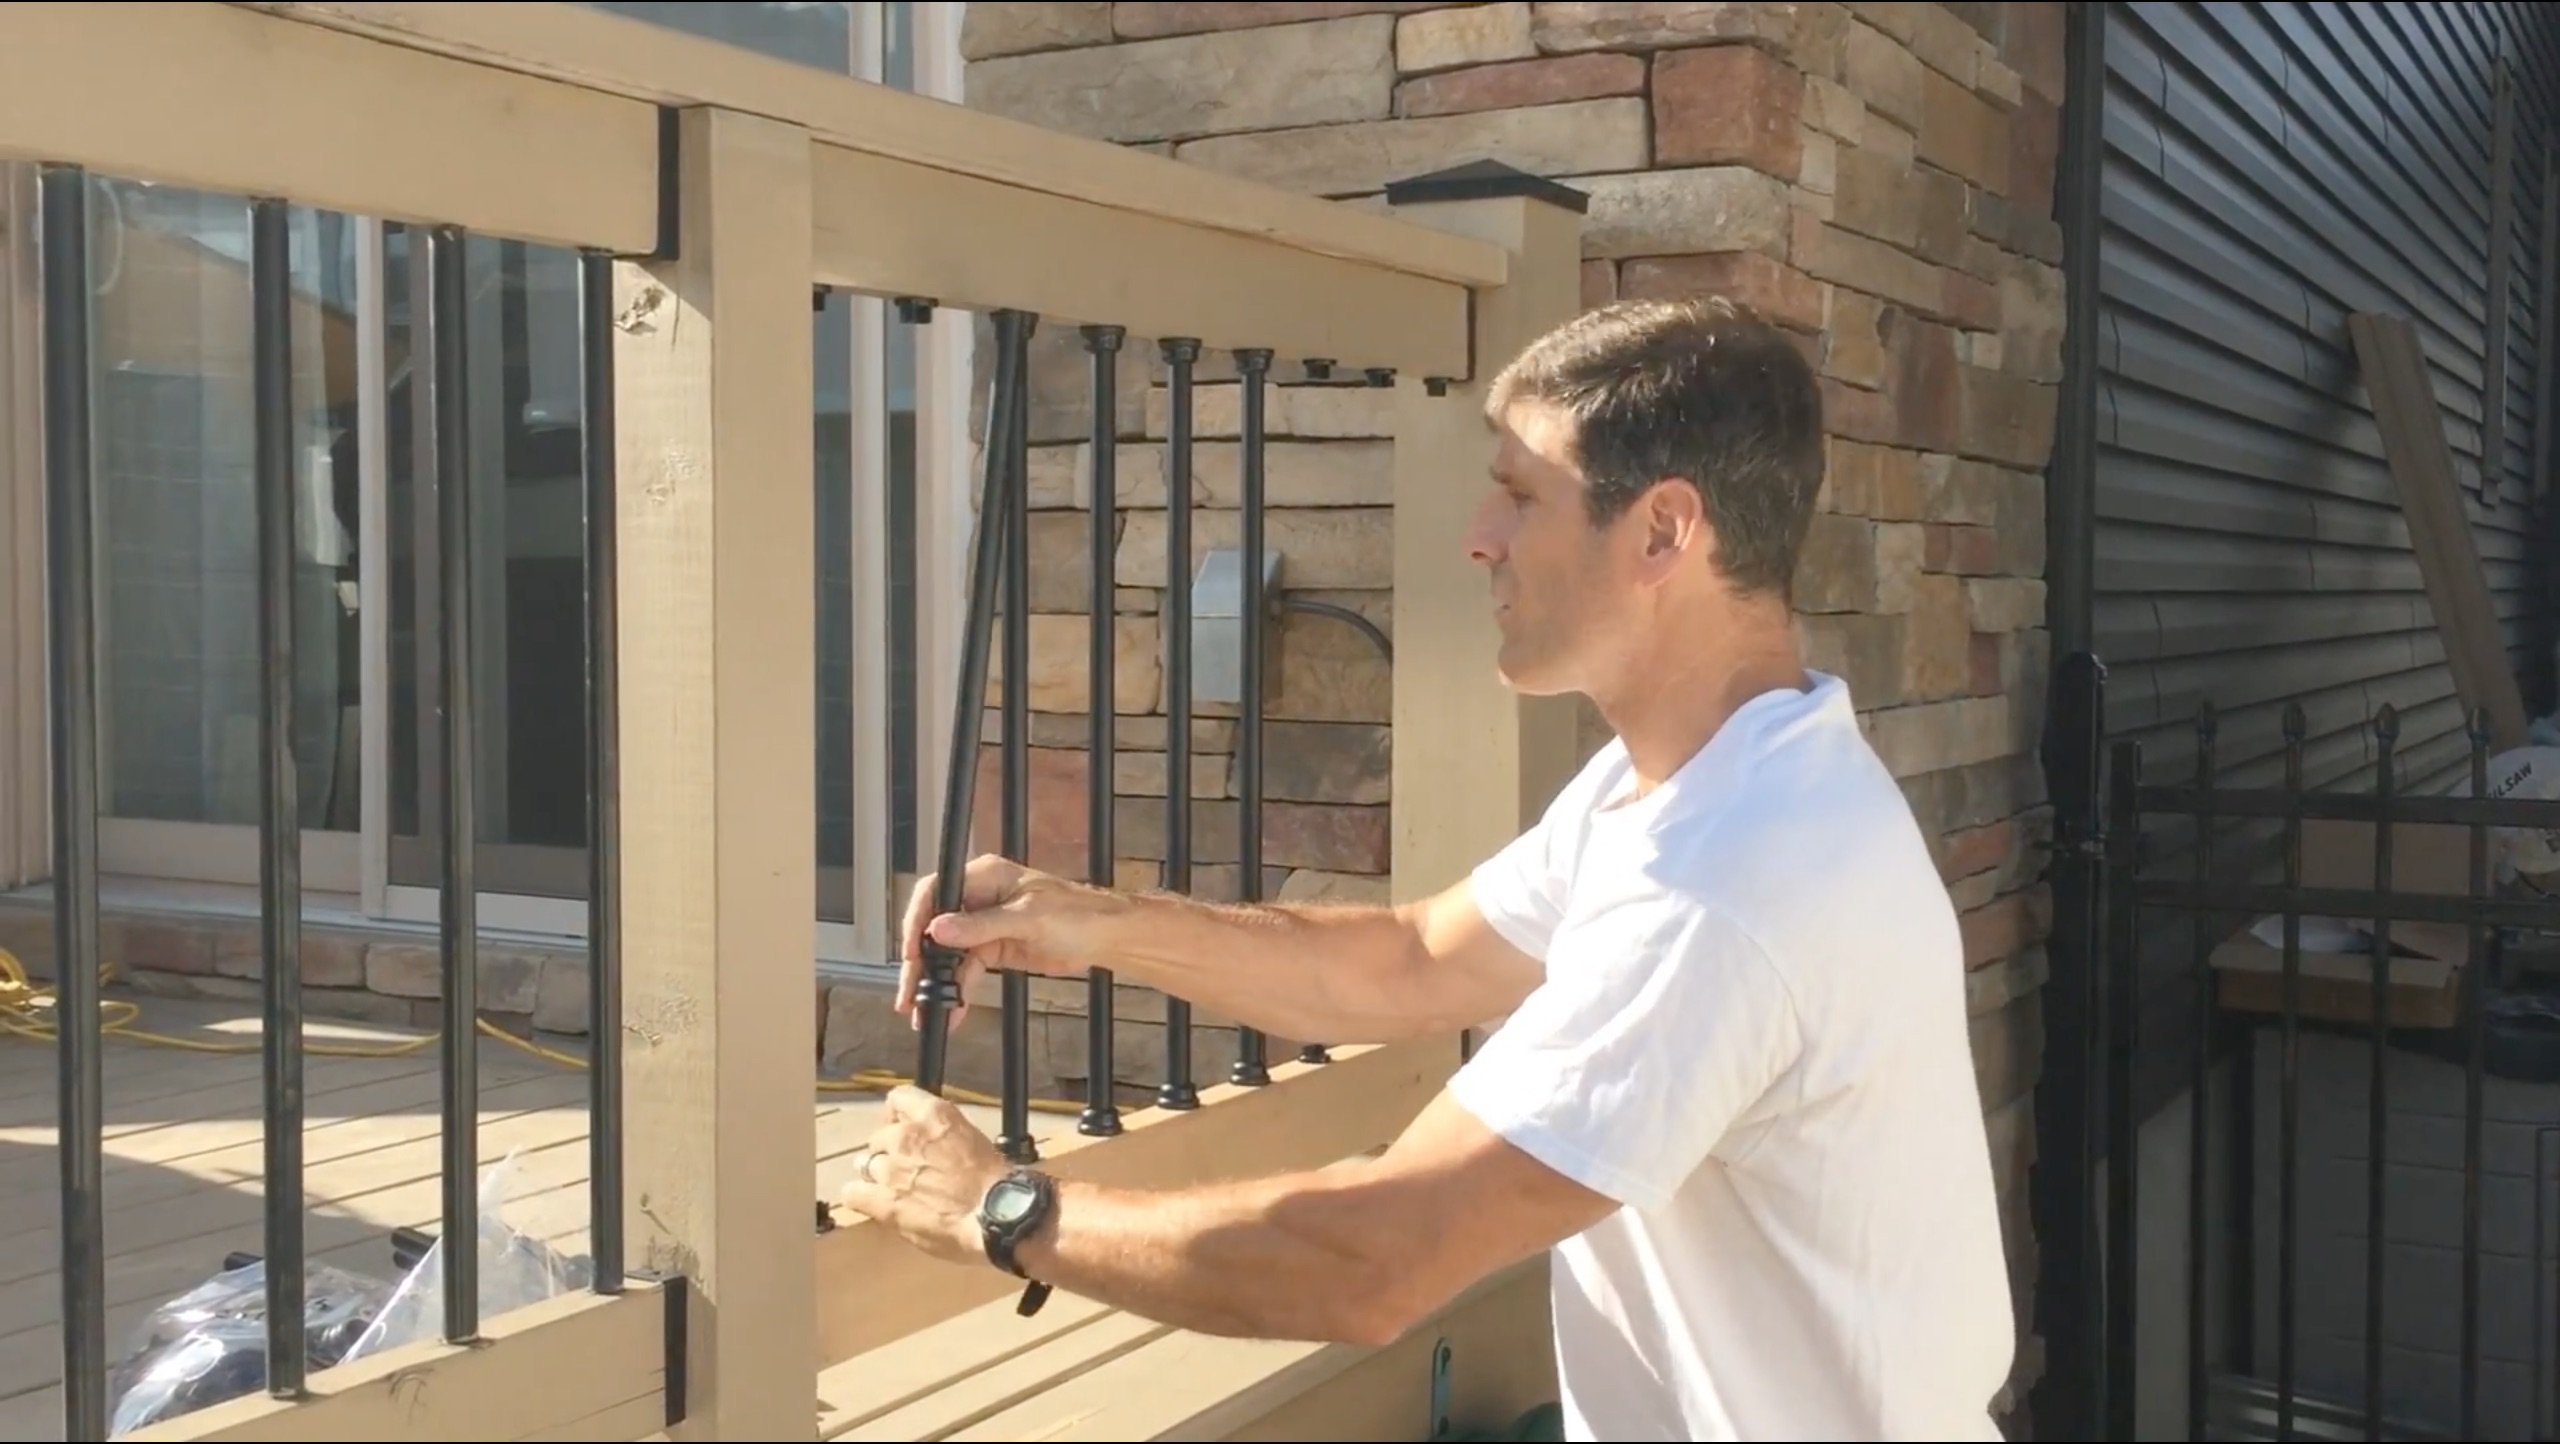
Cut the top rail pieces from 2x4 in the same method used for the bottom rails. Place the 2x2 and 1x2 picket sections on top of the bottom rails and nail the bottom 1x2 against the bottom rail to hold it in place.
Then place the top rails over the railing sections and screw from underneath the 1x2 against the bottom face of the top railing. Then screw the top rails securely against the opposing posts using the toe-nail method.
Sixth Step
 |
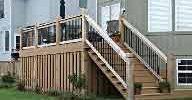
This particular railing design uses broken top rails with intermittent railing posts. Decorate the railing posts with your preferred post cap. We used preformed metal caps that looked quite nice. Secure them with a dab of caulking on the post top. |
Last Step
No posts are required for the railing sections that meet the house. Use a 2x4 with nicely cut ends and secure the railing section to it.
Then attach the 2x4 directly to the house with screws. I used small spacers between the siding and the 2x4 to ensure a solid contact and ensure no water could get behind the siding.

Home > Building A Deck > Installing Deck Railing


Recent Articles
-
Pergola on brick paver
Apr 05, 25 05:36 PM
I have a brick paver patio that has been in for 10 years and I would like to know if the deck anchor will penetrate the gravel/sand base -
Durability of Titan deck foot
Apr 05, 25 05:20 PM
Hi, can you advise the estimated life of a Titan Deck Foot installed in the ground? How long is it expected to last? I live in an area in Ontario Canada -
10x8 6 person spa deck
Jul 26, 22 12:17 PM
I think I might be over-engineering this but I live in CT and I'm also worried about snow weight. Adding a 8x10 deck attached to existing deck, 2x10's


It's time to start
making your memories.

How-To
Go Learn More
© 2004-2026 Decksgo.com. All Rights Reserved.