


Deck Building - Footing, Pier and Beam Placement

In deck building footing and pier placement is crucial to the entire building process.
A deck requires certain minimum strength properties and so it’s essential to have enough support posts to keep the deck from collapsing or sinking into the soil.
But excavating for footings and piers and pouring concrete is one of the most labor intensive parts of the deck building process.
Footing
|
A footing is simply a wider concrete base spread out beyond the walls of the pier in order to distribute the weight of the pier over a larger area. This prevents the piers from sinking into the soil over time and also prevents the pier from heaving during thaw cycles. The effectiveness of the footing against heaving depends upon whether it is deeper than the frost line. |

Pier

The pier is the vertical support usually formed by a tube and should
protrude above the grade at least 2 inches. Eight inch diameter piers are usually
more than sufficient for most deck building projects.
Draw the Deck Shape on Paper
Draw out the shape of your deck on some graph paper to get a visual image of its size and proportions. Start from the point of view of trying to use the least supporting posts possible so that labor and materials can be minimized.
There are some very helpful tables for beam spans between posts that can assist you as you layout your deck plan on paper.
Remember that joists must always run parallel to beams.
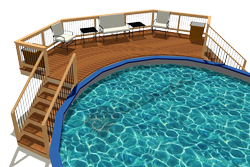
In our example we ran one beam across the front of the deck and then ran another beam 90 degrees directly back to the house to support a cantilevered section of the deck. This design required only two footings and piers for the front beam and only one footing for the last support post near the house.
Locate the Hole Positions

Use triangulation and the hypotenuse formula to help you layout accurate locations for the holes that you will dig. Use our angle calculator.
In this case we used the triangulation to accurately mark the corners of the finished deck and then measured in the appropriate distances to pin point the center of each hole.
Pythagoras TheorEM
Remember your high school geometry class? If not here’s a quick refresher:
x² + y² = z²

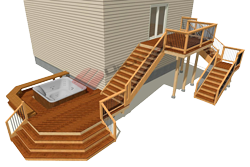
On a right-angled triangle use the two known sides (x and y). In our case x will be 8 feet out from the house and y will be 6 feet along the house.
The hypotenuse is the diagonal and unknown. By calculating the hypotenuse distance we guarantee that the angle out from the house is perpendicular.
But to calculate the value of z we take the square root of the total sum of the squares of x and y (64 +36 =100).
z=v100

The square root of 100 is 10. So create your triangle with 8, 6 and 10 foot segments. That’s exactly what we did here to pinpoint the outside corners of our deck.
We measured out 8 feet – across the house 6 feet and knew that the hypotenuse had to be 10 feet. We did this for both pier locations on the front beam.
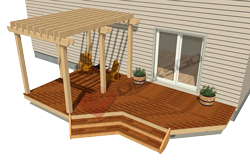
The location of the pier for the second beam was simply measured 18” from the house foundation. And we located the front pier positions by measuring 18” off of the front edge of the deck and 12” off the side edge of the deck.
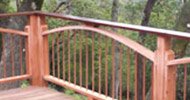
Beams

The beams for this deck were two laminated 2x8 red cedar timbers cut so that the front beam extended beyond the side of the deck. It would be cut to final size once the deck frame was finished.
The second beam was overlapped and securely nailed to the first beam. The corner joint was to sit directly on the 4x4 deck support post.
Once the positions of the piers and beam locations have been determined with a high degree of accuracy, its time to start digging.

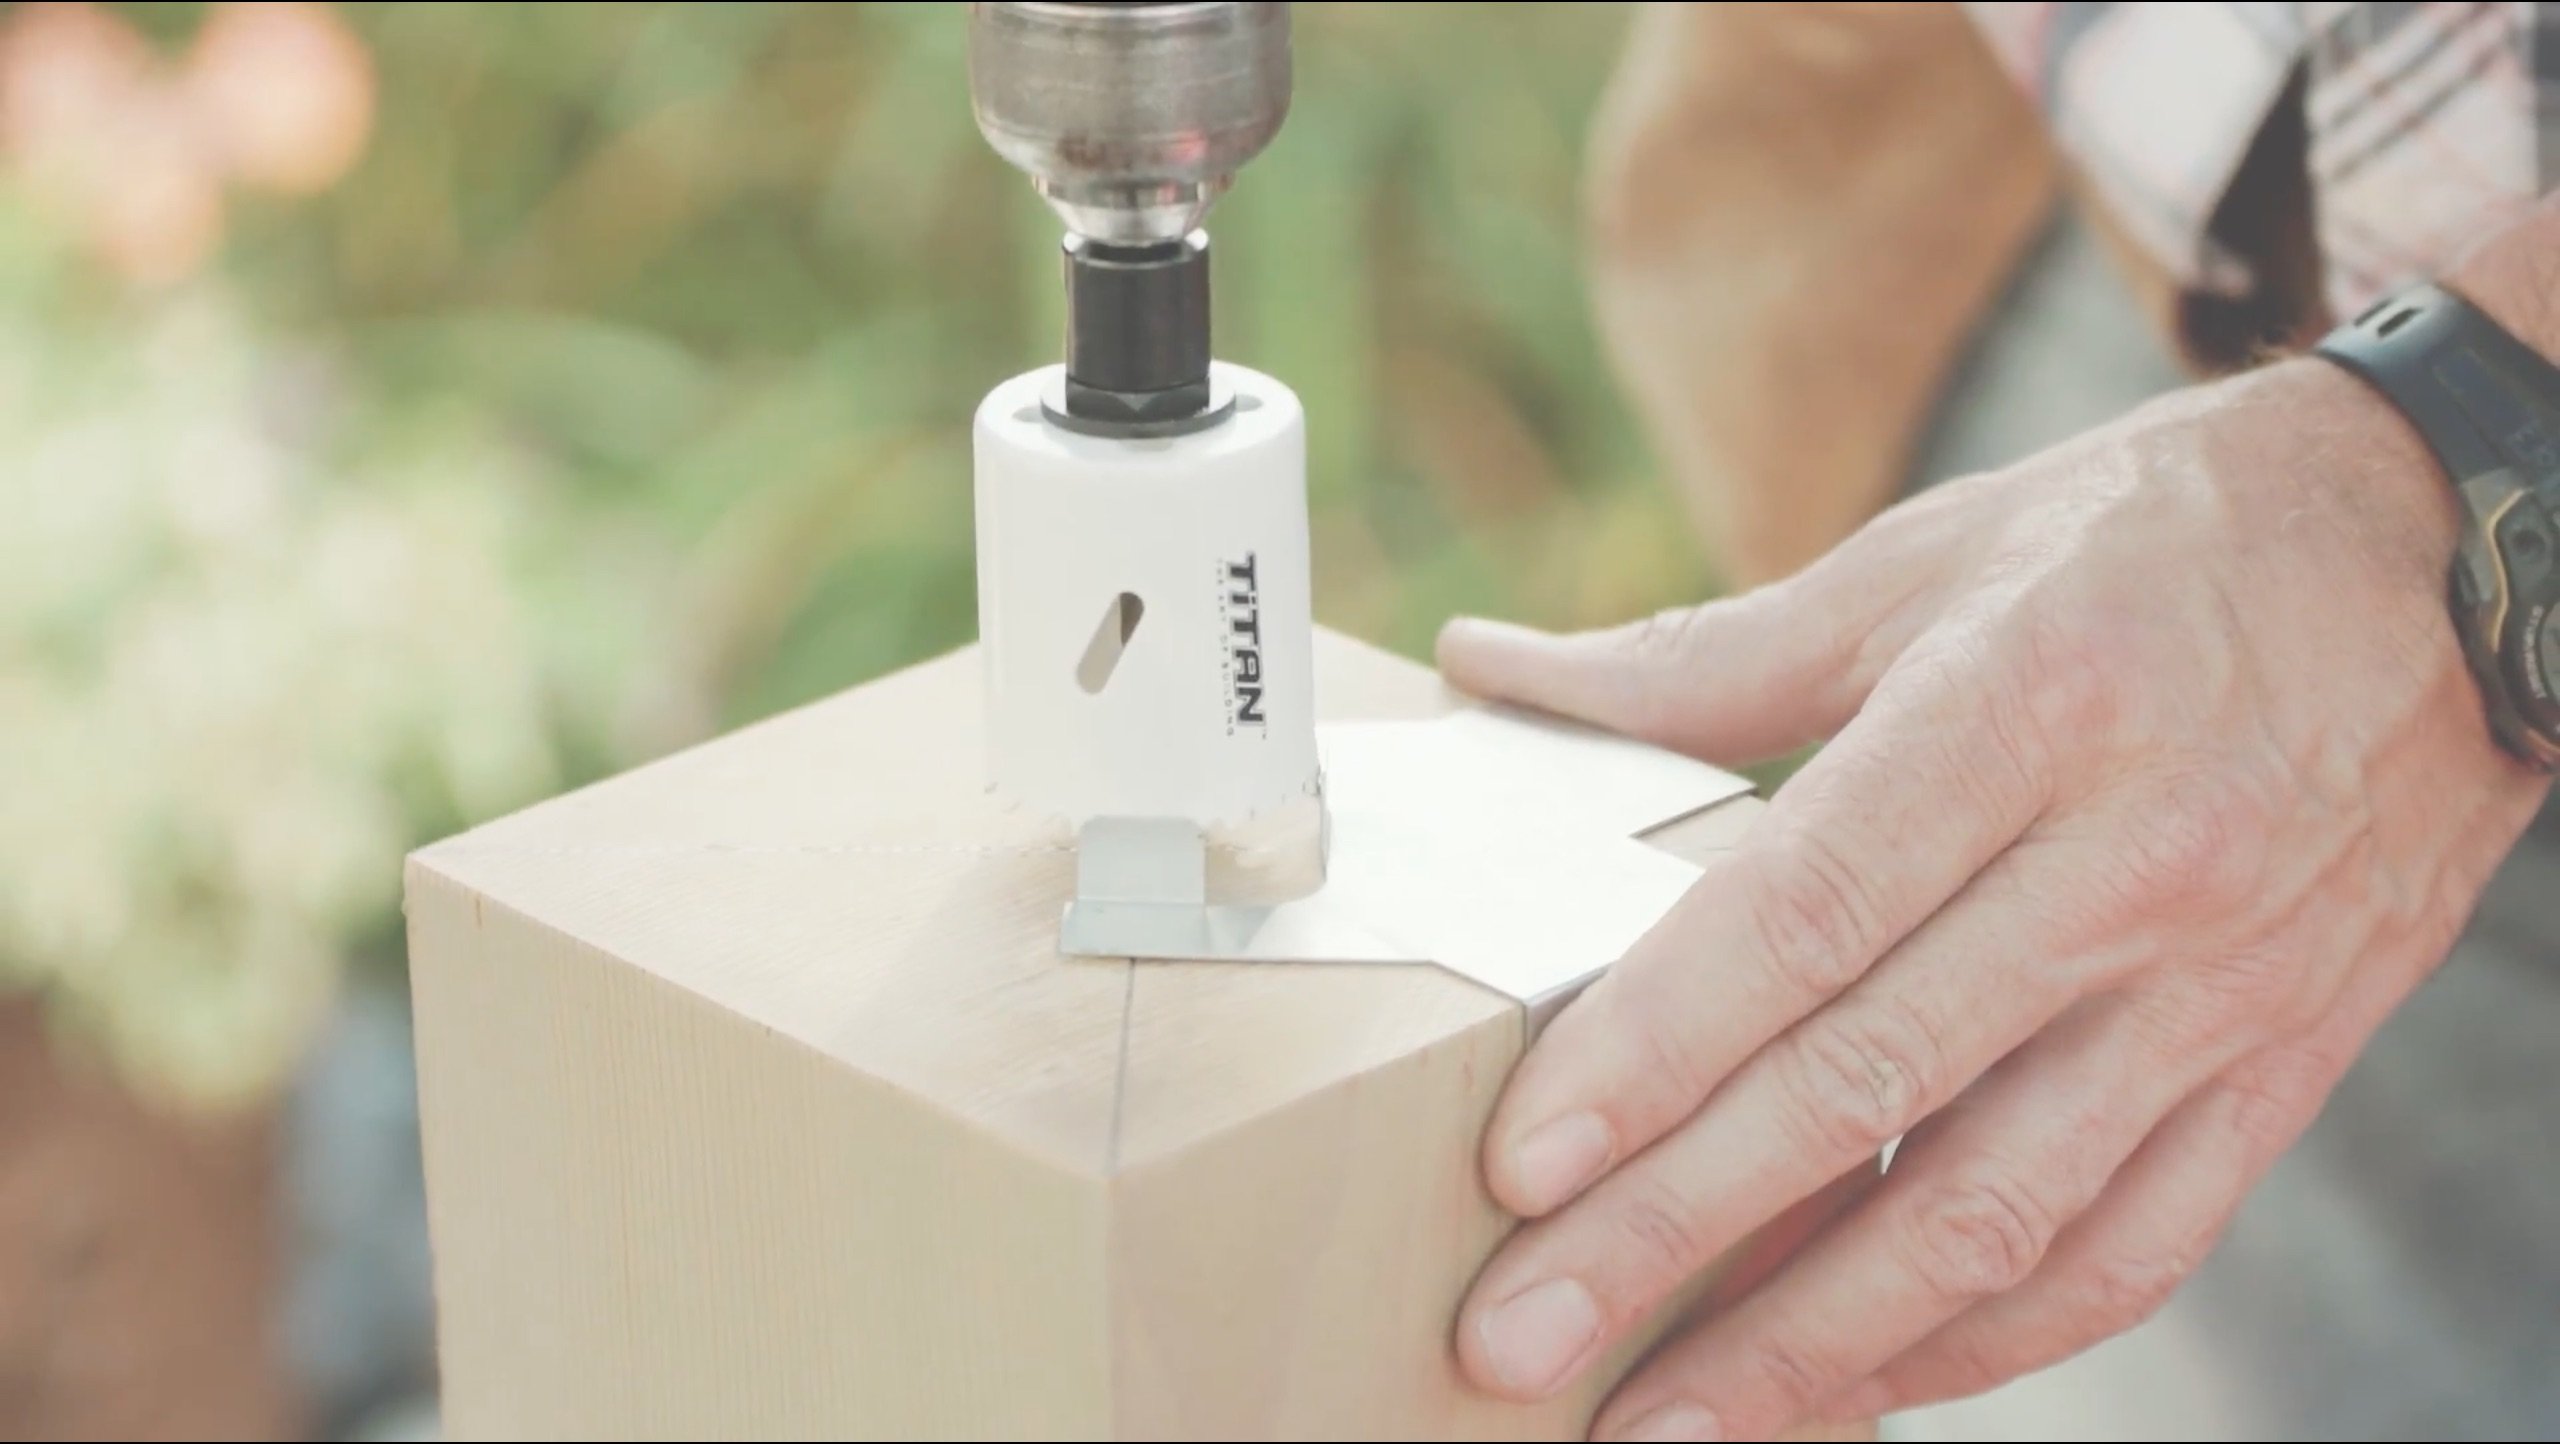
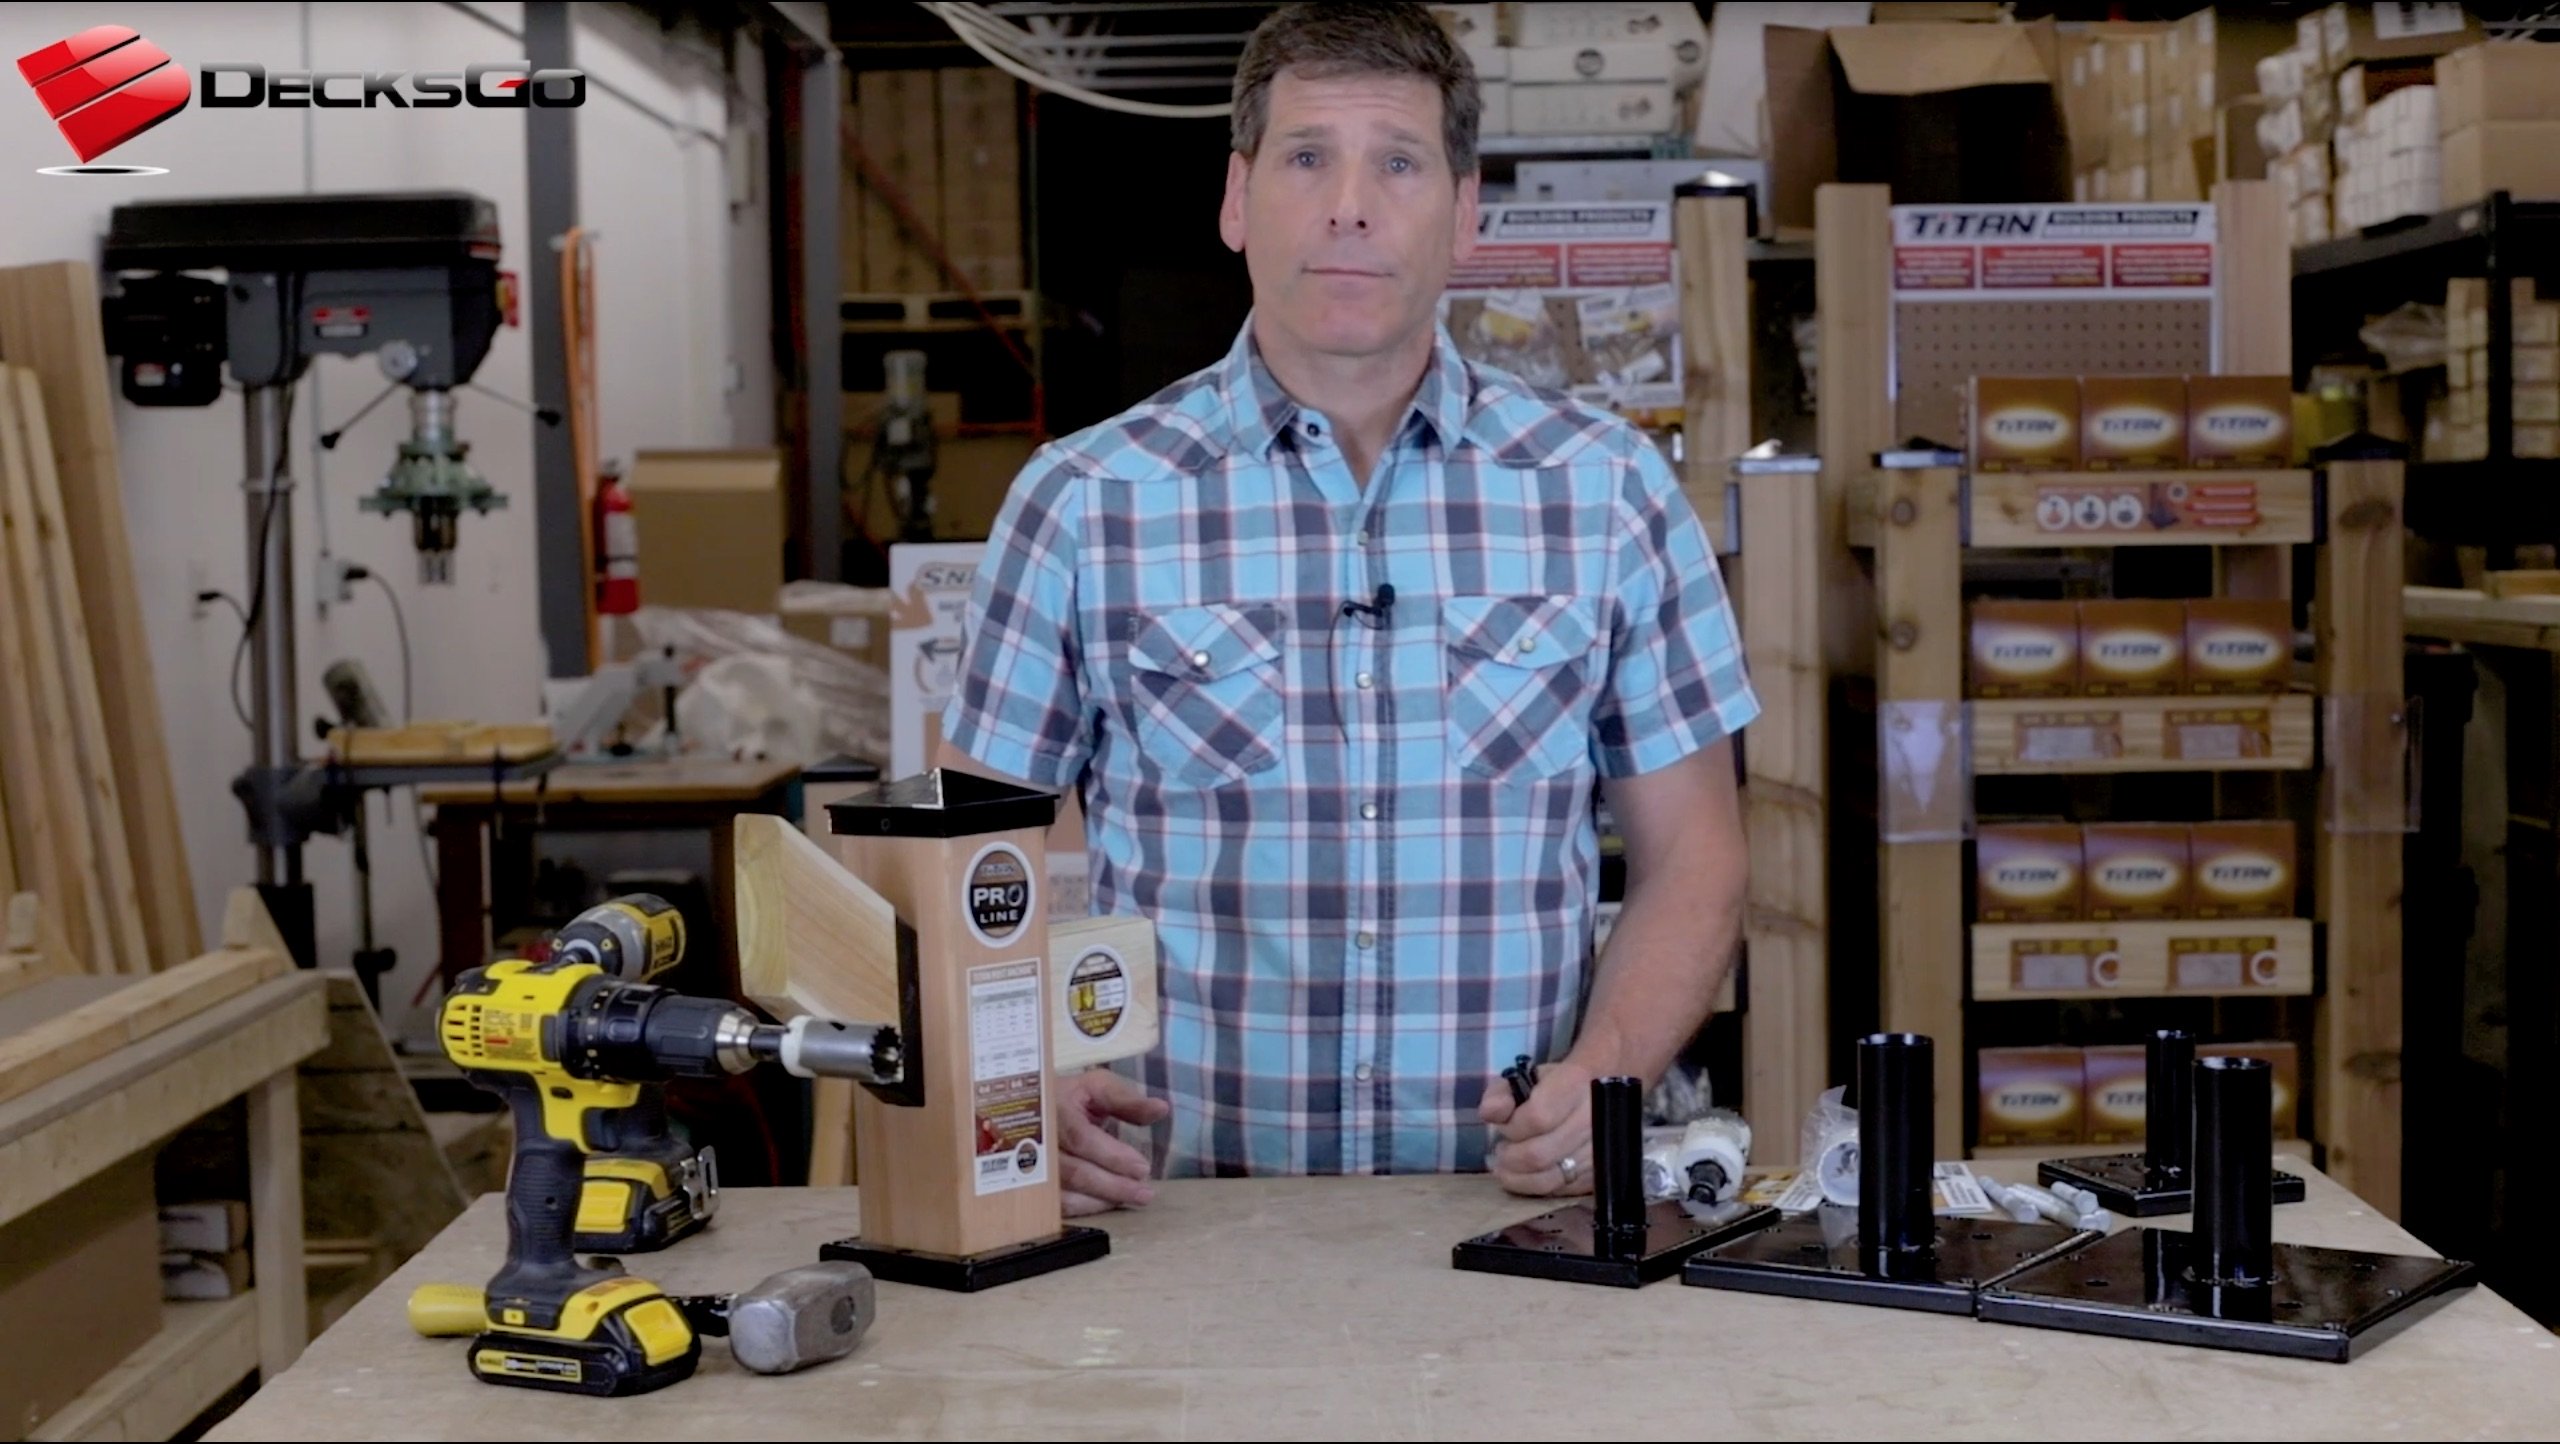
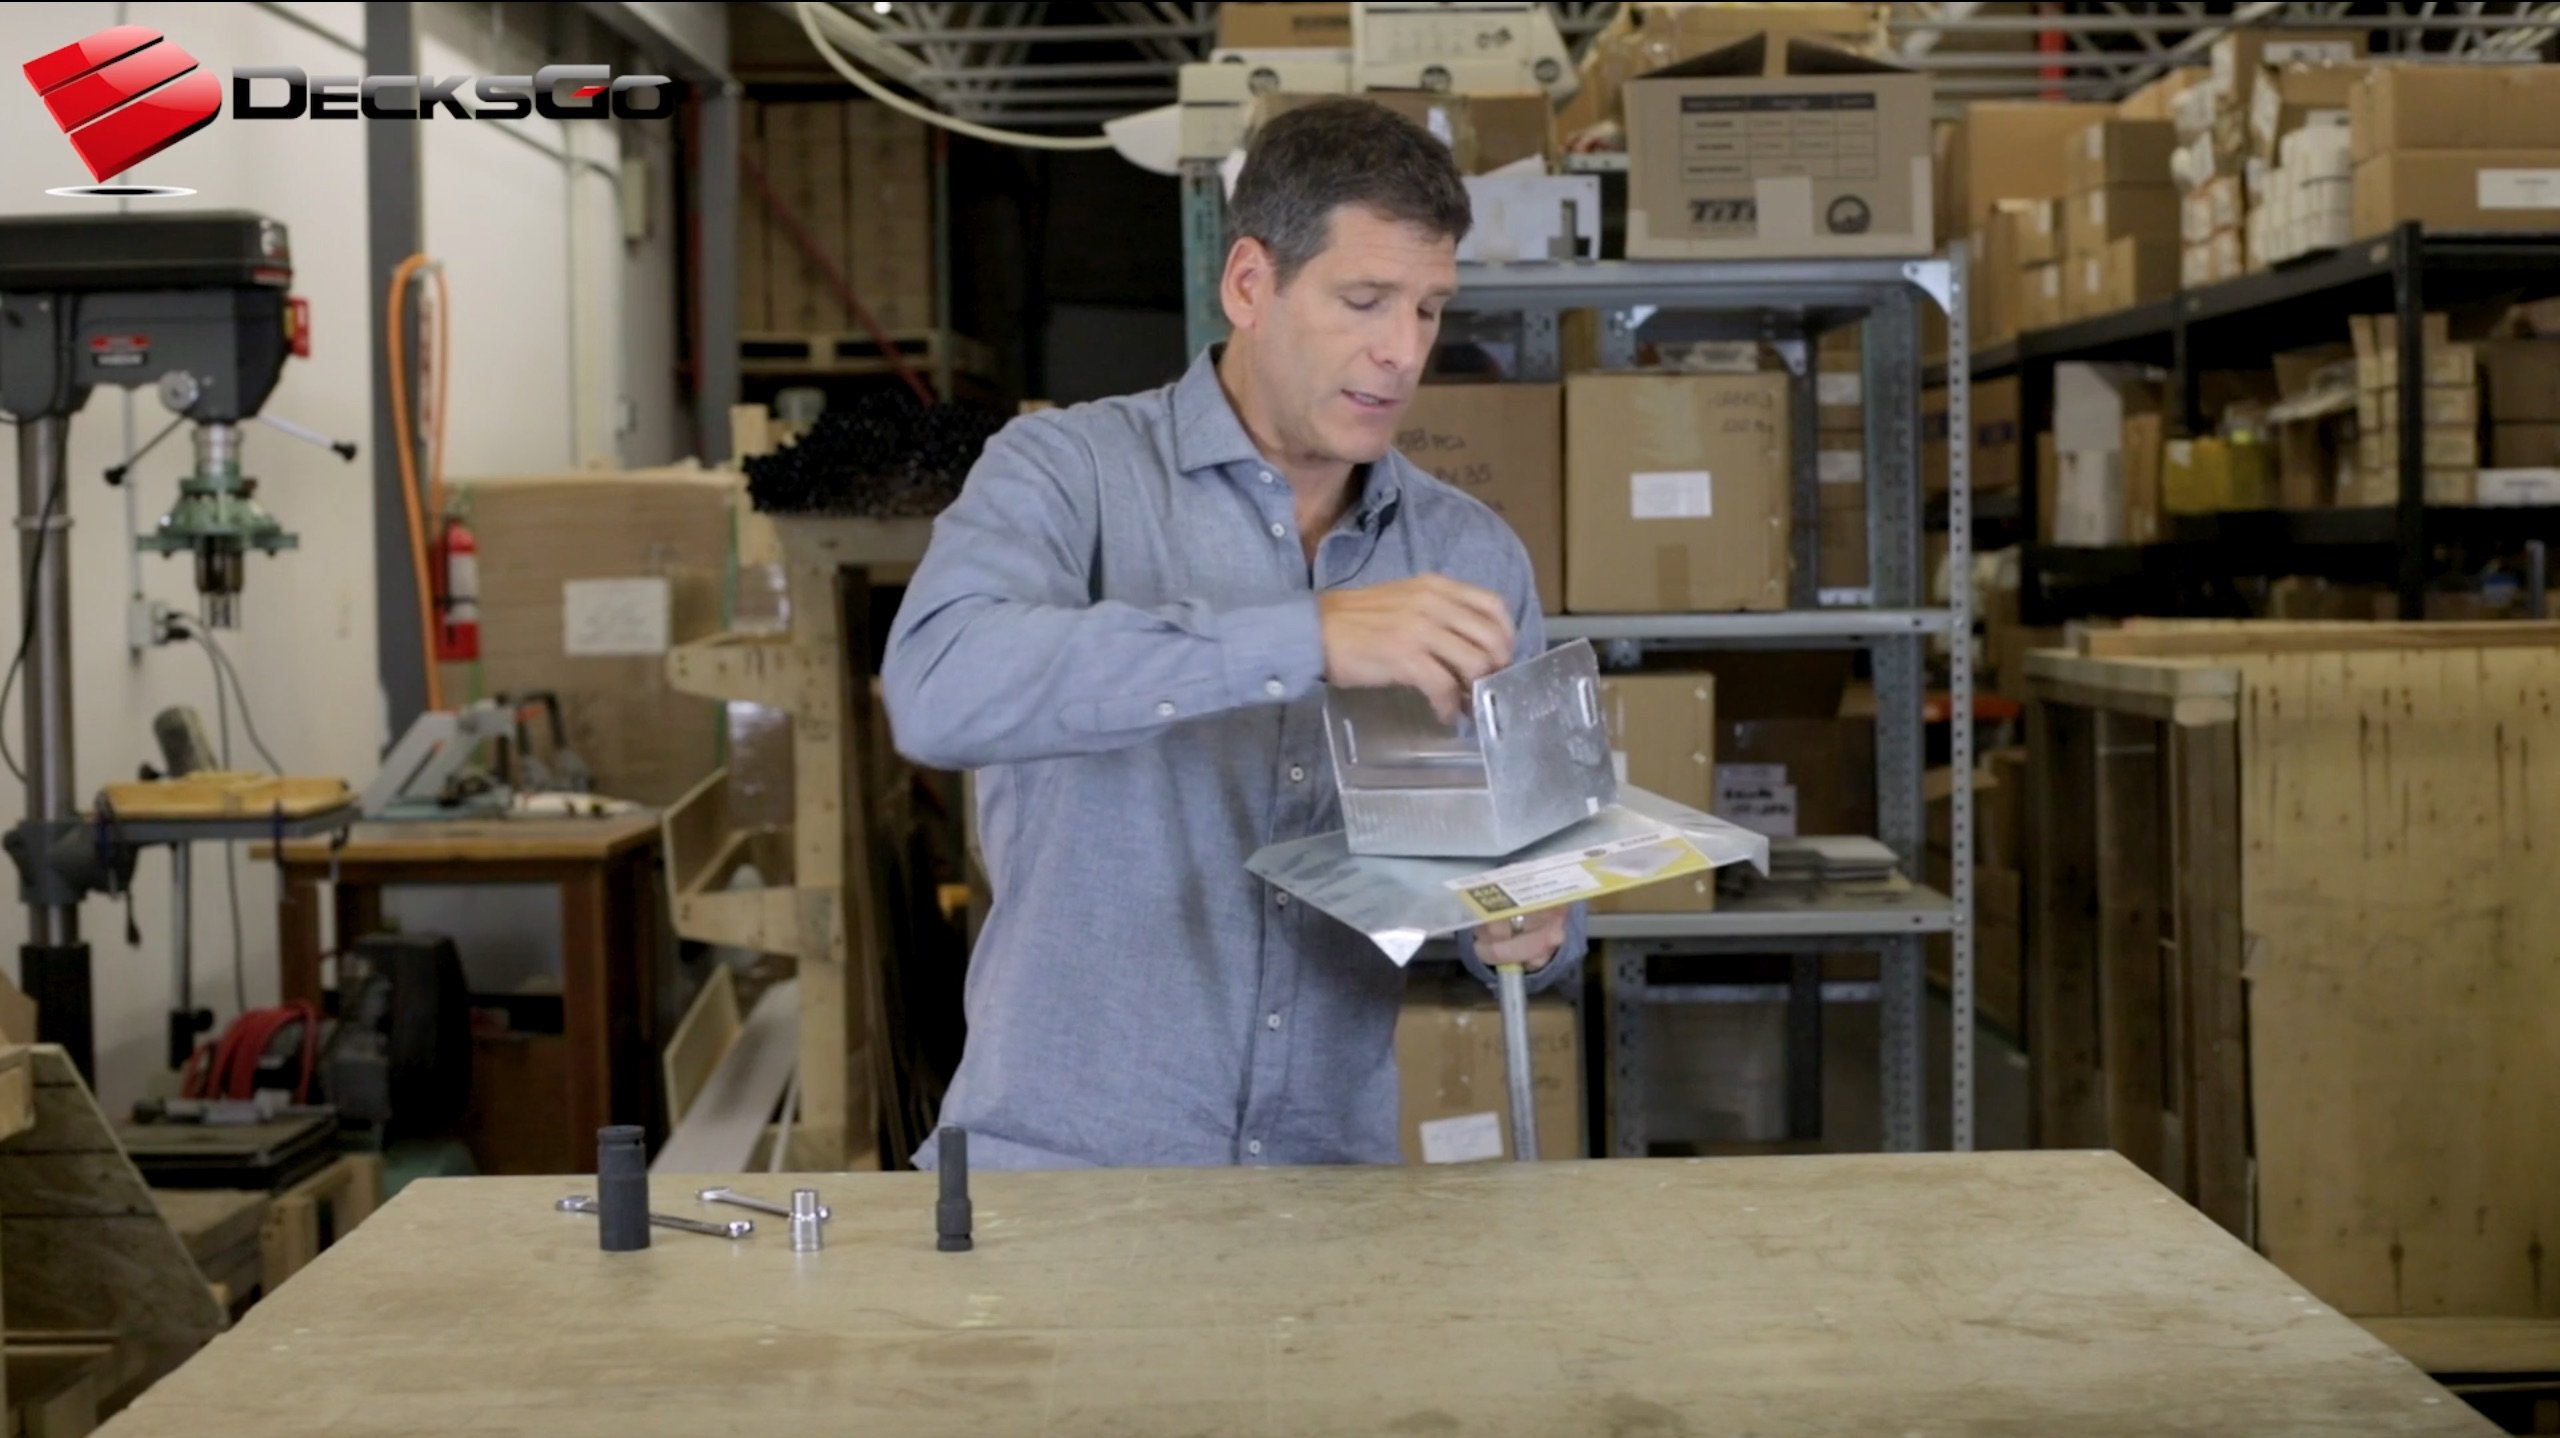
POST FOUNDATIONS -FOOTINGPAD®
Here is another way to supporting posts without having to mix and pour cement. Be sure to use ground treated dimensional lumber.
It's another great option to consider for decks or any supporting column. Check it out!
Home > Building A Deck > Deck Building Footing


Recent Articles
-
Pergola on brick paver
Apr 05, 25 05:36 PM
I have a brick paver patio that has been in for 10 years and I would like to know if the deck anchor will penetrate the gravel/sand base -
Durability of Titan deck foot
Apr 05, 25 05:20 PM
Hi, can you advise the estimated life of a Titan Deck Foot installed in the ground? How long is it expected to last? I live in an area in Ontario Canada -
10x8 6 person spa deck
Jul 26, 22 12:17 PM
I think I might be over-engineering this but I live in CT and I'm also worried about snow weight. Adding a 8x10 deck attached to existing deck, 2x10's


It's time to start
making your memories.

How-To
Go Learn More
© 2004-2026 Decksgo.com. All Rights Reserved.